Snowflake pies (gluten-free; dairy-free; vegan)

Very Christmassy, snowflake pies. Image: Kathryn Hawkins

Hello again. With the Christmas break just a few days away, my post this week is a very simple and very seasonal dessert recipe which is easy to make and pretty to look at. With little snow in the forecast for the UK this year so far, this sweet treat is probably the closest I will come to experiencing a White Christmas.

Close-up_on_snowflake_pie
Light and fluffy, snowflake pie. Image: Kathryn Hawkins

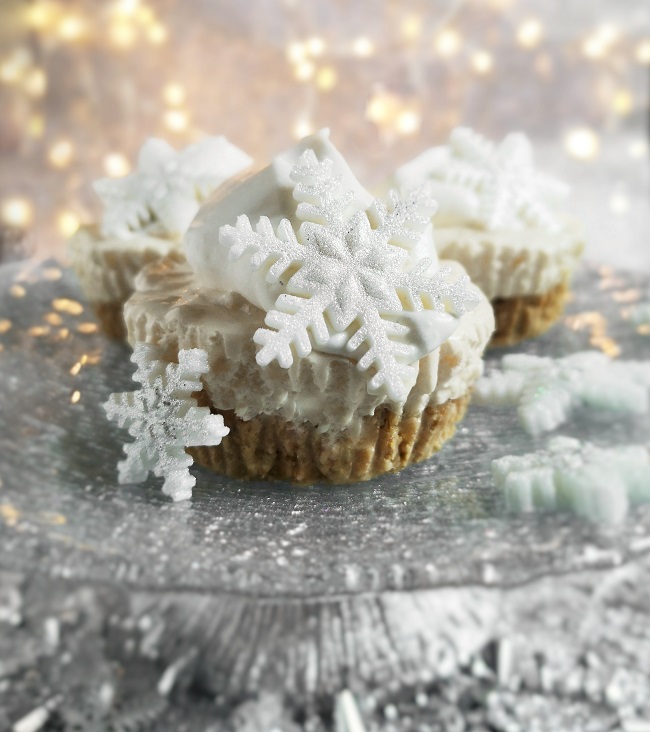
Assembled in paper cupcake cases, the pies have a biscuit crumb base, and a topping simply made from vegan marshmallows and plant-based double cream. All very straightforward. I flavoured the topping with vanilla extract but you could add some citrus zest or Christmas spice. As you can image, the pies are quite sweet, but I found they paired perfectly with cooked cranberries. I think orange, rhubarb or raspberries would also work very well – something with a bit of acidity is ideal. OK, on with the recipe…..

Makes: 8

Ingredients

  • 115g free-from Digestive biscuits
  • 65g plant-based butter
  • 175g white vegan marshmallows
  • 400ml plant-based double cream, at room temperature
  • 1tsp good quality vanilla extract
  • Icing snowflakes and edible silver glitter to decorate

1. Line 8 muffin tins with plain cupcake paper cases – you don’t need to use anything fancy; the cases are being used as tin liners to help you turn the pies out more easily. Put the biscuits in a clean bag and crush finely with a rolling pin.

2. Melt the butter, remove from the heat and stir in the crumbs until evenly coated. Divide the mixture between the cases; press down well and chill until required.

How_to_make_snowflake_pie_bases
Making the bases. Images: Kathryn Hawkins

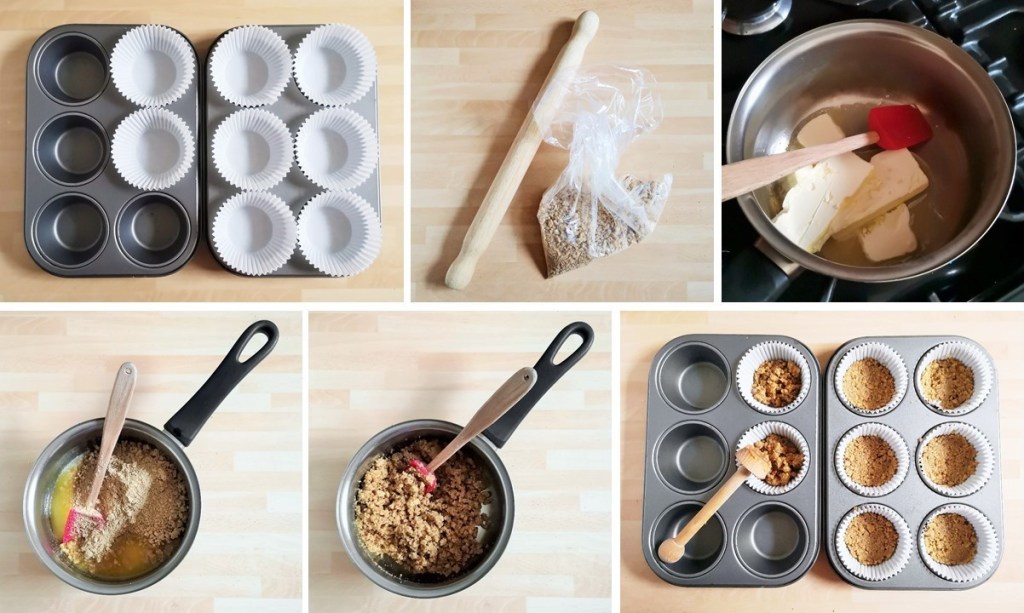
3. For easier melting, cut the marshmallows into small pieces – kitchen scissors are good for this. Place in a saucepan and pour over 100ml of the cream and add the vanilla.

4. Heat very gently, stirring occasionally, until the marshmallows melt into the cream. This will take about 5-8 minutes. Keep the heat as low as possible to avoid boiling. Then whisk until smooth.

Melting_vegan_marshmallows_with_plant-based_cream_to_make_snowflake_pies_filling
Making the filling. Images: Kathryn Hawkins

5. While the marshmallows are melting, whip a further 225ml cream until just peaking.

6. Working quickly, scrape the molten marshmallows mixture on top of the cream and gently mix the 2 together to make a fluffy, light mixture. The marshmallows will start to set again as soon as they meet the cream, so make sure the cream isn’t too cold.

7. Divide between the cases and chill for about 2hr until completely set, then remove from the tins and peel away the paper cases.

5_steps_showing_the_assembly_of_snowflake_pies
Assembling the pies. Images: Kathryn Hawkins.

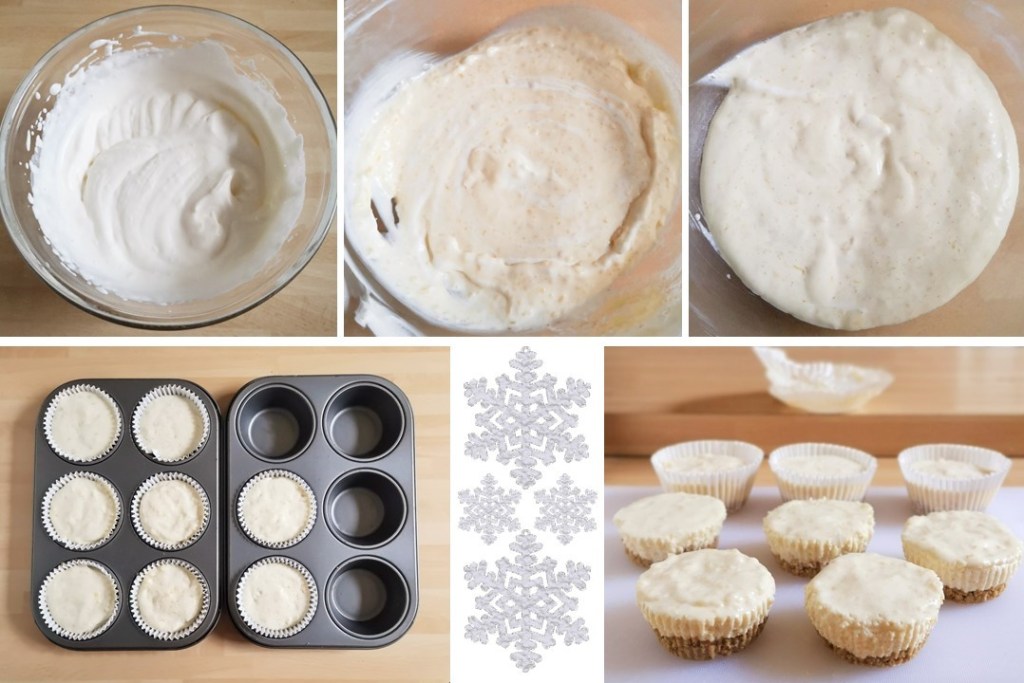
8. To serve, whip the remaining cream and spoon a little on top of each pie. Decorate with snowflakes and glitter. Delicious accompanied with a cranberry, or other fruit, compote.

Single_serving_snowflake_pie_with_cranberry_compote
Cranberry compote. Image: Kathryn Hawkins

This is my last recipe post of the year. Thank you for your continued interest in my blog. I hope you have a very happy and healthy Christmas and I look forward to returning to my blog in the new year.

Sweet chilli jelly (naturally gluten-free; dairy-free; vegan)

Homemade_sweet_chilli_jelly_for_Christmas
Sweet chilli jelly. Image: Kathryn Hawkins

Hello again. I hope you are keeping well. Are you beginning to feel Christmassy yet? We’ve had some snowfall here, not very much but it certainly feels like winter is upon us.

I haven’t had much time for making preserves this year and most of my harvested garden produce is still buried deep in the freezer waiting for me to get cooking. However, I did find some time a few days ago to make one of my favourites. I love the combination of sweet and smoke with a hint of chilli spice in this savoury jelly. It’s one of those preserves that goes with lots of things and makes a great gift for a food lover. It’s also ready to eat immediately or will store for up to a year.

You might want to scale back the recipe to make a smaller quantity but I wanted a few jars for myself as well as a couple to give away. Add more chillies for a spicy-hot jelly or use hot smoked paprika instead.

Makes: approx. 1.4kg

Ingredients

  • Approx. 1.5kg cooking apples, washed and left whole
  • Approx. 750g red (bell) peppers or capsicum, washed and stalks removed
  • 50-100g red chillies, washed and stalks removed
  • 6-8 garlic cloves, peeled
  • 2 large sprigs of fresh sage
  • 5 bay leaves
  • approx. 1.1kg granulated white sugar
  • 175ml cider vinegar
  • 2tsp smoked paprika
  • 1½tsp salt
  • 1-2tsp dried chilli flakes

1. Chop the apples and place in a large preserving pan – seeds, core, skin, everything. Do the same with the peppers and chillies, then add to the pan along with the garlic, sage and bay leaves.

Prepared_fruit_and_veg_for_smoky_apple_jelly
Main ingredients: apples, peppers, chillies and garlic. Images: Kathryn Hawkins

2. Pour over 1.7l water, bring to the boil, cover and simmer for about 40 minutes, mashing with a spoon occasionally, until everything is soft and pulpy. Leave to cool for 30 minutes.

3. Carefully ladle the pulp into a jelly bag suspended over a bowl and leave in a cool place to drip over night. Discard the pulp and measure the juice.

Jelly_bag_showing_straining_collected_juice_from_cooking_apples_and_vegetables
Making and straining the cooked fruit and veg. Images: Kathryn Hawkins

4. Pour the juice into a clean preserving pan and heat until hot. Add 450g sugar for every 650ml juice collected – I had 1.6l juice and added 1.1kg sugar. Pour in the vinegar and stir until the sugar dissolves, then raise the heat and boil rapidly until setting point is reached – 105°C on a sugar thermometer. Turn off the heat and stir in the salt, paprika and chillies. Leave to stand for 10 minutes.

Cooking_smoky_apple_jelly_and_flavouring_with_vinegar_smoked_paprika_and_chillies
Cooking and flavouring the jelly. Images: Kathryn Hawkins

4. Stir the jelly mixture and ladle into sterilized jam jars. Seal tightly while hot, then leave to cool before labelling. Store in a cool, dry, dark cupboard for up to 1 year.

Small_kilner_jars_of_homemade_sweet_chilli_jelly
Freshly cooked sweet chilli jelly in the jar and on the spoon. Images: Kathryn Hawkins

That’s me for another week. One more recipe post before the holidays. I’ll see you again in a few days. All the best until then 🙂