Hello again. I hope you are keeping well and enjoying the season. I have another post for you this month in my series of calcium-rich recipes for gluten-free, dairy-free and vegan diets. This time it’s a sweet treat packed full of dried fruit and crunchy seeds and nuts. If you’ve missed my other 2 calcium-based recipes, here are the links to them: Calcium-rich pesto bean salad (gluten-free; dairy-free; vegan) | My Virtually Free-from Kitchen and Natural calcium booster for gluten-free, dairy-free and vegan diets. | My Virtually Free-from Kitchen

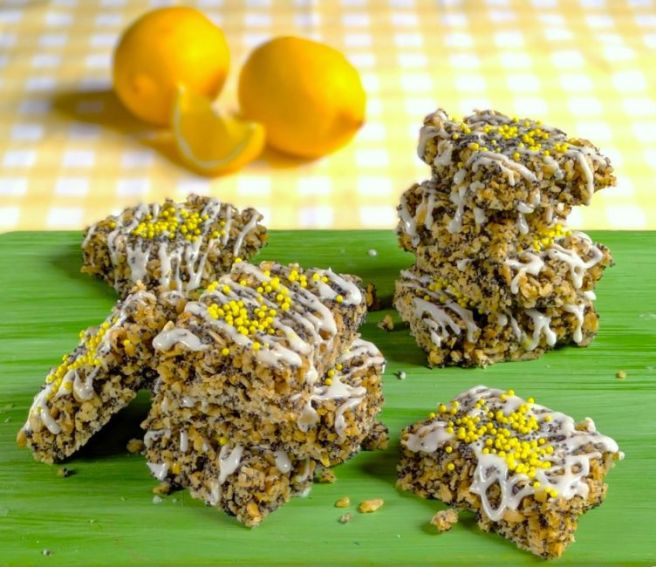
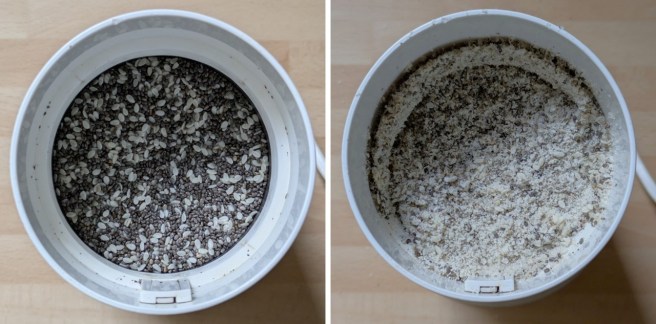
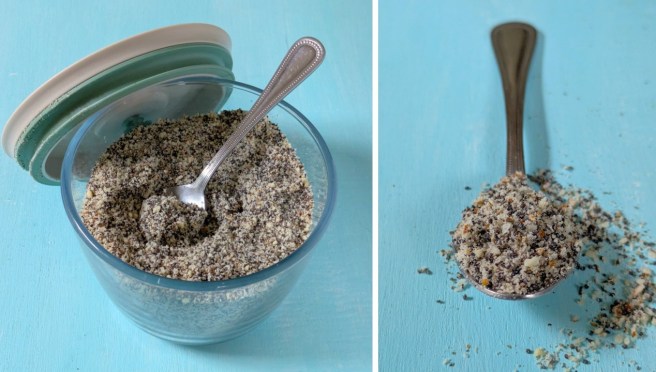
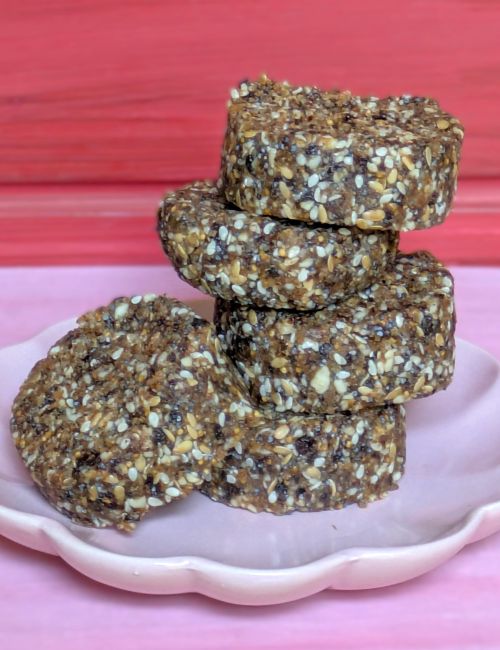
These delicious sweet treats are very easy to make and require no cooking at all, just a bit of blitzing in a blender or food processor and some fridge time to firm up the roll before you slice it. I used flax, sesame and poppy seeds combined with whole almonds, currants, dried figs and chopped mixed peel, all good sources of calcium.
As with my previous posts, below is a table showing how much calcium is present in 100g of each ingredient in case you want to make your own version.
| Whole almonds | 269mg/100g |
| Currants | 93mg/100g |
| Dried figs | 191mg/100g |
| Chopped mixed citrus peel | 130mg/100g |
| Sesame seeds | 670mg/100g |
| Flax seeds (linseed) | 255mg/100g |
| Poppy seeds | 1580mg/100g |
Source: McCance and Widdowson’s: The Composition of Foods
Makes: 16 slices
Ingredients
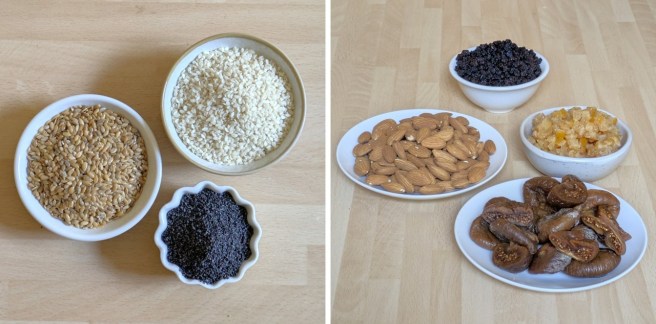
- 200g dried figs
- 100g currants
- 100g chopped mixed peel
- 150g whole almonds
- 25g each sesame, flax and poppy seeds
- Vanilla extract, natural orange or lemon extract or ground cinnamon to flavour
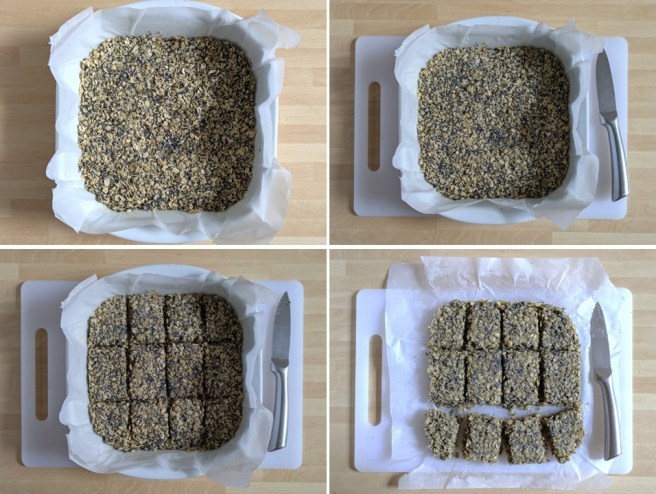
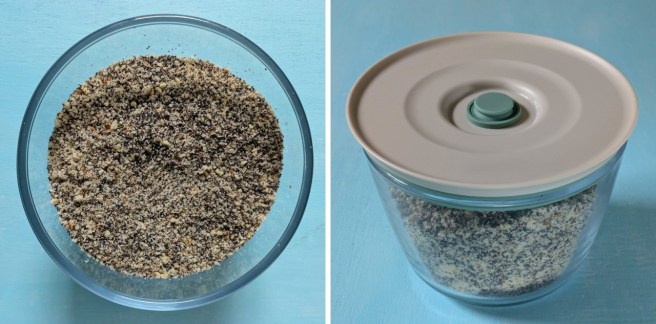
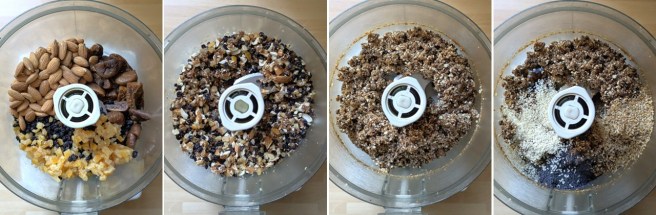
1. Roughly chop the figs and put in a blender or food processor with the currants, peel and almonds. Pulse-grind a few times to help the ingredients blend together, then blitz in short bursts for a few seconds at a time until the mixture begins to clump together.
2. Add the seeds and any flavouring you are using, then pulse mix for a few seconds until well combined and sticking together.
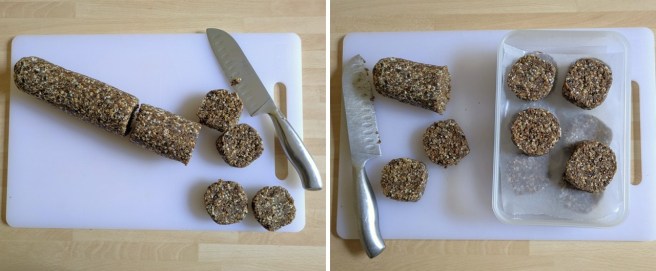
3. Pile on to a large sheet of waxed paper or baking parchment and shape into a 30cm roll. Wrap the paper over and twist the ends to compact together. Roll a few times to neaten, then chill for about 2 hours to firm up.
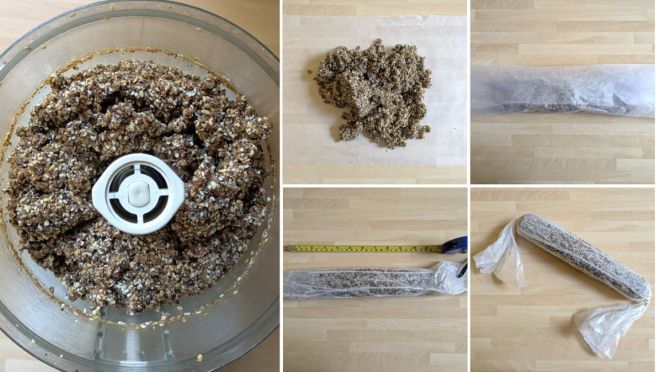
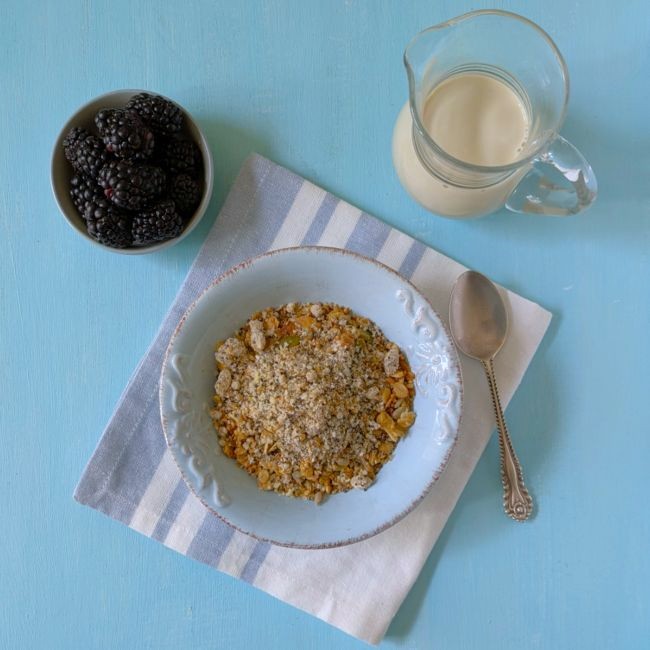
4. To serve, unwrap and place on a board, then slice into 16 equal portions. Store the bars in an air-tight container in the fridge for up to 2 weeks or freeze between layers of baking parchment in a freezer-proof container for up to 3 months.
One slice of the fig roll will provide 102mg calcium (135 calories). You can divide the mixture into smaller portions and make balls or bars but remember that the calcium content will be lower per portion if you make more than 16 pieces.
Until next time, thanks for stopping by 🙂