Italian round aubergine baked in tomato and garlic sauce (gluten-free, with dairy-free and vegan alternative)

Whole_Italian_round_Viola_Aubergine_(eggplant)
A vision in violet, Italian round aubergine (eggplant). Image: Kathryn Hawkins

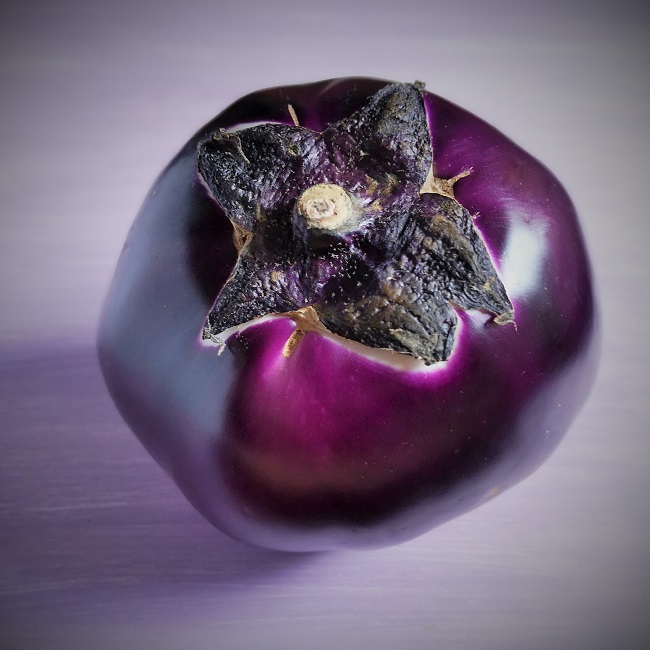
My post this week is inspired by this wonderful aubergine (eggplant) I bought recently from an Italian deli. The size of a small football, it weighed in at just over 700g. The variety is Italian round aubergine or Melanzane to give it its authentic Italian name.

Aubergine is one of my favourite vegetables – I love the way it cooks down to a rich, melting tenderness – and my number one recipe for serving it is simply baked in homemade tomato and garlic sauce.

Halved_and_sliced_Italian_round_aubergine_(eggplant)_on_green_chopping_board
Halved and sliced, Italian round aubergine. Image: Kathryn Hawkins

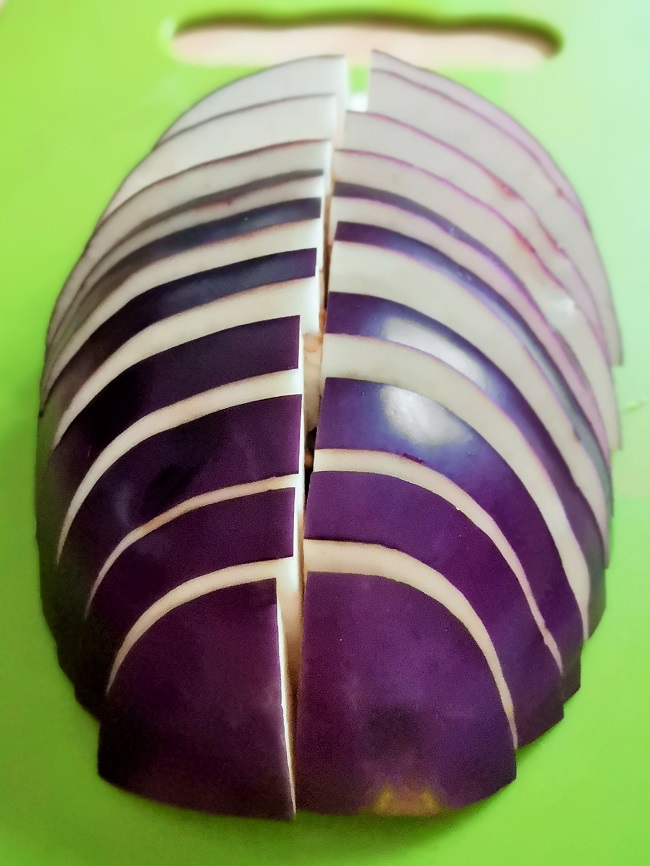
Round aubergine can be prepared just as you would the standard black variety. I cut it in half and then sliced each half in half again and then into approx. 1cm thick slices. It looks like a giant purple bug don’t you think?

I always salt aubergine as I find it cooks more quickly and also cooks more tenderly. Simply lay the slices in layers in a large colander or strainer, sprinkling with salt as you go, and then leave to stand over a plate or bowl for 30 minutes. After this time, you should see water exuding from the slices. Rinse thoroughly and then pat dry with kitchen paper.

Ingredients_for_aubergine_(eggplant)_and_tomato_bake
Simple ingredients, wonderful flavours. Image: Kathryn Hawkins

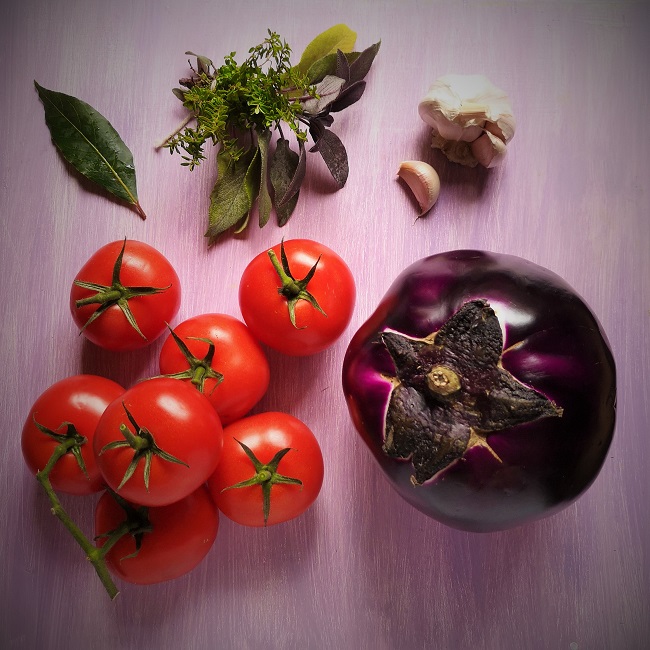
The sauce is made with ripe tomatoes, garlic and a bunch of fresh herbs tied together for flavour. It is seasoned with salt, pepper, and a little sugar and enriched with a dash of olive oil. I have outlined the cooking stages below but for more details, take a look at this previous post for some more illustrations on tomato sauce-making Pesto pancake and tomato layer (gluten-free; dairy-free; vegan)

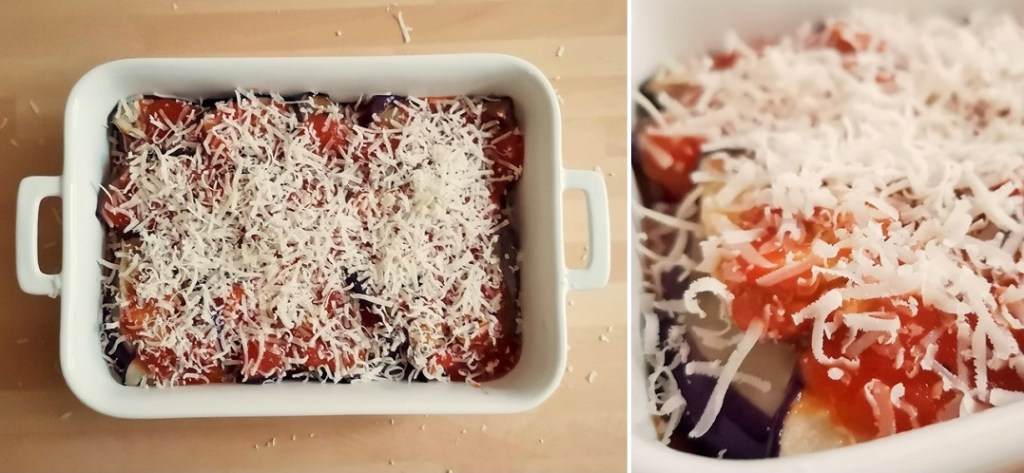
I topped mine with some grated Parmesan, but a non-dairy alternative works just as well. If you prefer not to use cheese at all, sprinkle the top with gluten-free dried breadcrumbs or polenta, or leave the bake untopped and cover the dish with foil when ready to bake.

Serves: 4

Ingredients

For the sauce:

  • 1.25kg ripe tomatoes, washed and roughly chopped
  • Large sprig each of fresh thyme and sage
  • 1 bay leaf
  • 2 cloves garlic, peeled
  • Salt and freshly ground black pepper
  • 1-2tsp caster sugar
  • 2tbsp good quality olive oil

For the aubergine:

  • 750g aubergine, sliced into 1cm thick slices
  • Salt
  • Approx. 150ml good quality olive oil
  • 50g freshly grated Parmesan or plant-based alternative, optional – or 3tbsp dry gluten-free breadcrumbs or polenta

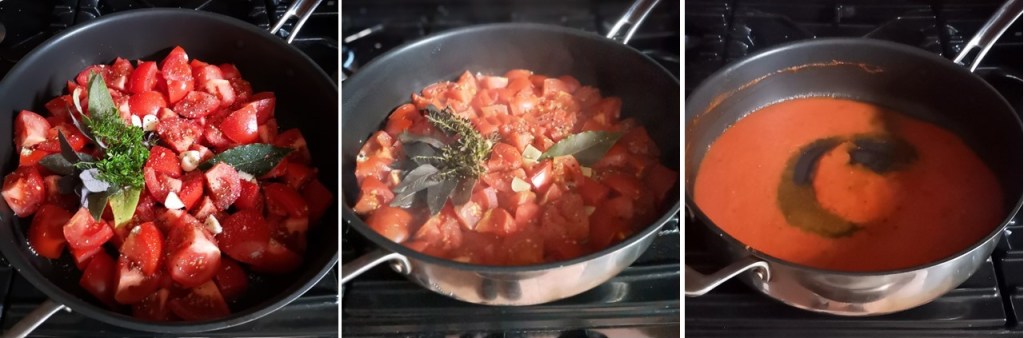
1. Make the sauce first so that it is cold when you assemble the dish. You can make it up a day or two beforehand to save time on the day you want to serve it. Put the tomatoes in a deep frying pan or large saucepan and add the herbs and garlic. Season well. Cover with a lid and cook over a low/medium heat for about 40 minutes until soft and collapsed.

2. Discard the herbs, then push the tomatoes and garlic through a nylon sieve to extract as much tomato pulp as you can. Return the pulp to a clean pan and add sugar to taste; spoon in the oil. Bring to a gentle simmer and cook gently for 30-40 minutes until thickened and reduced – you will need about 450-500ml for this recipe. Leave to cool, then cover and chill until ready to use.

3_steps_to_making_fresh_tomato_garlic_and_herb_sauce
Making tomato, garlic and herb sauce. Images: Kathryn Hawkins

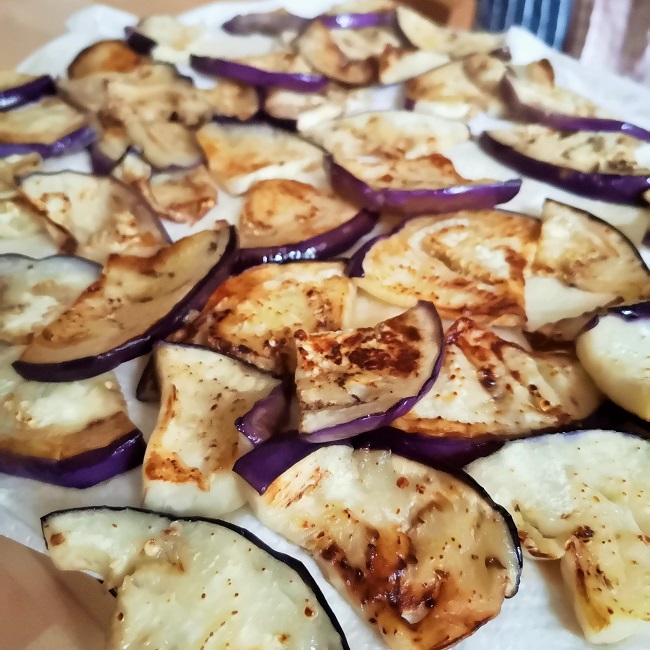
3. For the aubergine, salt them as I described above, then rinse well and pat dry with kitchen paper. Heat 2-3tbsp oil in a large frying pan and fry a few slices at a time for 2-3 minutes on each side, until lightly golden. Drain well on kitchen paper. Repeat using more oil as needed to fry the remaining slices. Leave to cool, then cover and chill until ready to assemble the bake.

Aubergine_(eggplant)_slices_salted_and_fried_draining_on_kitchen_paper
Salted and fried aubergine (eggplant) slices. Image: Kathryn Hawkins

4. When ready to cook, preheat the oven to 180°C, 160°C fan oven, gas 4. Spread one third of the sauce over the bottom of a 1.5l baking dish and top with half the aubergine slices. Add half the remaining sauce and top with the remaining aubergine slices.

Layering_up_tomato_sauce_and_aubergine_(eggplant)_slices_in_a_baking_dish
Layering up the bake. Images: Kathryn Hawkins

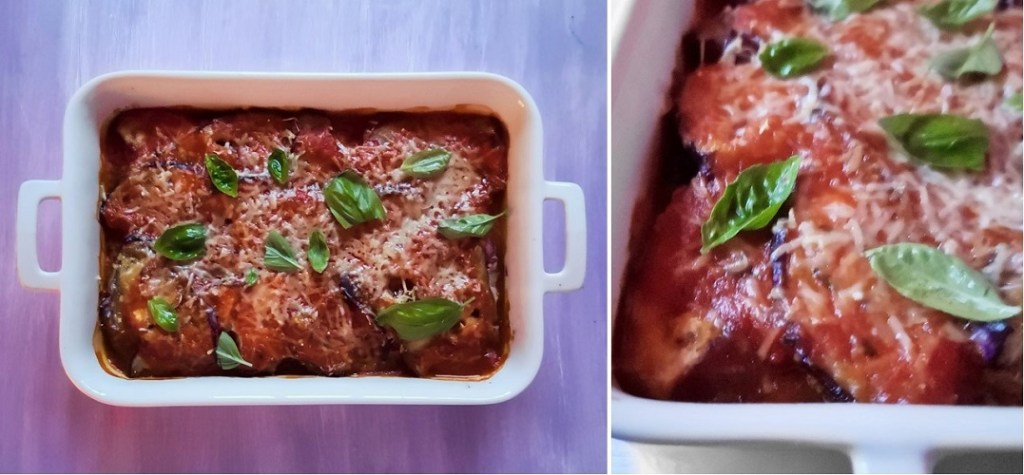
5. Spoon the remaining sauce on top and sprinkle with cheese or crumbs. Stand the dish on a baking tray and bake for about 50 minutes until tender, golden and bubbling.

Aubergine_(eggplant)_bake_ready_for_the_oven
Sprinkling the bake with dairy or plant-based cheese. Images: Kathryn Hawkins

Leave the bake to stand for 10 minutes before serving. I sprinkled the top with the last few leaves of homegrown basil from my greenhouse and accompanied it with a crisp salad and some freshly cooked rice. It was absolutely delicious 🙂

Baked_aubergine_(eggplant)_in_tomato_sauce_just_out_of_the_oven
Just out of the oven and sprinkled with fresh basil. Images: Kathryn Hawkins

I hope you have a good few days ahead. We will be into November the next time I post. I know I say this quite a lot but where does the time go? Until then, take care and best wishes to you. Thanks for stopping by 🙂

Apple and salal berry jelly preserve (naturally gluten-free, dairy-free, and vegan)

Jars_of_homemade_apple_and_salal_berry_jelly
Homemade apple and salal berry jelly. Image: Kathryn Hawkins

Hello there. I hope you are keeping well. It’s that time of year when I get the jam pan out and start making preserves and chutneys for the months ahead.

Back in August I harvested a lot of salal berries from the garden. I did compote a few but the rest went in the freezer for making preserves. There are still a few on the bushes now but I am leaving those for the garden birds to enjoy.

Homegrown_Scottish_Salal_berries
August 2022 harvest of Salal berries. Images: Kathryn Hawkins

I haven’t picked all the apples yet, but I have been taking one or two as and when I need them for cooking. The old tree in the garden is looking heavy with fruit this year, so I think I will be gathering in the apples very soon.

Lord_Derby_cooking_apples_autumn_2022
October 2022, cooking apples ready for picking. Image: Kathryn Hawkins

My recipe is a very simple jelly preserve. If you don’t have salal berries, blueberries or blackberries will work just as well. Salal berries can be quite challenging to pick as they are quite squishy when ripe so I usually pick short branches and then remove the berries when I get back into the kitchen. Have a look at this post from last year for an easy preparation technique Salal berries – jam and muffins (gluten-free; dairy-free; vegan)

Single_jar_of_homemade_apple_and_salal_berry_preserve
Single jar. Image: Kathryn Hawkins

The recipe below makes a small quantity of preserve and as such can be easily doubled or trebled should you have more berries and apples. Making a smaller amount means that you can strain the fruit through a sieve rather than in a jelly bag; it is quicker to strain, and it also cooks down in less time.

Makes: approx. 650g

Ingredients

  • 200g prepared salal berries, washed
  • 400g cooking apples, washed and chopped, but left unpeeled or cored
  • approx. 450g granulated or preserving sugar

1. Put the fruit in a large saucepan with 350ml water. Bring to the boil, cover and simmer for 10-15 minutes until soft and pulpy. Mash the fruit occasionally to help break it down.

2. Place a large sieve over a jug or bowl and line with clean muslin. Carefully ladle in the pulp and leave to strain for 3-4 hours.

3. Put the pulp back in a saucepan and the harvested juice in the fridge. Re-cook the pulp, this time with 200ml water, for about 5 minutes, and then strain again as above.

Preparing_apples_and_salal_berries_for_jelly_preserve
Preparing and cooking the fruit for jelly making. Images: Kathryn Hawkins

4. Measure the juice and pour into a large clean saucepan. Add sugar to the ratio of 450g per 600ml juice – I had 575ml juice and added 430g sugar.

5. Heat, stirring, until the sugar is dissolved, then raise the heat and bring to the boil. Cook rapidly until the temperature reaches between 104°C and 105°C – this will probably take around 10 minutes.

6_steps_to_making_apple_and_salal_berry_jelly
Making the jelly. Images: Kathryn Hawkins

6. Pour into small, clean, sterilised jars and seal immediately. When cold, label and store for 6-12 months, although the jelly is ready to eat immediately. Serve with cold cuts, cheeses or as a sweet spread on toast or crackers.

Serving_of_homemade_apple_and_salal_berry_jelly_on_oatcakes
Apple and salal berry jelly on oatcakes. Image: Kathryn Hawkins

Well that’s the end of my post for this week. I will be back in the kitchen again next time. Until then, I hope you have a good few days ahead 🙂