Hello again. It’s been a busy couple of weeks since my last post. The season is subtly shifting from late summer to early autumn. There is a bit of a nip in the air first thing in the morning and some of the leaves on the trees are beginning to turn. Out and about, the hedges are full of ripening fruit, and I have been out foraging a couple of times this month. Two weeks ago I went on a recce for brambles (blackberries), and was happily surprised to see that so many were ripe and ready. Thank goodness I went prepared with a large container (just in case), and came home with 2.7kg of the glistening berries which I have now frozen 🙂

Whilst on my walk, I had noticed that there were also sloes and elderberries, although not quite ripe. I gave it a week and went back. The birds had eaten a few elderberries, and I think another forager had found the sloes, but I still managed a container-full as well as a few more brambles.


Always wash wild fruit well before using. Brambles and sloes need little preparation, but elderberries can be a little fiddly to remove from their fine stems. I find a fork is quite useful to help prise them away.

All of these hedgerow fruits will freeze fine in case you are unable to use them immediately. Lay them out on lined trays and freeze until solid, then pack them into bags or containers, seal, label and store until ready to cook.
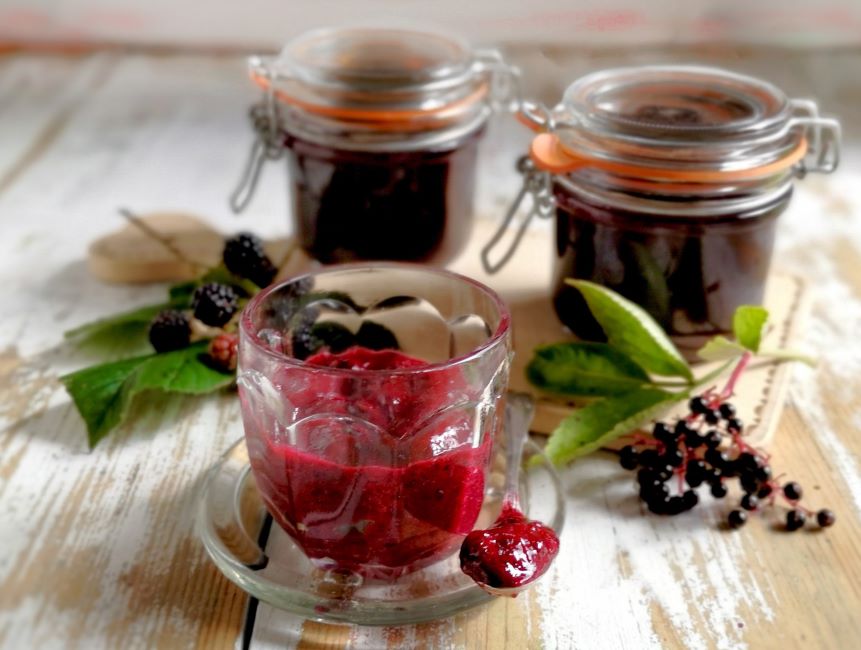
My preserve recipe can be adapted to use any combination and quantity of wild berries you have picked. Sloes have a bitter/sour flavour whilst brambles and elderberries are sweeter and juicier. I ended up with about 700g prepared fruits in total, 200g of which were sloes, and this gave a good balance of sharp and sweet, with a deliciously rich and intense flavour overall.

The yield of preserve in this recipe is slightly lower than for other jams because I removed the seeds. Brambles do tend to be very seedy, and sloes are impossible to pit before cooking, so sieving (or straining) seemed like the logical thing to do. Alternatively, you could make a jelly by straining the cooked fruit through muslin. This would result in an equally delicious preserve, but with a much smaller yield. I’ll probably make a jelly with some of my freezer brambles later in the year and mix them with some apples from the tree in the garden. Delish.
Makes: approx. 700g
Ingredients
- 700g prepared hedgerow berries and fruit, washed
- Approx. 400g granulated sugar
- 2tbsp lemon juice
1. First cook the sloes. Place in a saucepan with 250ml water. Bring to the boil, cover and simmer for 6-7 minutes until softened.
2. Stir in the berries, bring back to the boil, re-cover and cook gently for 10 minutes until everything is very soft and juicy.

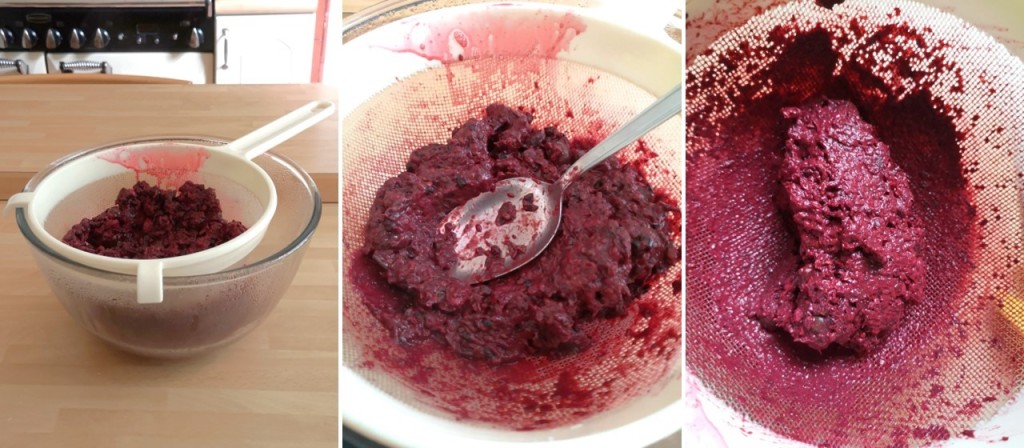
3. Put a large nylon sieve (strainer) over a large bowl or jug and carefully pour in the cooked fruit and juices. Leave to strain for 30 minutes then use the back of a spoon to push and press the pulp against the side of the sieve to squeeze out as much juice as possible. Do this until you end up with a dryish pulpy mass of seeds and fibres in the sieve. Discard.
4. Measure the juices – I ended up with 500ml. You will need 400g sugar per 500ml juice. Pour into a saucepan and heat gently to warm through, then add the sugar and lemon juice. Stir until dissolved.

5. Bring to the boil and cook for several minutes until the correct level of set is achieved – between 104°C and 105.5°C on a sugar thermometer. I cooked my preserve to the higher temperature and ended up with a very firm set – almost like a fruit cheese. For something more spreadable, cook to the lower temperature.
6. Spoon the hot mixture into sterilised jars and seal immediately. Leave until cold then label and store in the usual way.

Because I achieved such a firm set, I melted the leftover preserve with a little more water and when it cooled, it was much more spreadable. It made a delicious topping for toasted crumpets. This preserve also makes an excellent accompaniment to serve with grilled, roasted and barbecued food.

Until next time, I hope you have a good few days, and I look forward to posting again in a couple of weeks. Thanks for stopping by 🙂