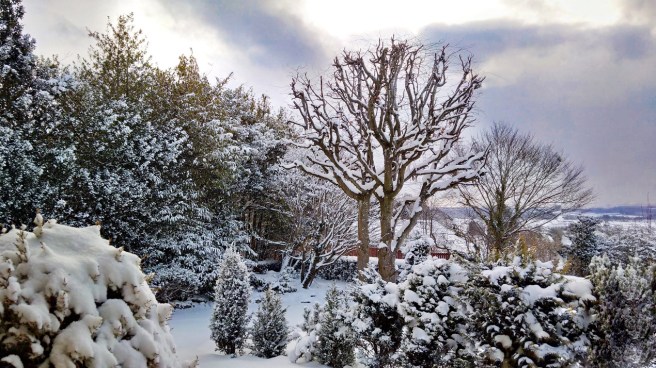
A bit of a departure from my usual blog posts this week. I’ve had some time away from my home in Scotland, and spent a few days in Sussex, where I grew up, visiting friends and family, and enjoying some fine late spring weather.
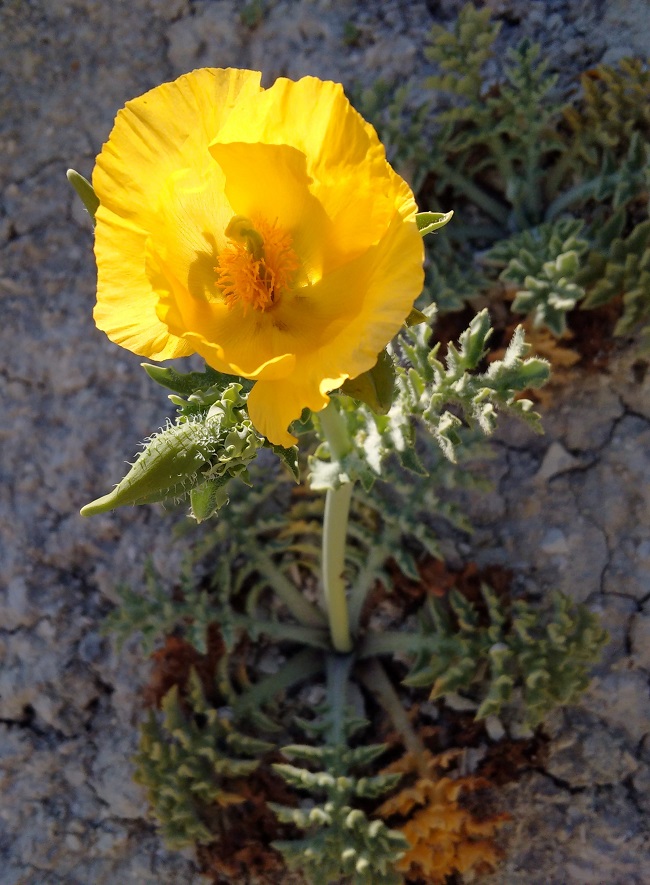
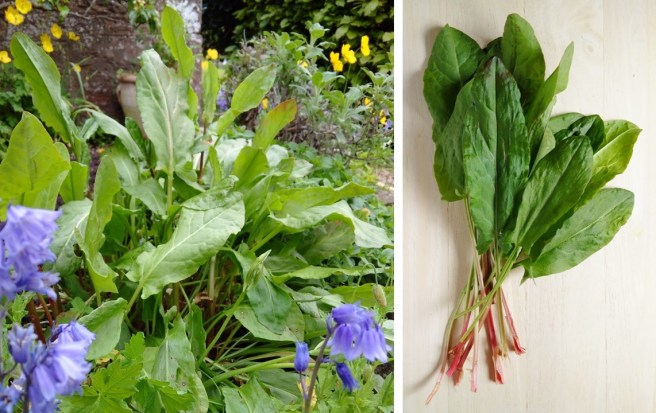
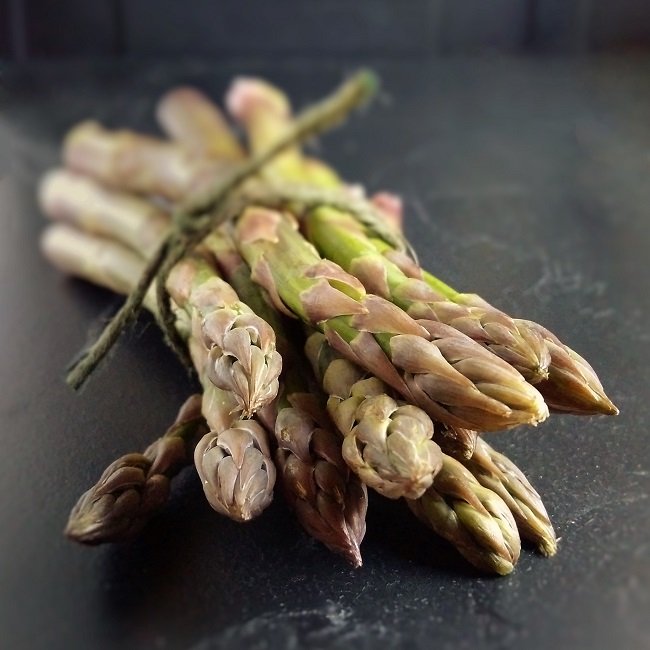
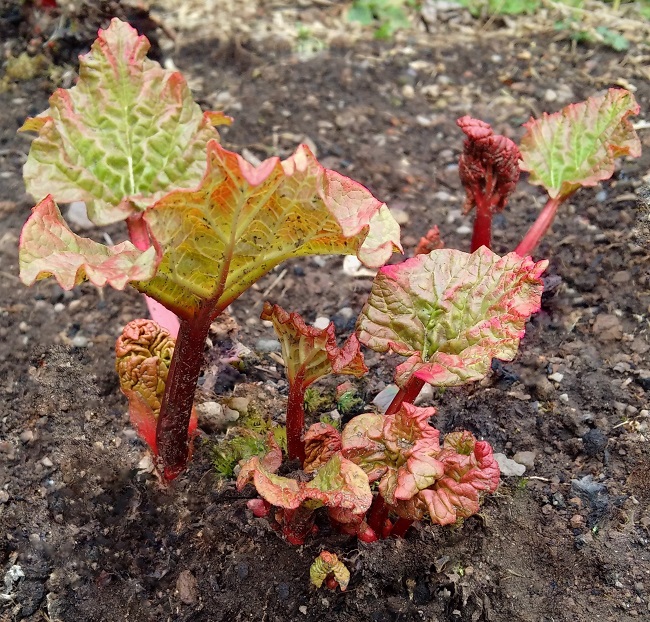
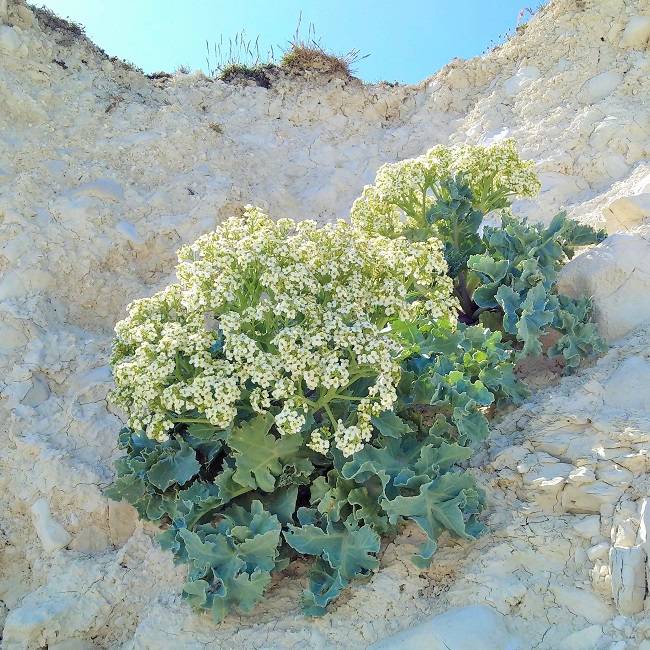
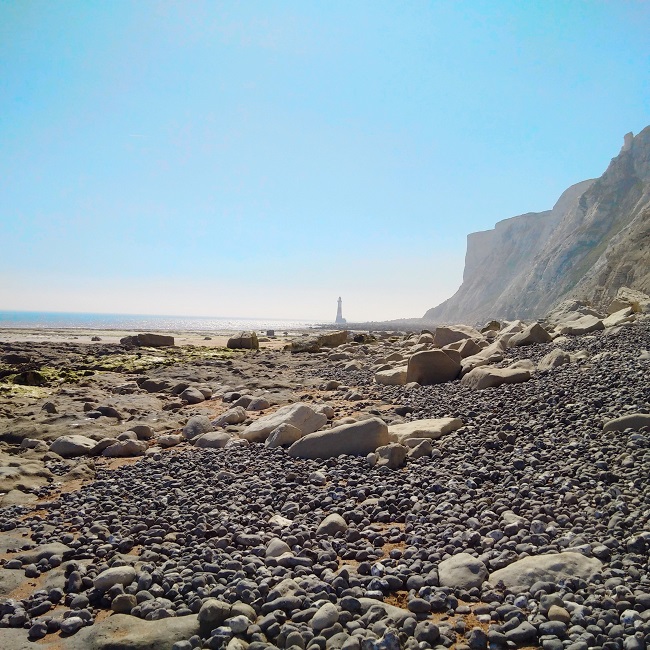
On a walk along the South Downs, I climbed down to a secluded cove, only accessible when the tide is low, to discover sea kale growing on the sand and shingle beach and out of the chalky cliffs. The afternoon was still and warm, and the frilly edged, grey/blue-green leaves of the kale appeared silvery in the bright sunlight; the sweet smell of honey hung in the air from its many flowers which grow in clusters above the leaves.
I’ve never discovered sea kale growing wild before, and have never cooked nor eaten it. The opportunity and temptation was too great and I picked 2 or 3 of the smaller leaves from a few established plants. I knew that sea kale kept well – sailors used to take it on voyages as a source of vitamin C – so I put the leaves in a jug of water, in the fridge for a couple of days, before taking them back to Scotland to experiment in the kitchen.
As with most leafy vegetables, I guessed that the smaller leaves would be the most edible. Apparently, sea kale (Crombe maritima) is not actually kale, it’s a type of chard and belongs to the cabbage family. All parts are edible, raw and cooked. but in the interests of conservation, I picked just a few leaves.
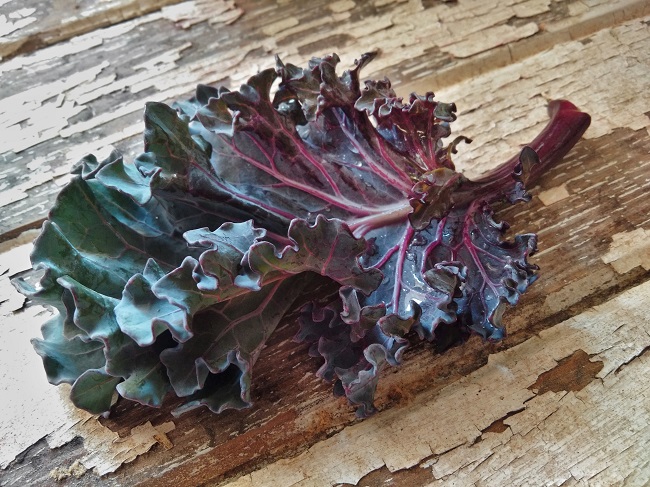
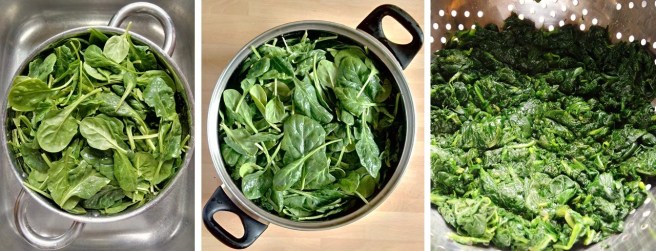
And so, to the kitchen. I treated the sea kale as if it were a leafy cabbage or curly kale. I gave it a good soak to remove any sand, etc, and then sliced out the stems. I shredded some of the leaves, and decided to roast the rest whole as I do with kale.

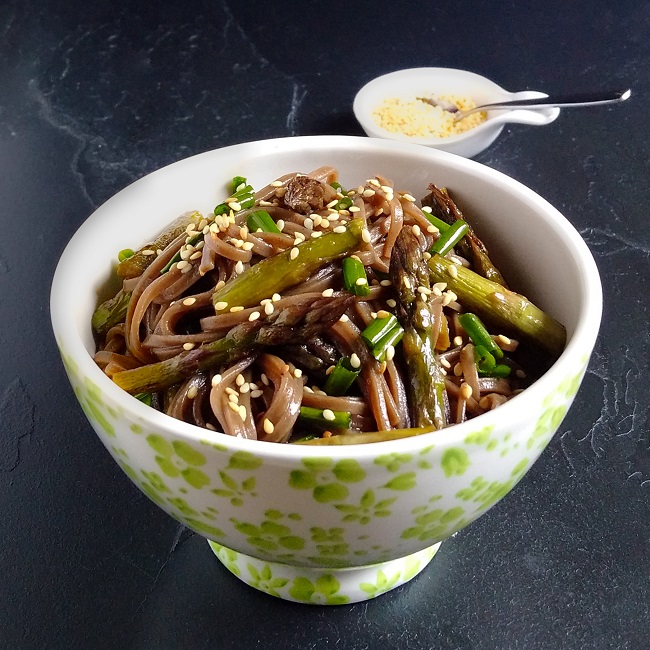
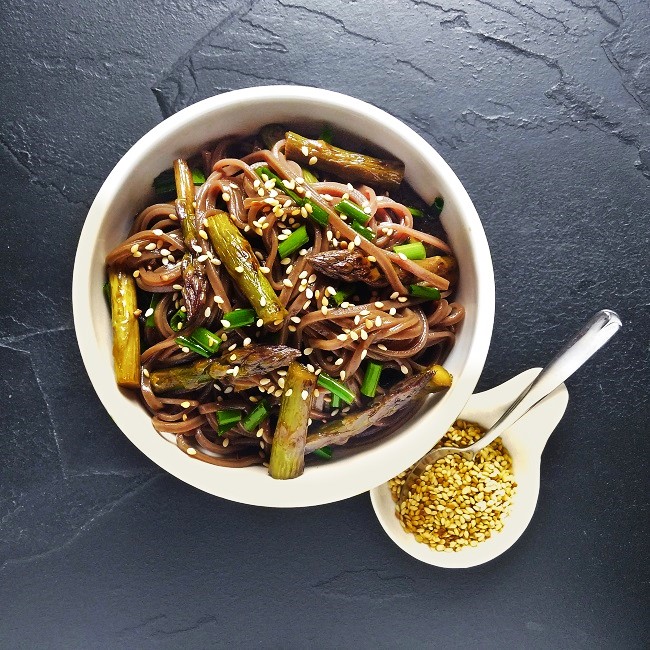
Stems with balsamic vinegar – trim the ends and then slice the stems down the centre, lengthways. Blanch in boiling water for 1 minute, drain well and pat dry with kitchen paper. Heat a frying pan until hot, drizzled with a little olive oil and stir fry the stems for 2-3 minutes until softened and browned a little. Turn off the heat, season with balsamic vinegar, salt and black pepper. Cover with a lid and stand for 5 minutes. Serve sprinkled with freshly chopped chive stems and flowers.
Leaves with garlic, chilli and soy – shred the leaves as you would Savoy cabbage and cook in boiling water for 3 minutes. Drain well. Stir fry chopped leek and garlic in a little oil until softened and then add the boiled sea kale and stir fry for 2-3 minutes until tender. Season with dark soy sauce and sweet chilli sauce.

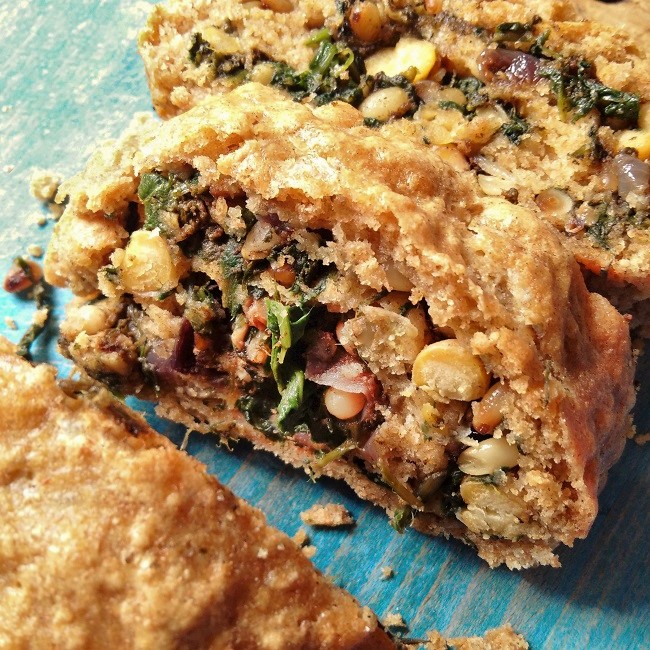
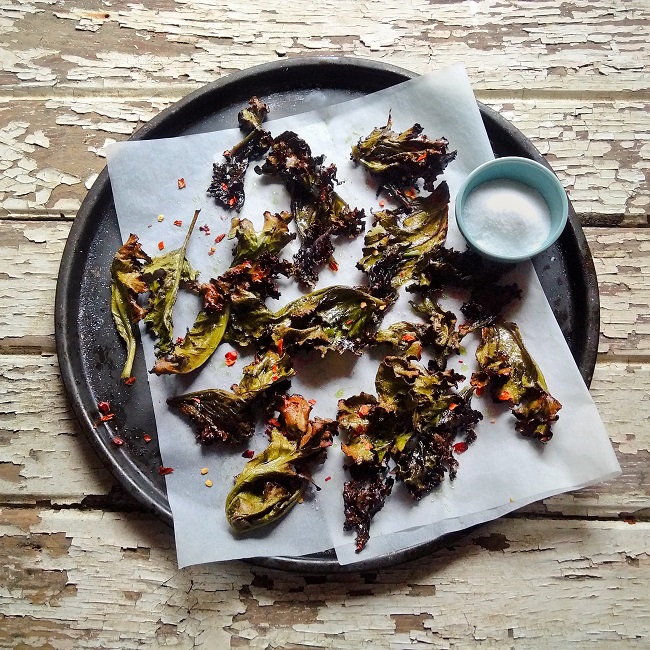
To bake sea kale, choose the thinnest leaves, remove the stems if coarse, and pat dry with kitchen paper. Place in a bowl and toss in a little olive oil, and massage it through the leaves to coat them lightly. Spread out on a baking tray lined with baking parchment and season well with smoked salt, pepper and caster sugar. Bake at 200°C (180°C fan oven, gas 6) for 10 minutes, turn the leaves and bake for a further 5-10 minutes until dark and crispy. Season with chilli flakes and serve with extra sugar and smoked salt for dipping.
The verdict: if you like strong-tasting cabbage and seaweed ( which I do), then you’ll like sea kale. It’s not a flavour for the faint-hearted that’s for sure. It can be also be seasoned with other strong flavoured ingredients. I was surprised that it is not salty at all. Some of the slightly larger leaves had a slight medicinal bitterness to them, which makes me think that the much larger leaves would be inedible.
If you’re lucky enough to find some, it’s definitely worth trying. I feel fortunate to have stumbled across such a fabulous freebie courtesy of Mother Nature 🙂