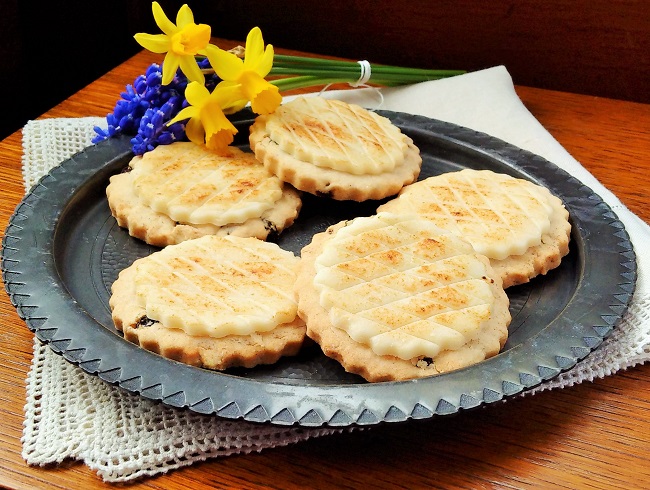
No eggs, no added fat nor added sugar, gluten-free and dairy-free, these loaf cakes will probably sound either a bit boring, or too good to be true, depending on your point of view. Actually, they are extremely tasty and a wee bit too eatable for my liking!
This recipe is a great way to use up all those odds and ends of dried fruit you often have leftover. You can add nuts and seeds to the mix too if you like. Just after Christmas, I made up a bag of dried and candied fruit that was getting towards its use-by date, and put it in a tub the freezer, where it stayed until this week, when a craving for fruit cake came upon me. Combined with a recently opened bag of dried cranberries I had in the fridge, the frozen mix of chopped dried apricots, red and green glacé cherries and golden sultanas made up a colourful addition to my cake mix.

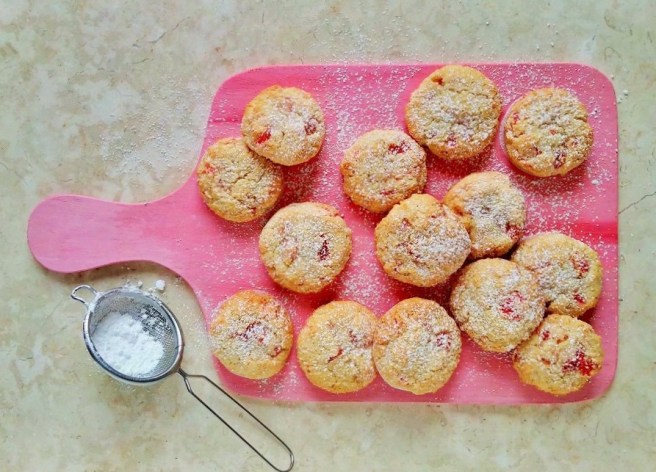
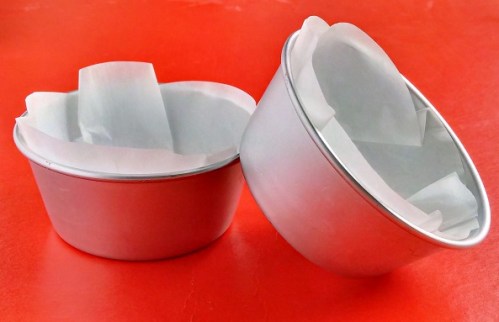
The recipe below will fill 8 mini loaf tins or 1 large (1kg) loaf tin. The cakes taste better if left until the day after baking – the flavour and texture improves on keeping. You will be rewarded if you can leave it alone for a few hours! They also freeze well. I find that the lower content of fat in this recipe means that after 3 or 4 days, the cakes begin to lose their freshness; it is well worth freezing any that you’re not going to eat within a couple of days of baking, in order to enjoy them at their best.

Makes: 8 minis or 1 x 1kg loaf
- 250g stoned dried dates, chopped
- 2 tsp good quality vanilla extract
- 150g gluten-free plain flour blend (such as Dove’s Farm)
- 15g gluten-free baking powder (such as Dr Oetker)
- 10g arrowroot
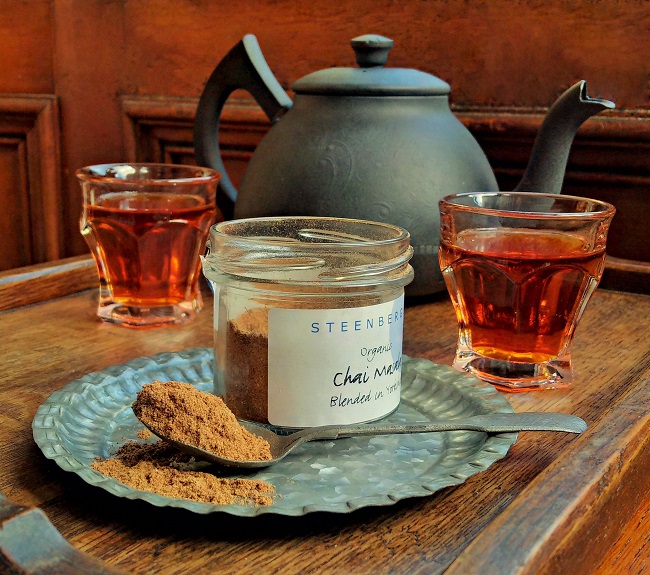
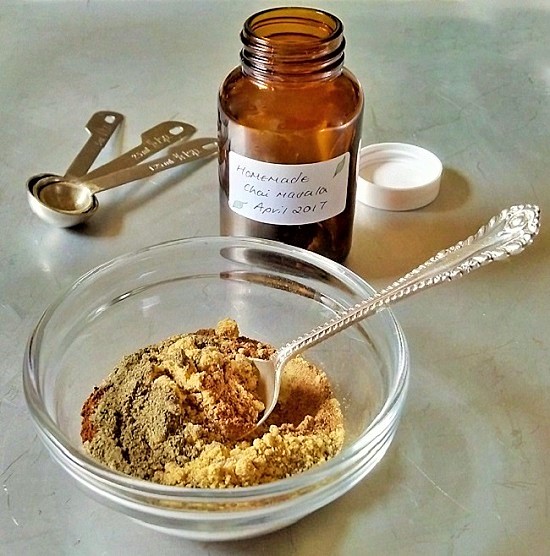
- 2 tsp chai masala or ground mixed spice
- 75g ground almonds
- 500g mixed dried and candied fruit
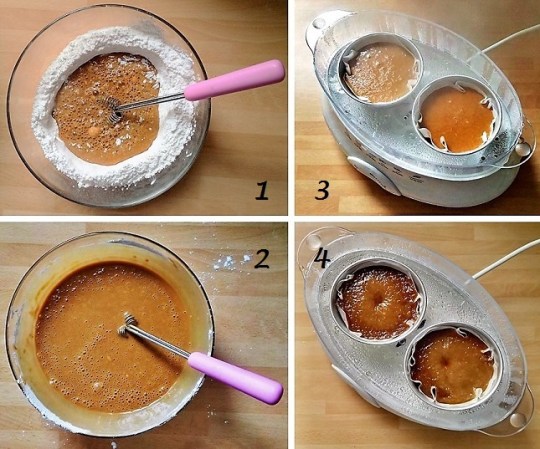
- Preheat the oven to 170°C (150°C fan oven, gas mark 3). Grease 8 x mini loaf tins or 1 x 1kg loaf tin, or line with paper loaf tin liners, if preferred. Put the chopped dates in a saucepan and pour over 350ml water. Bring to the boil, simmer for 2 minutes, then turn off the heat and leave to cool completely. Blitz with a hand blender or in the food processor to make a smooth purée. Stir in the vanilla extract.
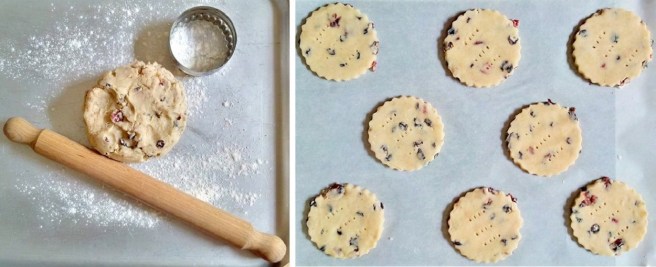
- Sieve the flour, baking powder, arrowroot and chai masala or spice into a bowl and stir in the ground almonds and dried fruit. Add the date purée and then mix until well blended.
- Divide equally between the prepared tins and smooth over the tops. Place on a baking tray and bake for about 35 minutes for the individual cakes or about 1 hour for a larger loaf cake – a skewer inserted into the centre will come out clean when the cake mixture is cooked. Cool for 10 minutes, then turn onto a wire rack to cool completely. For best results, wrap the cakes well or store in an airtight container until the next day before serving.