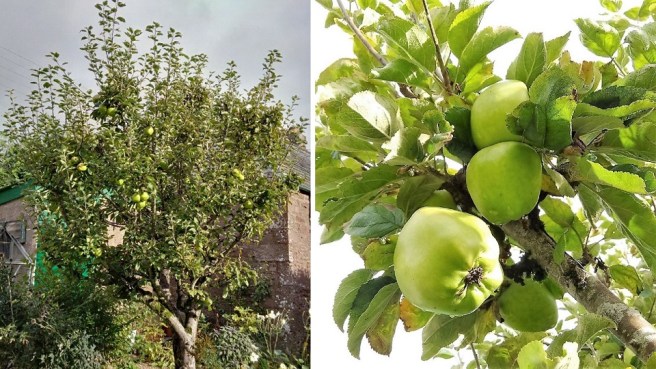
A couple of weeks ago, I picked a bumper crop of cooking apples from the old tree in my garden. I have no idea how old the tree is, but it’s gnarly and interesting to look at, and each year produces large, bright green apples with a slightly tart taste. The variety is called Lord Derby. The apples keep their texture when cooked and are perfect for thinly slicing and layering in a deep filled apple pie or peeled and quartered for a tart tatin. Kept in the cool and dark, this variety of apple stores for about 3 months – until about Christmas-time.
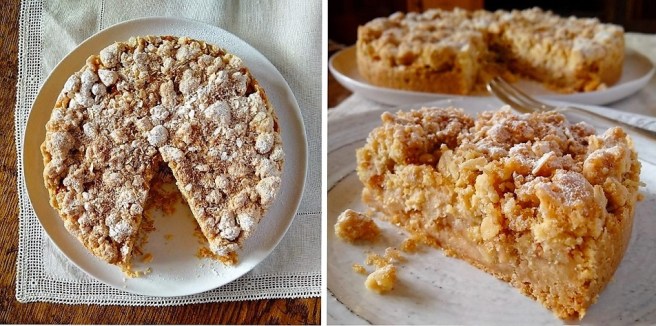
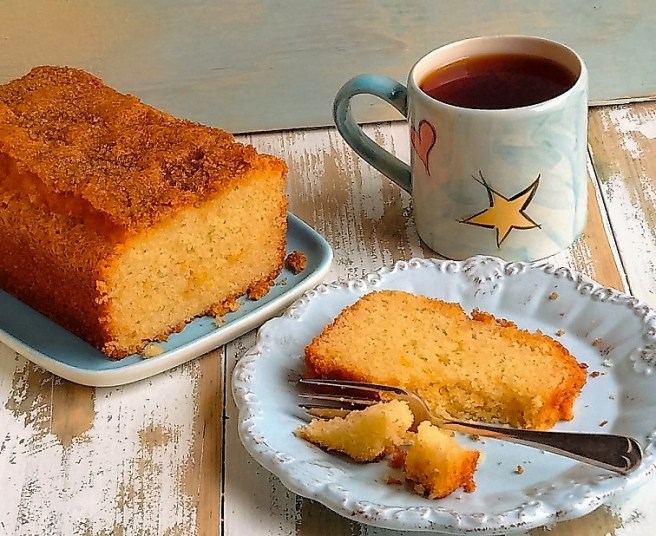
This is one of my favourite apple recipes. It keeps well if you can leave it alone, and becomes more cake-like as time goes on. Serve the cake hot or cold, for pudding or with coffee. I guarantee you’ll love it!
Serves: 10-12
- 225g vegan margarine ( or lightly salted butter if you prefer), softened
- 165g + 2 tbsp Demerara sugar
- 1 tsp natural vanilla extract
- 350g gluten-free plain flour (such as Dove’s Farm)
- 10g gluten-free baking powder (such as Dr Oetker)
- 500g cooking apples
- Juice 1 small lemon
- 1 tbsp cornflour
- 1 tsp ground cinnamon
- 50g thick milled oats
- 1 tsp icing sugar
- Preheat the oven to 180°C (160°C fan oven, gas mark 4). Grease and line a 5cm deep x 23cm round, cake tin. In a mixing bowl, beat the margarine with 165g sugar and the vanilla, until well blended and creamy.
- Sift the flour and baking powder on top and bring together to form a crumbly mixture. Press about two-thirds evenly into the base of the tin to make a smooth, thick base. Prick all over with a fork and bake for 20 minutes until lightly golden and slightly crusty.
- Meanwhile, prepare the filling. Put the lemon juice in a bowl. Thinly peel and core the apples, and chop into small pieces. Toss in the lemon juice to help prevent browning. Drain away the excess juice and toss in the cornflour and cinnamon.
- Spread the apple evenly over the baked base. Mix the oats into the remaining crumble and spoon on top, making sure all the apple is covered. Sprinkle over the remaining Demerara sugar. Bake in the oven for about 40 minutes until golden brown and firm to the touch.
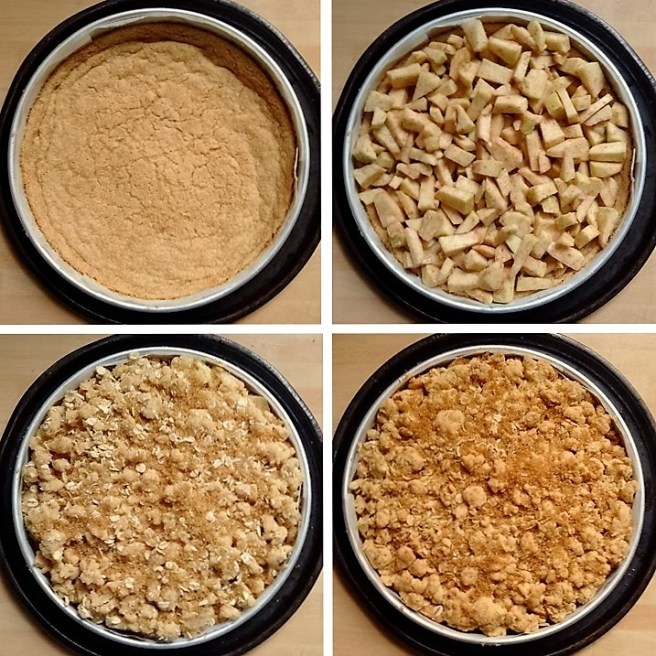
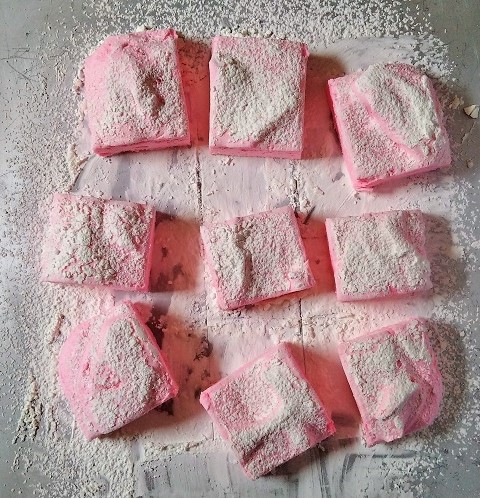
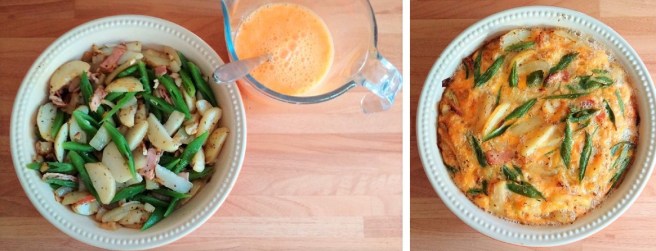
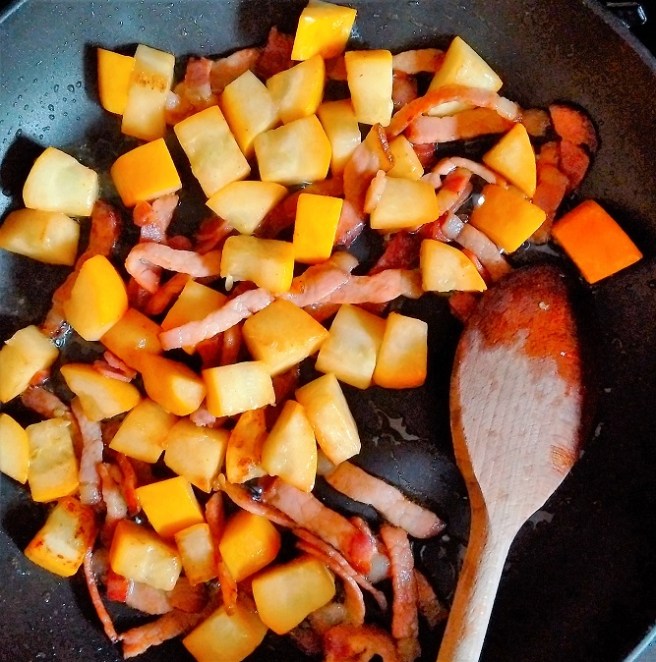
Preparation of apple crumble cake. Images: Kathryn Hawkins
If you want to serve the cake as a pudding, leave it to firm up for 15 minutes before removing from the tin; otherwise leave it to cool completely and enjoy cold. Dust lightly with icing sugar just before serving. Enjoy!