One of my favourite culinary flavours is rose but it is a flavour that can easily overpower other ingredients, so you do have to use just the right amount in your cooking. One of the best ways to achieve this is to use the petals.
I couldn’t believe my luck when I realised that the beautiful rose pictured above, Rosa Felicia, well established in the garden when I moved in, was not only abundant with flowers, but the fragrance and flavour is sublime.
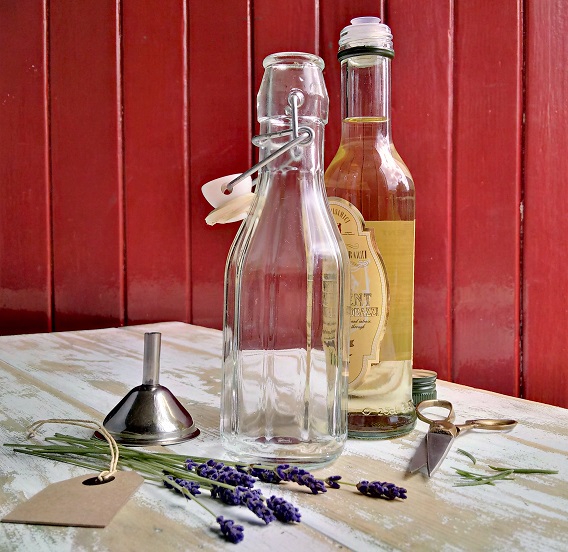
Whilst I haven’t managed to make my own rose water with any success, I have put some in white balsamic vinegar to use as a dressing, and I usually steep some in vodka, ready for a festive tipple – post to follow soon. Most often, I use dried and fresh rose petals to decorate cakes and fruit dishes, and I coat some with sugar to keep as an out of season decoration.


To make sugared rose petals, always choose a rose with a scent otherwise there will be no flavour, and choose smaller, softer petals as these will be nicer to eat. Choose rose heads higher off the ground so there is no danger of animal “spoiling”, and pick the rose once it has just opened – if it is too tightly in bud the petals will be difficult to break open; a rose that is too open will have lost colour and fragrance.
Gently wash the petals – I put them in a sieve or colander and dip them in a bowl of water to remove any dust – then lay them out on kitchen paper to dry. It is better to leave them to air-dry if it is warm, but if time is short, gently pat them dry using kitchen paper, taking care not to bruise them. All you need then is egg white, caster sugar, plus a bit of time and patience.
My preference is to use powdered egg white – a one egg sachet is more than sufficient to cover lots of petals. Alternatively, you can use a small fresh egg white, just beat it until it is fluid and frothy. Put the egg white on to one saucer or small plate, and sprinkle a shallow depth of caster sugar on another.
Using tweezers, dip a petal in egg white and then brush off the excess white using a small paint brush. For best results, brush off all bubbles or pools of egg white to achieve a smooth, thin coating. Gently push the lightly dipped petal into the sugar and sprinkle over a little more to coat the top. Lift out with tweezers, gently shake off the excess sugar and place on a board lined with baking parchment. Continue the process to coat as many petals you need.
Once you have coated a few petals, you will need to remove clumps of sugary egg white from the sugar, and replace it with fresh. Leave the petals to dry at room temperature, covered loosely with another sheet of baking parchment, for 24 to 48 hours until dry and crisp. The sugared petals can be stored in between sheets of parchment in an airtight tin for several weeks. After about 3 months, rather disappointingly, the colour will fade and the flavour will be lost, so make sure you use them up in time – they do make a lovely sugary, floral snack as well!