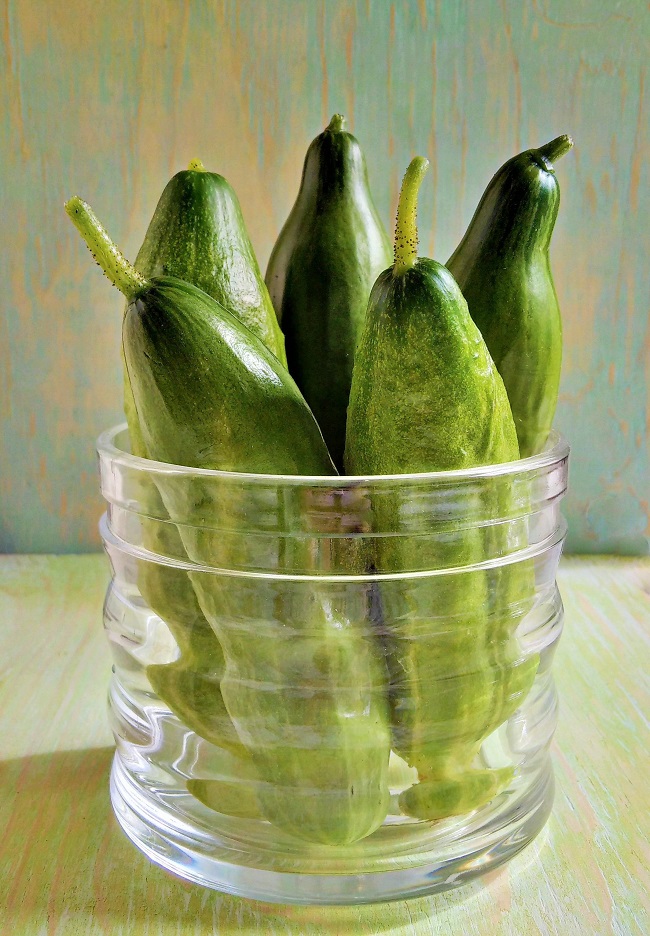
This week has seen the end of my home-grown cucumber supply. I picked the last one yesterday. The greenhouse is beginning to look a wee bit shabby and tired. I have only the tomato plants bearing fruit and still standing proud alongside the withered vines of the once productive cucumber plants.
I love experimenting with vegetables in baking. Carrots and courgettes get a lot of coverage in cake making, as do beetroot and sweet potato, but the humble cucumber doesn’t get much of a look in, until now.

The delicate, refreshing flavour of is just about detectable in the finished bake, and the texture of the cooked skin gives a little bite to the mix, but above all else, cucumber as a cake ingredient, gives a lovely moist consistency to the cake.
There aren’t many flowers left on cucumber plants at this time of year, but in the height of the season, you can pick off a few male flowers (the ones without the fairy-sized fruit attached) and add the to salads or a mild cucumber flavour. They make pretty edible decorations, and look good floating in a glass of Pimms of a gin and tonic. Don’t pick off too many otherwise you won’t get any more cucumbers.

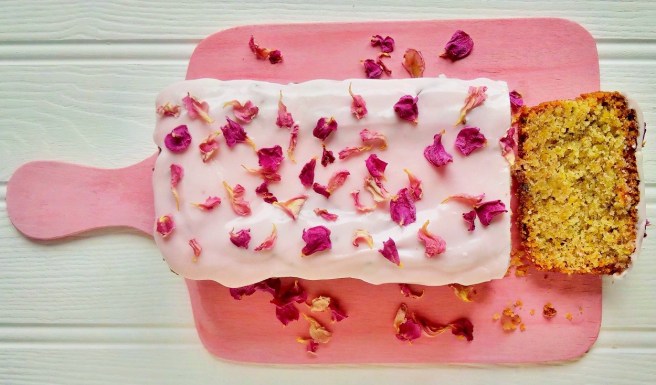
Here’s my recipe for a lemon and cucumber cake. Let me know what you think.
Serves: 10
Ingredients
- 1 lemon
- 225g caster sugar
- 2 medium eggs, beaten, or 100g silken tofu, mashed
- 150ml sunflower oil
- 225g gluten-free plain flour (such as Dove’s Farm)
- 2 level teasp gluten-free baking powder (such as Dr Oetker)
- 8g arrowroot
- 115g grated cucumber
- Cucumber flowers to decorate, optional
- Preheat the oven to 180°C (160°C fan oven, gas 4). Grease and line a 1kg loaf tin. Using a vegetable peeler, pare away 2 strips of lemon rind, and put to one side. Finely grate the remaining lemon rind and extract the juice.
- Put 150g sugar in a bowl and whisk in the eggs or tofu and sunflower oil until well blended. Sift the flour, baking powder and arrowroot on top, and gently mix all the ingredients together until combined. Stir in the cucumber and lemon rind.
- Pour into the tin and bake for about 55 minutes until risen, golden, and a skewer inserted into the centre comes out clean.
- While the cake is cooking, prepare the lemon glaze. Very thinly slice the reserved strips of lemon rind and place in a heatproof bowl. Cover with boiling water and leave to soften for a couple of minutes. Drain. Mix the remaining sugar with the lemon juice and stir in the blanched lemon rind to make a sugary glaze.
- As soon as the cake is cooked, skewer the cake all over, and spoon the lemon glaze all over the top of the cake. Leave the cake to cool completely in the tin. Then remove, wrap and store for 24 hours to allow the flavours to develop.

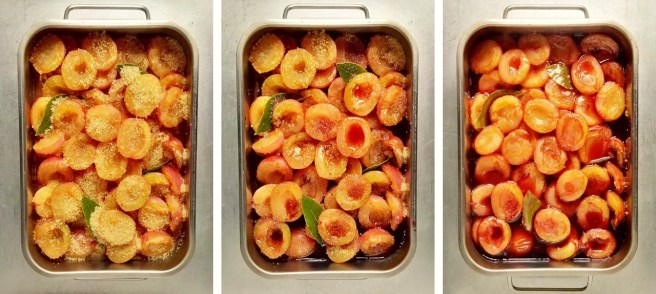
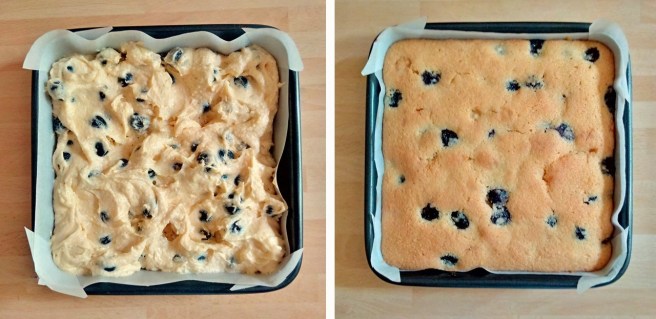
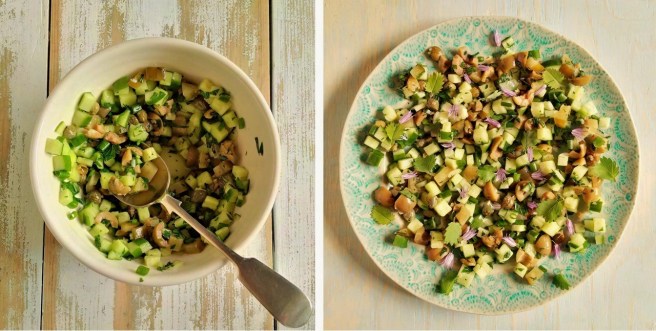
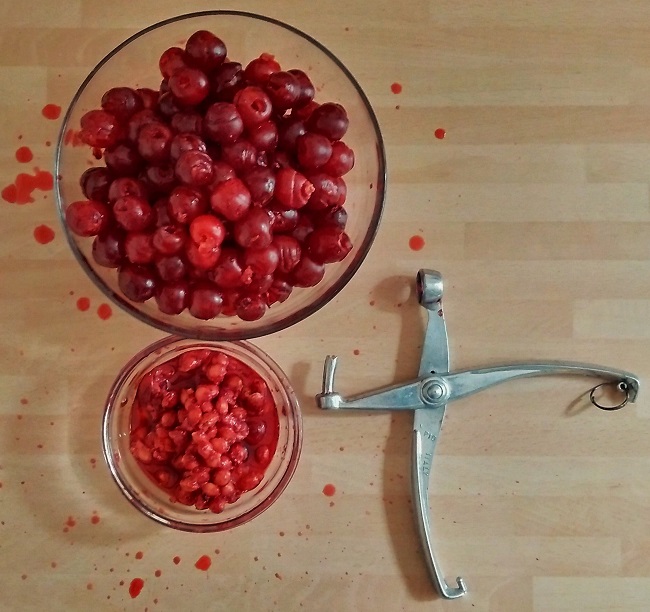
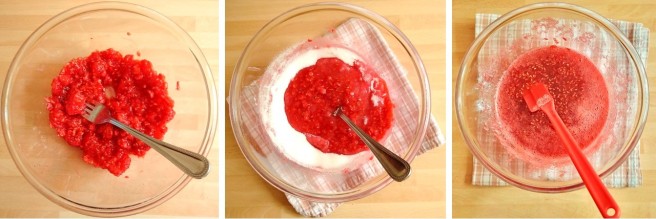
Preparing the cake mix. Images: Kathryn Hawkins 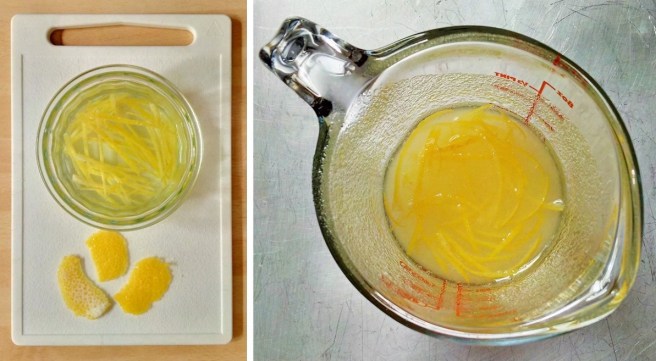
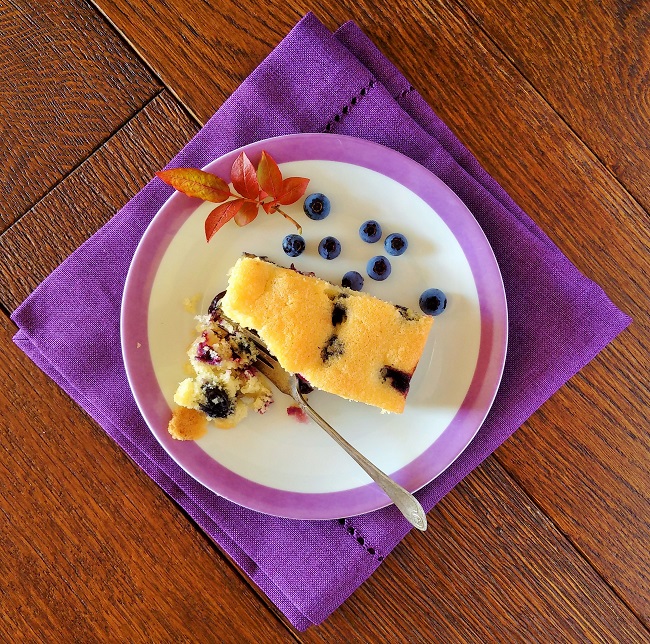
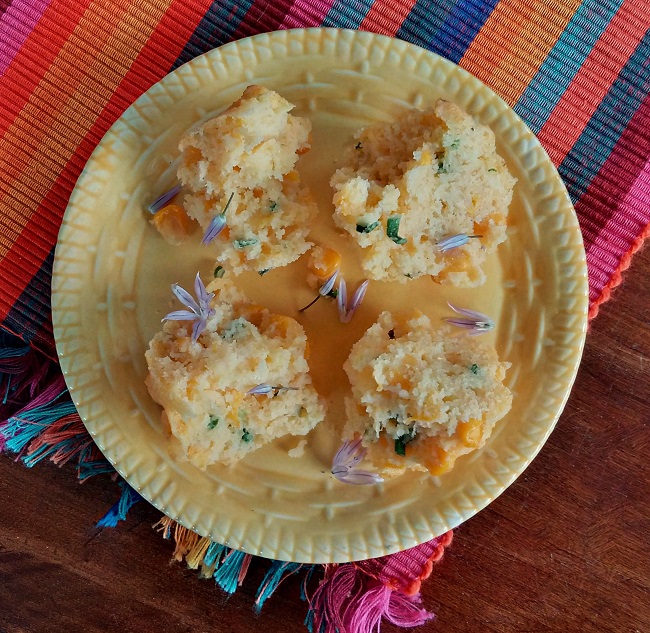
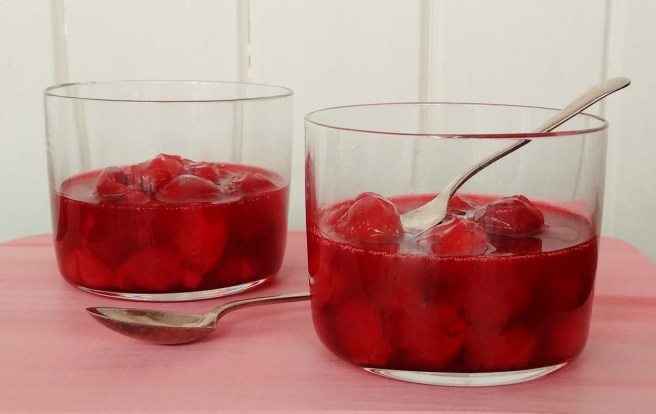
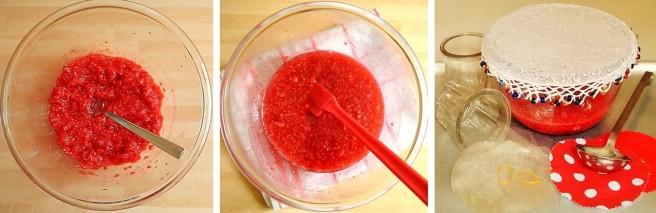
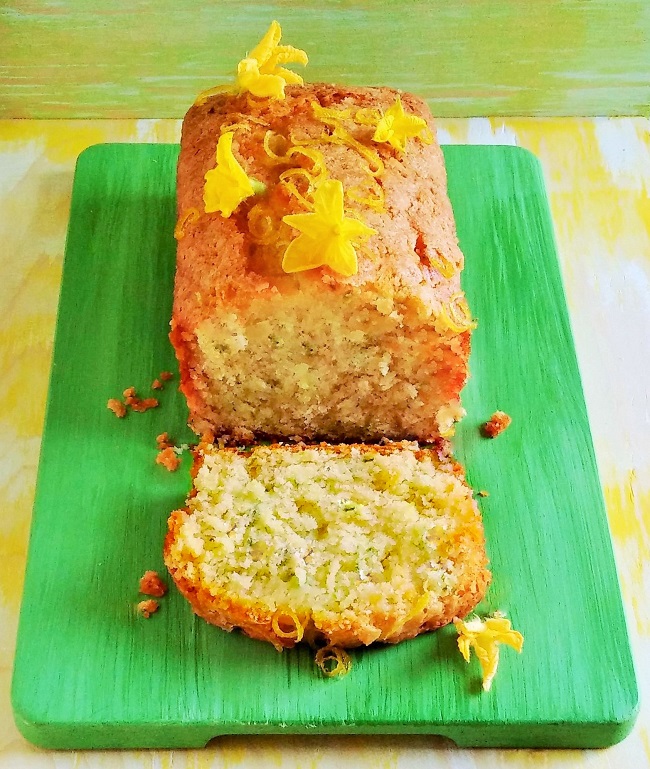
Preparing the lemon glaze. Images: Kathryn Hawkins The next day, your delicious cake is ready to serve. Decorate with cucumber flowers if you have them, then simply slice, sit back and enjoy! Until next week, I’m off to the greenhouse for a tidy up…….
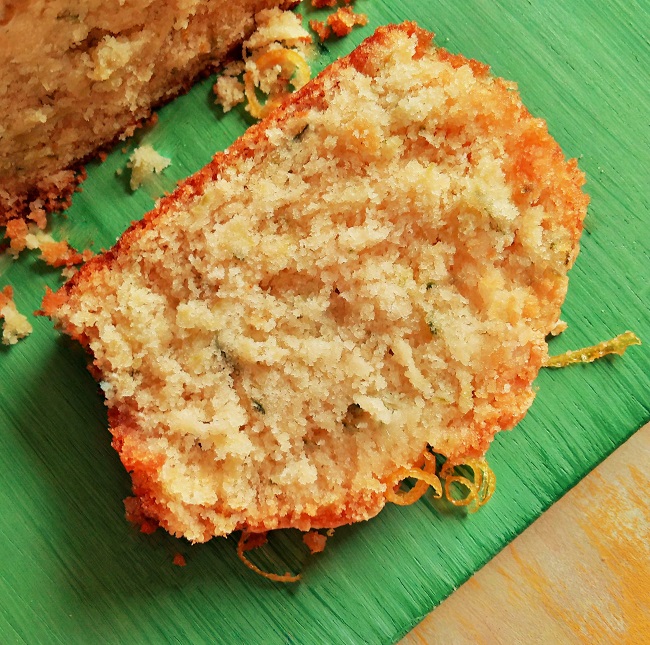
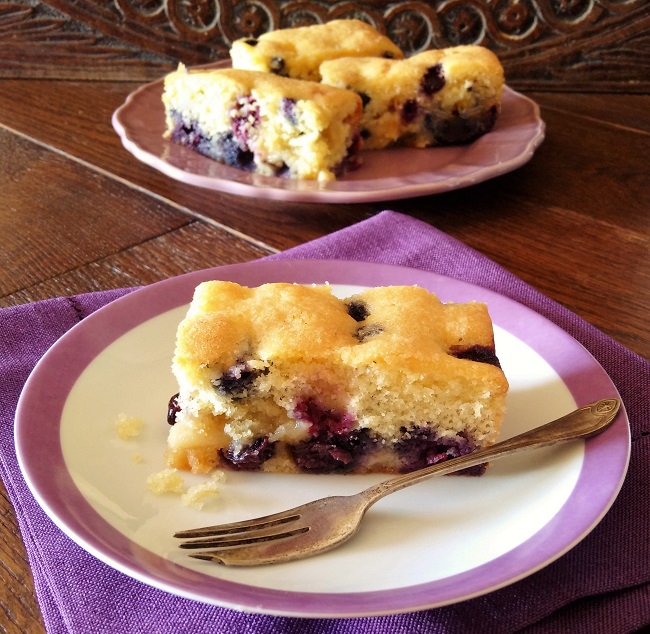
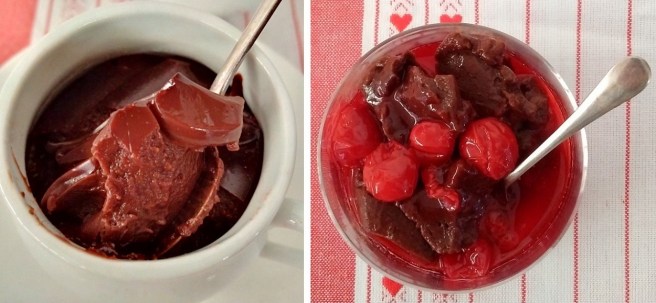
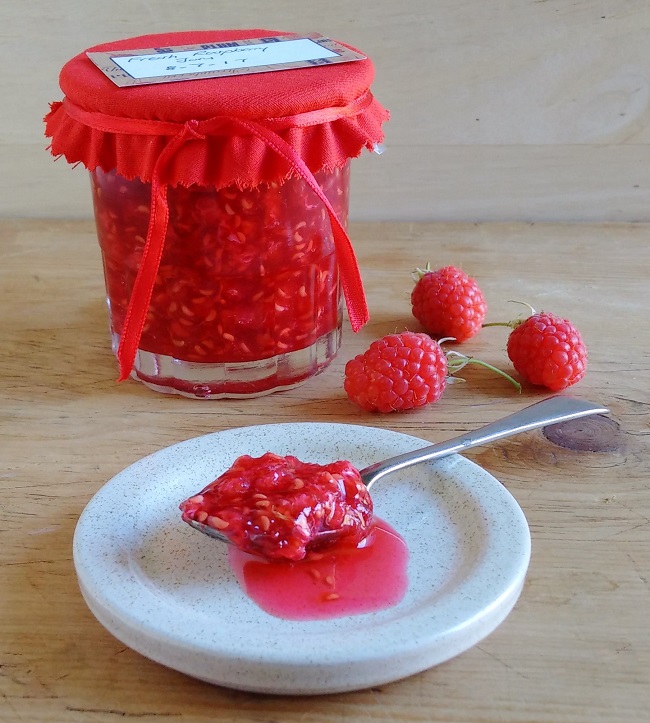
Sliced and ready to serve. Image: Kathryn Hawkins