Hello again. It’s that time of year again when I welcome the arrival of the British asparagus season. From around the middle of April to the end of May/beginning of June, I have just a few weeks to feast on my favourite green vegetable.

I have suggested a few accompaniments to this delicious vegetable over the years. I like to keep it simple and enjoy the stems for their own unique flavour, and this year’s offering is no exception. Delicious crispy fried toasts dipped in a sesame batter and served with a sesame flavoured mayo dressing.

When the asparagus season is over, make and cut the toasts into triangles and serve as a crunchy and very moreish snack – they really are very tasty.

Makes: 4 servings of asparagus on toast, or 16 sesame triangles
Ingredients
- 2tbsp chickpea canning water (aquafaba)
- 20g gram (chickpea) flour
- 20g ground flaxseeds
- Pinch of salt
- 4tbsp plant milk
- 4 slices free-from bread
- 40g toasted sesame seeds
- Vegetable oil for shallow frying
- 6tbsp vegan mayonnaise
- 1tbsp Teriyaki marinade
- 2tsp sesame oil
- Chopped spring onion to serve
- 300g new season fine asparagus spears
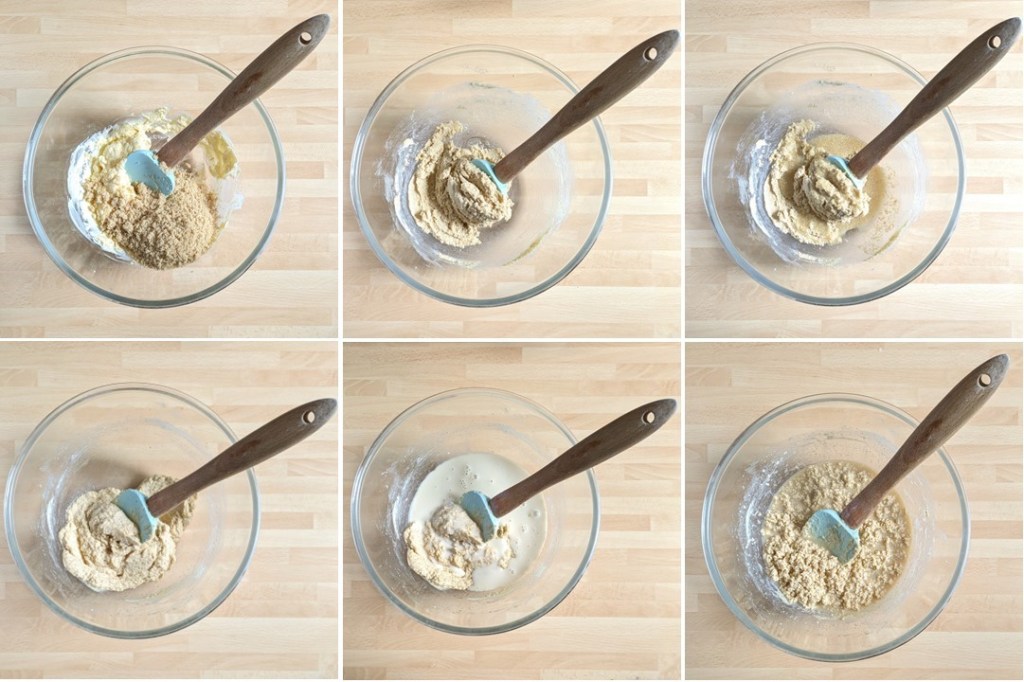
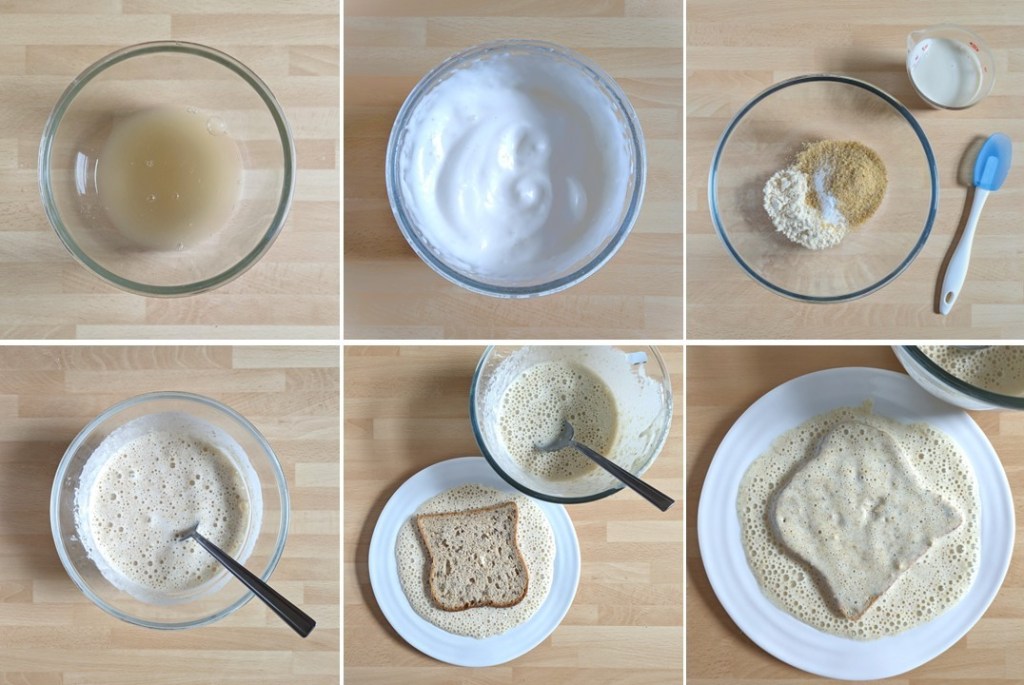
1. Put the chickpea water in a bowl and whisk with an electric mixer until very thick and foamy.
2. Mix the flours and salt in a bowl. Make a well in the centre and add the milk. Gradually mix everything together then fold in the chickpea foam.
3. Put some of the batter on a plate or in a shallow dish. Working on one piece of bread at a time, dip the bread on both sides and sprinkle the top with a few seeds.
4. Pour sufficient vegetable oil to just cover the base of a large frying pan and heat until hot. Cook the battered bread over a medium to low heat for about 2-3 minutes on each side until crisp and golden. Drain and keep warm whilst coating and cooking the other 3 slices.
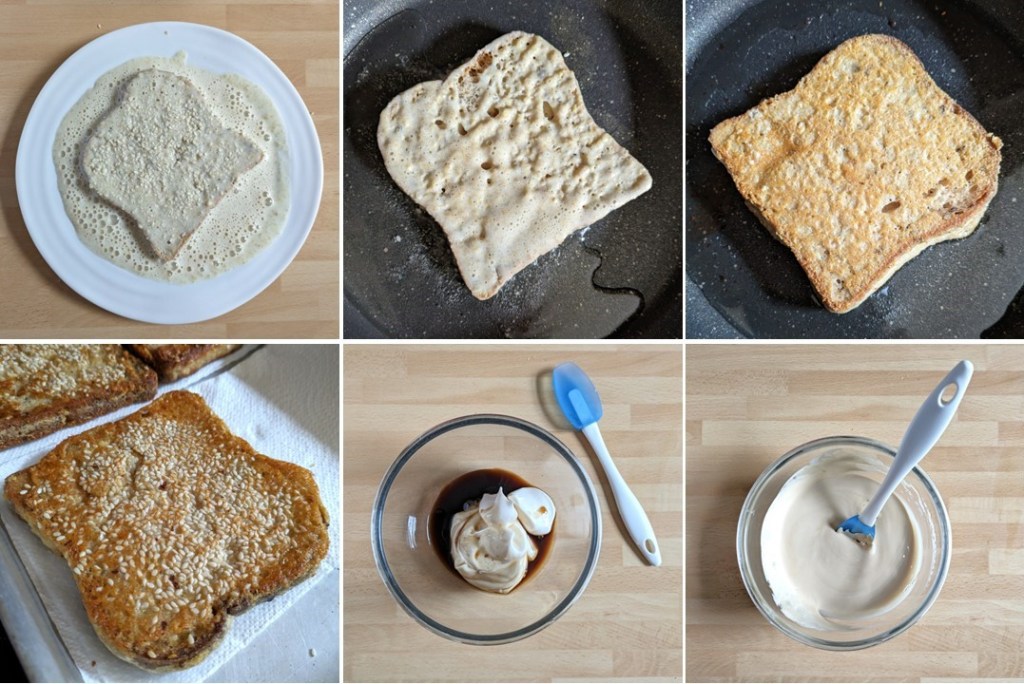
5. For the dip, mix the mayonnaise with the marinade and 1tsp sesame oil. Cut the toasts into triangles, sprinkle with spring onion and serve warm with the mayo to dip.

To serve topped with asparagus, trim a little from the ends of the asparagus stems. Heat a little vegetable oil in a large frying pan until hot and stir fry the stems for about 5 minutes until just tender and lightly browned.
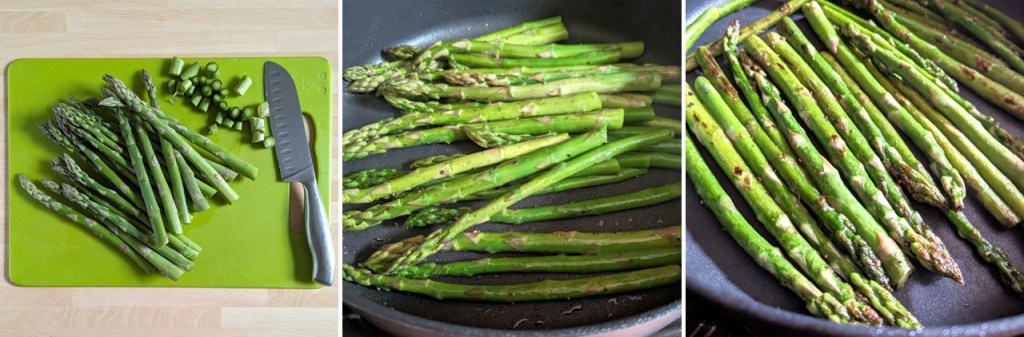
Turn off the heat, season with a little salt and drizzle over a little sesame oil. Stand for 5 minutes before serving on sesame toast with a drizzle of the sesame mayo.

Thanks for stopping by. I hope to see you again in a couple of weeks. Until then, take care and enjoy the season 🙂