Hello again. It’s been a while since I put a post together. I hope you are enjoying some signs of the new season wherever you are. Here in central Scotland, things are coming to life and the hedgerows and gardens are colouring up with spring flowers at long last. My springtime pride and joy, a Mimosa plant, is in full flower in the greenhouse just now. Such bright little tufty blooms and a subtle sweet scent guaranteed to brighten up the dullest of days.


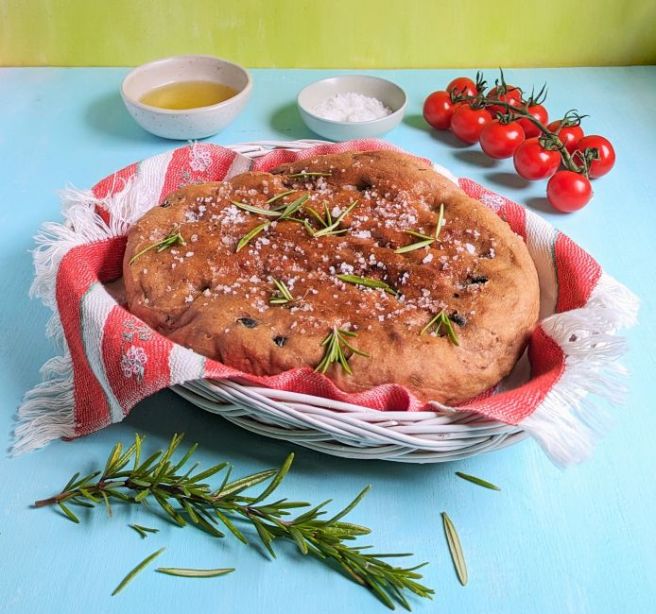
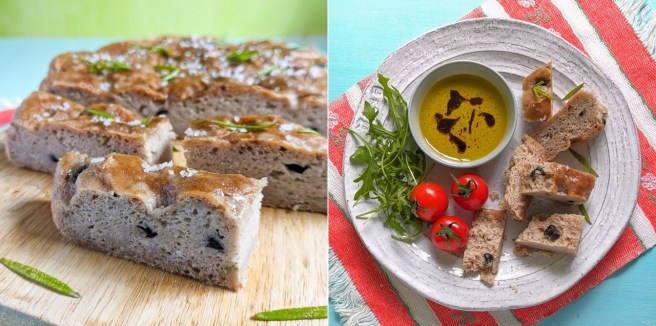
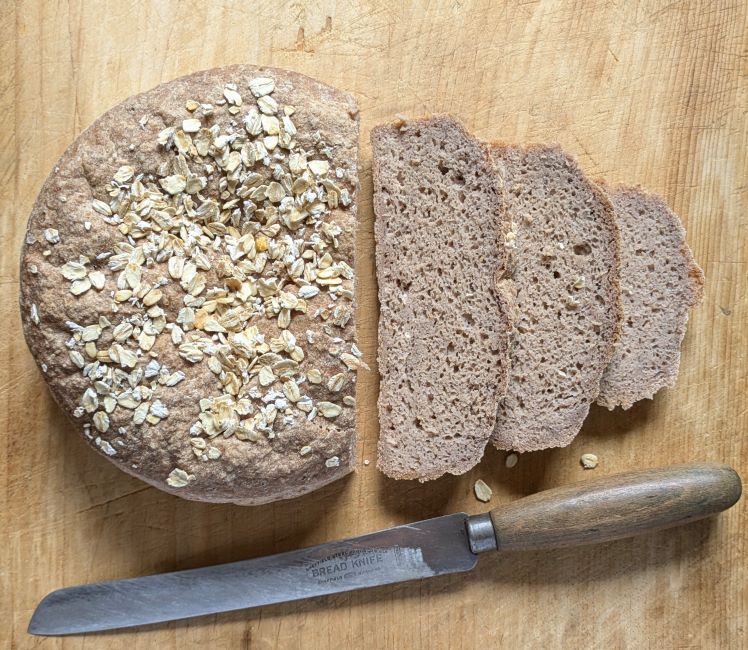
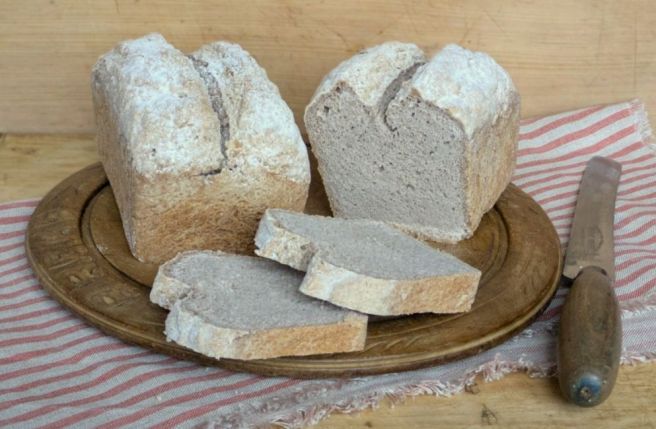
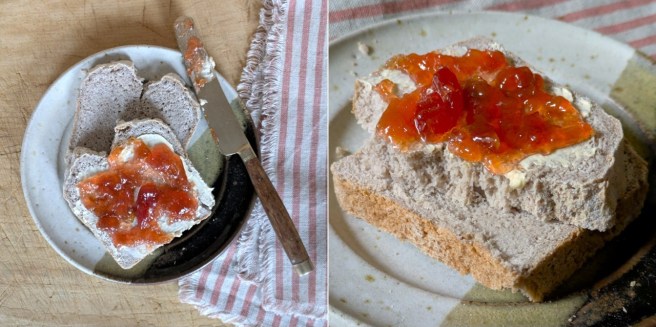
I’ve been doing a bit of baking recently and this month’s post is a result of my efforts. It’s a simple yet tasty bread recipe which makes 2 small loaves. The bread keeps for about 3 days in a bread container but it also freezes well for longer storage. I usually freeze my loaves ready sliced and then I can take out a slice at a time when required.
Makes: 2 x 500g loaves
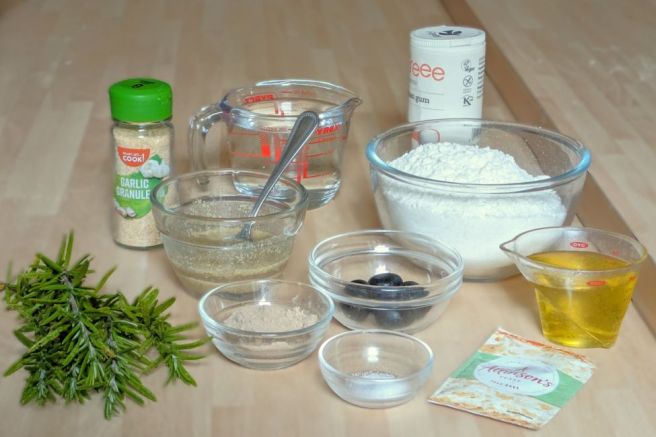
Ingredients
- 2tbsp finely ground flaxseed (linseeds)
- 365g gluten free bread flour
- 200g buckwheat flour plus extra to dust
- 1/2tsp xanthan gum
- 1tbsp caster sugar
- 25g ground psyillium husk
- 7g sachet instant dry yeast
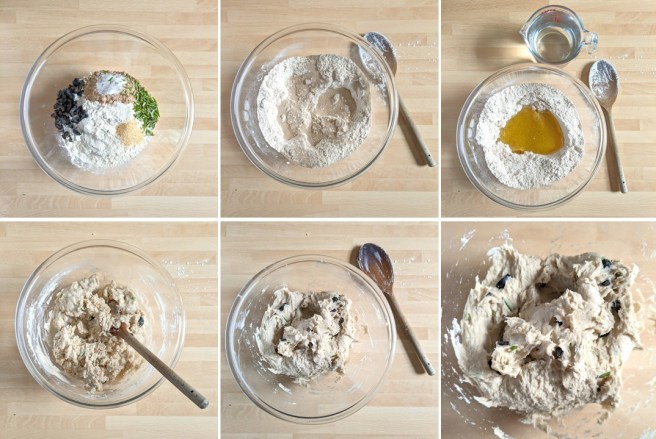
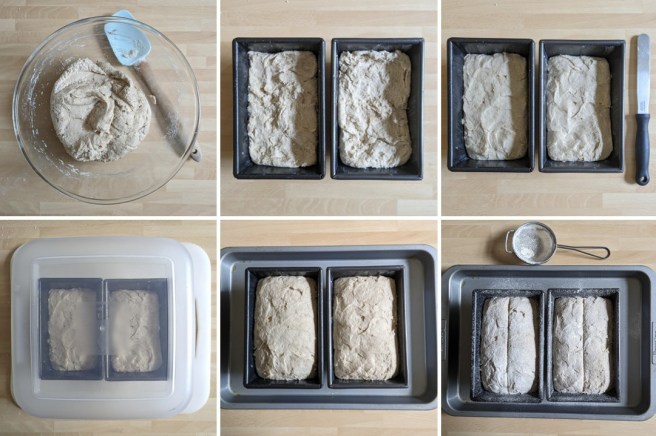
1.Mix the ground flaxseed with 90ml cold water and leave aside to thicken slightly. Grease and flour 2 x 500g loaf tins.
2. Put the flours in a bowl with the remaining ingredients and mix well. Make a well in the centre and add the flax mixture. Gradually mix in about 425ml lukewarm water to make a sticky, soft consistency. Cover and leave to stand for 10 minutes, then mix again.
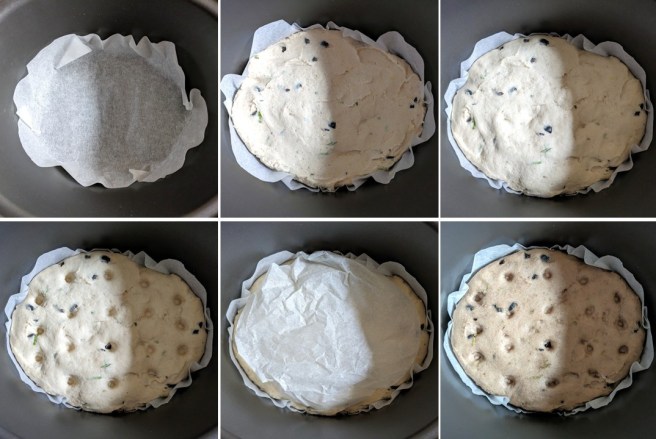
3. Divide between the tins and smooth the tops. Cover and leave to rise at a coolish room temperature, away from drafts, for about 2 hours until risen to the top of the tins.
4. Meanwhile, preheat the oven to 200°C, 180°C Fan Oven, Gas 6. Put the loaf tins on a baking tray. Using a lame or sharp knife, slash each loaf about 1/2cm deep down the length and dust lightly with a little more buckwheat flour.
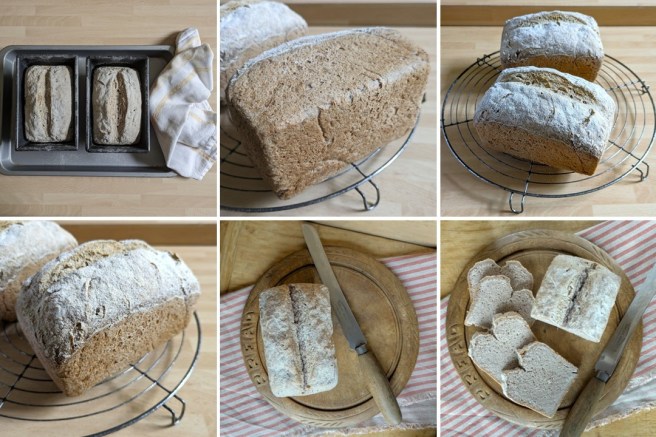
5. Bake the loaves for about 50 minutes until risen, crusty and lightly golden. The loaves should sound hollow when tapped underneath. Turn on to a wire rack to cool completely.
Until next time, happy baking and thanks for stopping by 🙂