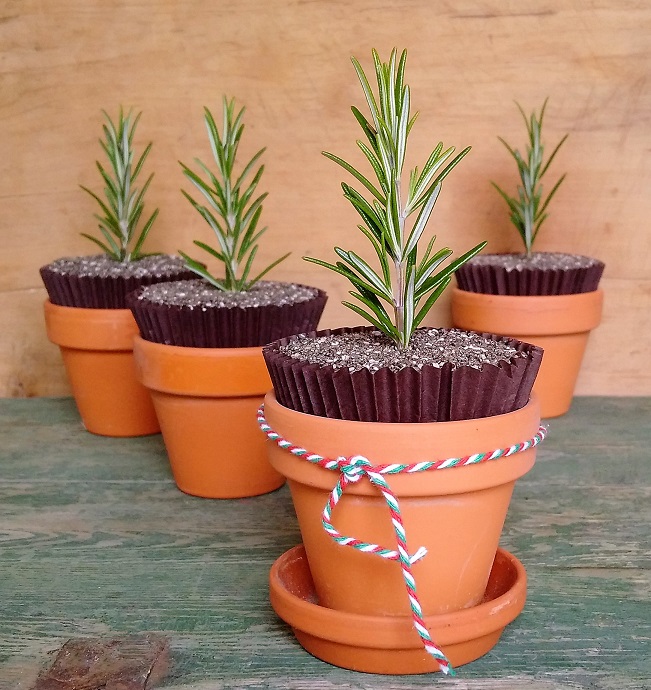
When I lived in London, a trip to the Edgware Road meant I could get my fix of my favourite Middle Eastern pastries. Full of chopped almonds and pistachios, the crisp, buttery, layers of filo pastry soaked in rose and lemon flavoured syrup were so sweet, my whole mouth “jangled” with the sensation of a sugar-overload.
Those days are long past me now, but this cake combines the flavours and some of the textures I love so much. In my post last week Cooking with rose petals – make your own rosewater, rose petal syrup and dried rose petals (gluten-free, dairy-free, vegan) you’ll find all the rose-scented recipes you need if you want to make this very floral cake from scratch. However, I realise that rose isn’t to everyone’s taste so if you fancy the cake without the floral flavours, it works very well with the grated rind of a lemon added to mixture instead of vanilla, and make the icing made up with freshly squeezed lemon juice instead of rosewater. It is utterly delicious however you flavour it, I guarantee!
Serves: 8-10
Ingredients
- 150g ground almonds
- 100g gluten-free plain flour blend (such as Dove’s Farm)
- 8g arrowroot (optional, but I add it to gluten-free cake mixes to help bind the textures together)
- 2 level teasp gluten-free baking powder (such as Dr Oetker)
- 100g finely chopped unsalted pistachio nuts
- 175g caster sugar
- Pinch of salt
- 175g silken tofu
- 175ml sunflower oil
- 2 teasp good quality vanilla extract
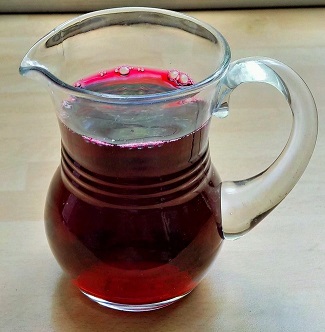
- 3-4 tbsp rose petal syrup (optional)
To decorate:
- 115g icing sugar
- 2-3 tbsp homemade rosewater
- A few drops natural pink food colouring
- Dried rose petals
- Preheat the oven to 180°C (160°C fan oven, gas mark 4). Grease and line a 1kg loaf tin. Mix all the dry ingredients together in a large mixing bowl. Make a well in the centre.
- Blend the tofu, oil and vanilla extract together in a food processor or blender for a few seconds until smooth. Spoon the mixture into the centre of the dry ingredients and gradually combine all the ingredients together until well blended.
- Spoon into the prepared loaf tin, smooth the top and stand the tin on a baking tray. Bake for about 1 hour 10 minutes, or until golden, firm to the touch and a skewer inserted into the centre comes out clean. Cool for 10 minutes, then if using rose petal syrup, skewer the top in several places and spoon over the syrup. Leave to cool completely, then remove from the tin, wrap and store for 24 hours to allow the flavours to develop.
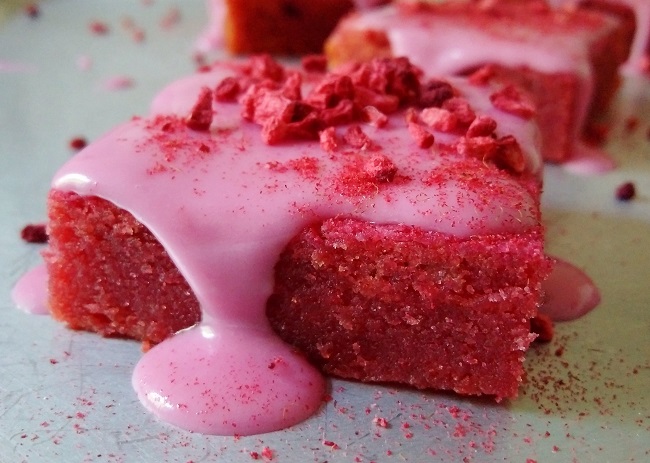
- To decorate. sieve the icing sugar into a bowl. Add sufficient rosewater to taste (Note: if you’re using distilled or shop-bought rose water, you will need to add less than homemade) then add a few drops of warm water and pink food colouring to make a smooth, spreadable icing.
- Spread the icing on top of the cake and sprinkle with dried rose petals. Leave for a few minutes to allow the icing to set before slicing and serving. Enjoy!
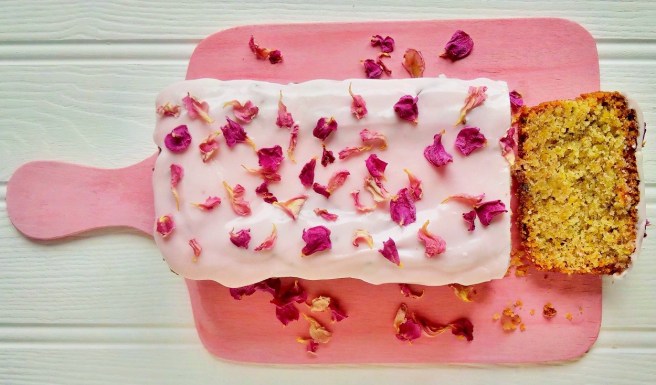
Sliced and ready to serve. Image: Kathryn Hawkins