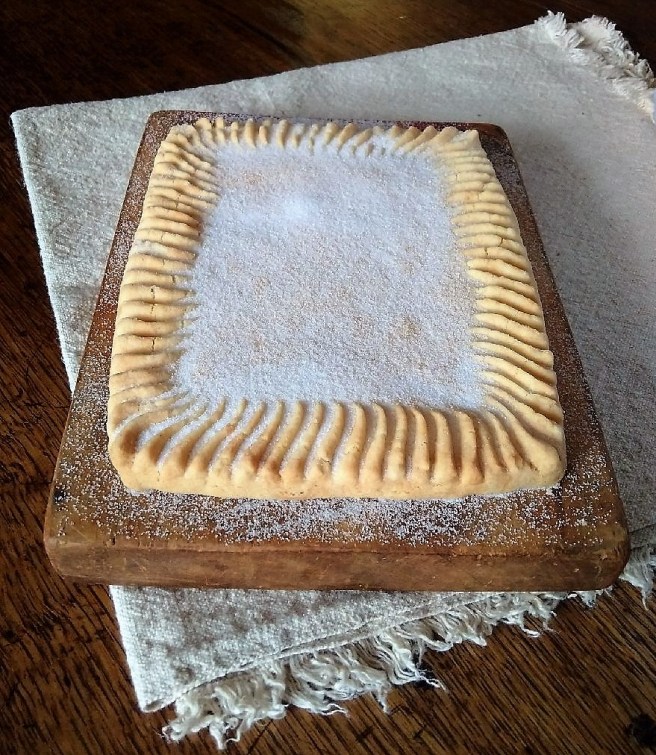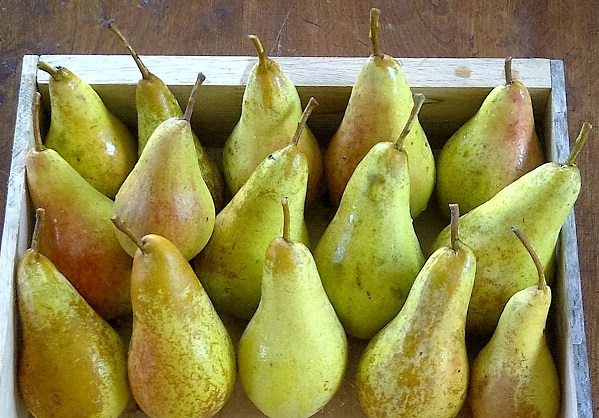
The pears I picked a couple of weeks ago are fully ripe now. Most usually, I enjoy them fresh, peeled or unpeeled; occasionally I use a few in cooking. One of my quick “comfort” desserts is to chop pears and mix them with grated marzipan to use as a filling for a gluten-free puff pastry jalousie or plait. Quite delicious.
Today, I’m sharing a recipe for what I call a “proper cake”. In other words, a dense textured cake, neither spongy nor light, but something substantial, and just right for this time of year. Keep it for at least a day after baking to allow the fruit juices to soak into the cake and for the flavours to develop. I use coconut oil and coconut milk a lot in my cookery because I love the flavour; but in this recipe it isn’t noticeable by taste, it simply adds to the richness of the texture. Use another vegetable oil or vegan margarine if you prefer, and a nut, rice or soya milk will work fine as an alternative to coconut milk.
Serves: 6 to 8
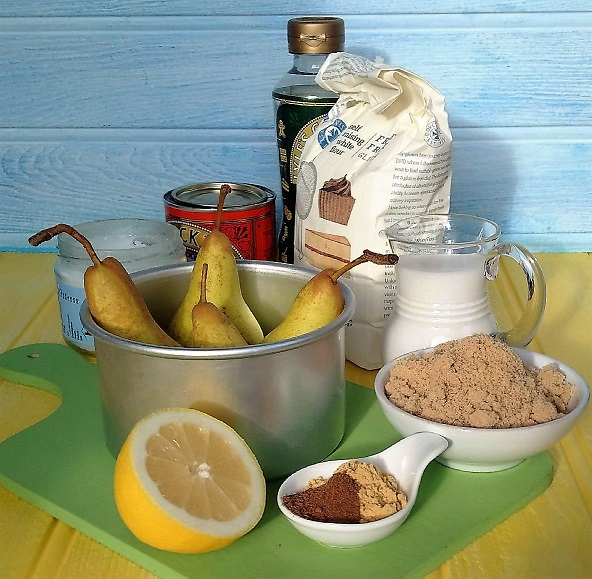
- 75g coconut oil
- 75g light brown sugar
- 75g golden syrup
- 75g treacle
- 6 tbsp canned coconut milk
- 150g gluten-free, self raising flour (such as Dove’s Farm)
- 2 tbsp ground ginger
- ½ tsp ground allspice
- 4 small pears
- Juice ½ lemon
- Preheat the oven 170°C (150°C fan oven, gas mark 3). Grease and line a deep, 12cm round cake tine. Put the oil, sugar, syrup and treacle in a saucepan and heat very gently, until melted together. Remove from the heat and stir in the coconut milk. Cool for 10 minutes.
- Meanwhile, sift the flour and spices into a bowl and make a well in the centre.
- Thinly peel the pears, leaving them whole. Trim away a small slice from the base of each so that they sit upright, and arrange in the cake tin. Brush all over with lemon juice.
- Pour the melted ingredients into the spiced flour and mix together to form a thick, smooth batter. Carefully pour into the tin.
- Cover the tops of the pears with small pieces of foil to prevent burning. Put the cake tin on a baking tray and bake in the oven for about 1 hour 40 minutes until a skewer inserted into the centre of the cake comes out clean. Discard the foil and leave the cake to cool in the tin completely.
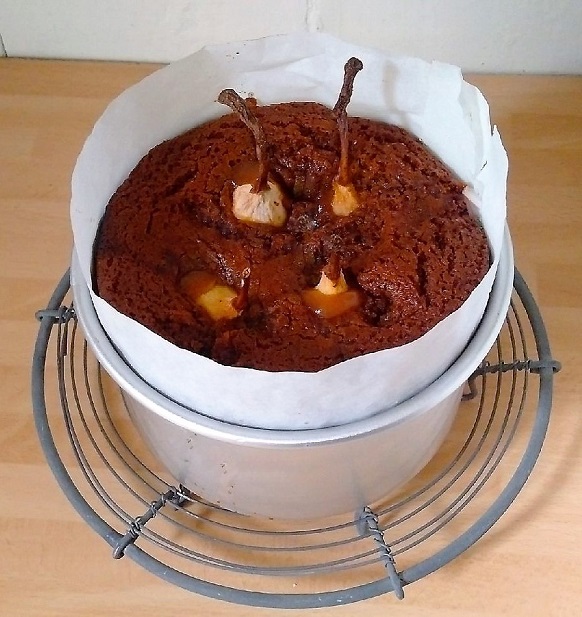
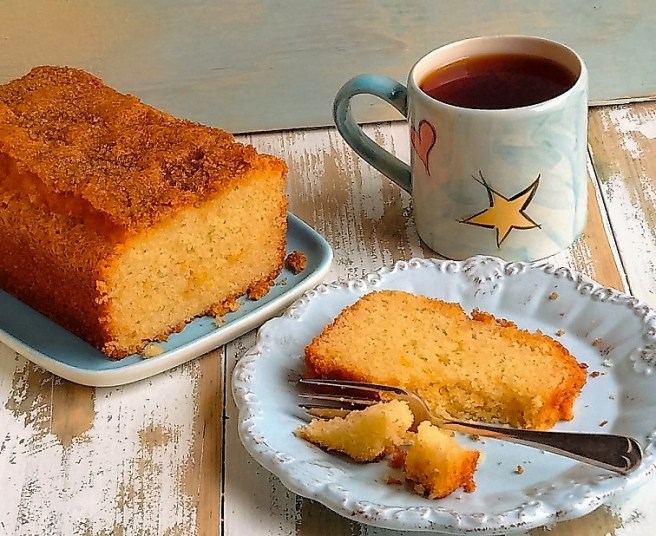
Just out of the oven, freshly baked pear gingerbread cake. Image by Kathryn Hawkins - Remove from the tin. Wrap in foil and store in a cool place for 24 hours to allow the texture and flavours to develop. Enjoy cold as a cake or, warm slightly and serve as a pudding with dairy free custard.
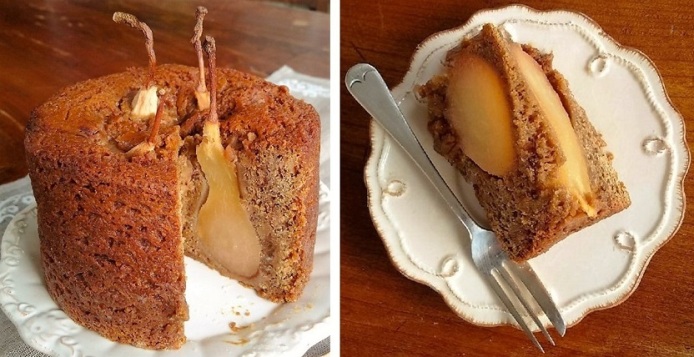
Pear gingerbread cake. Images by Kathryn Hawkins