Veg-rack-raid roasties (naturally vegan, gluten-free and dairy-free)

Diced_root_veg_tray_baked_naturally_vegan_and_gluten-free
Veg-rack-raid roasties. Images: Kathryn Hawkins

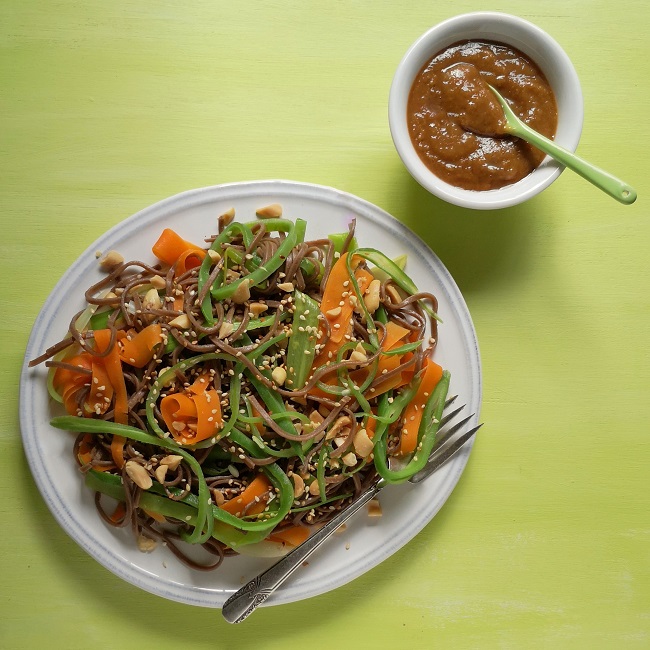
Hello again. I don’t know about you, but I’m always looking for ways to cut back on the amount of energy I use especially in the kitchen. I have certainly changed the way I cook my everyday meals and only put the oven on if I can fill it.

One of the things I do every now and then is have a big bake up of all the bits and pieces of vegetable I have in the veg rack or fridge and I have taken a few images over the past few months of the combinations I have cooked depending on what I have to hand.

Root_vegetable_preparation
Veg prep for roasting. Images: Kathryn Hawkins

Most vegetables require only simple prep, just peeling and cutting into uniform pieces so that they all bake evenly. The only vegetable I par-cook is turnip (swede) because it is denser than other vegetables. Just a quick cook of 10 minutes in boiling water, then drain and cool before mixing into the other prepared veg.

For best results, choose vegetables that take roughly the same amount of time to cook, or add quicker-cooking vegetables later on once the other have had a bit of a head start.

Prepared_diced_veg_ready_for_roasting
Seasoned diced roots, ready for roasting. Images: Kathryn Hawkins

Use what ever oil you prefer too cook your vegetables with. Toss a generous amount into the prepared veg, season with plenty of salt and ground black pepper and mix well. Add herbs and spices to taste. Spread out evenly on lined baking trays and put the trays in a cold oven – no need to waste energy on preheating the oven for this type of cooking. Set the dial to 200°C, 180°C fan oven, Gas 6. After about 25 minutes, turn the vegetables and cook for a further 15-25 minutes depending on how finely you have chopped them, until they are tender.

Cooked_diced_root_veg_ready_for_freezing
Roasted and ready for freezing. Images: Kathryn Hawkins

When they are cooked, drain off the excess oil, blot with kitchen paper and they are ready to serve straightaway. Alternatively, leave them to cool after draining and pack into containers for later use. In the fridge, the cooked vegetables will keep for 3-4 days, or freeze them for up to 6 months. Most vegetables freeze fine and can be added to soups, sauces and stews at a later date (usually I add them still frozen directly to hot stock or sauce and just heat them through).

Tray_roast_peppers_celery_onion_herbs_and_garlic
Tray-roast peppers, onion, celery, garlic and herbs. Images: Kathryn Hawkins
Tray_roast_carrots_celery_onion_garlic_and_herbs
Tray-roast carrots, onion, celery, garlic and herbs. Images: Kathryn Hawkins
Tray_roasted_potatoes_mushrooms_garlic_and_herbs
Potatoes, mushrooms, garlic and herbs. Images: Kathryn Hawkins

Until next time, have a good rest of the month and I hope that I will see you again in February. Thanks for stopping by 🙂

Ribbon vegetable soba noodles with peanut dressing (gluten-free; dairy-free; vegan)

Runner_bean_and_peanut_soba_noodles_with_peanut_dressing
Runner bean and peanut soba noodles. Image: Kathryn Hawkins

Over the past week or so, I’ve picked more runner beans from my 3 plants than I can possibly eat. The beans do keep well for a few days in a container of water in the fridge, but even so, this year, I have resorted to freezing some down. Not ideal as they do lose some texture, but it’s a good way of eking them out a while longer.

Home-grown_runner_beans_on_the_vine_and_freshly_picked
My late summer harvest of runner beans. Images: Kathryn Hawkins

I like my runner beans cut thinly in fine ribbons. I inherited a tiny, wee gadget from my grandmother which is perfect for this. If the beans are very fresh, you can whip them through the fine, grill-like slicing plate in next to no time, and sliced this way, they take just a few minutes to cook.

Vintage_Zipp_runner_bean_slicer
Grannie’s Zipp runner bean slicer. Images: Kathryn Hawkins

For freezing, it helps preserve texture if you cut the runner beans into chunkier pieces, and that’s what I did with the majority of these beans. I blanched the prepared beans in rolling, boiling water for about 1 ½ minutes, then drained them and cooled them completely in cold running water. Before bagging your prepared vegetables, shake off the excess water, pat dry with kitchen paper and then pack into freezer bags. Make sure the bag is free of as much air as possible. I do this by screwing the bag closed, and then sucking out the excess air via a straw inserted into the top. It’s very effective. Seal the bag tightly with a wire bag tie or clip, and don’t forget to label – remember how time flies! Blanched vegetables should keep perfectly fresh in the freezer for at least 6 months. If you don’t do the blanching, use them up in a couple of months.

Bag_of_home-grown_runner_beans_blanched_and_ready_for_the_freezer
Blanched and ready for the freezer. Image: Kathryn Hawkins

This week’s recipe is a tasty vegetable noodle dish that can be eaten hot but I usually enjoy the dish served cold as a light lunch. Try and cut all the vegetables thinly and evenly so that they cook to the same texture. If you don’t have a bean slicer, cut the beans into short lengths and then slice thinly lengthways. For the dressing, if peanuts aren’t to your taste, use cashews or almonds and the associated nut butters instead.

Plated_vegetable_noodles_with_peanut_dressing
Vegetable noodles served cold with peanut dressing. Image: Kathryn Hawkins

Serves: 4

Ingredients

  • 225g runner beans
  • 1 large carrot
  • 1 medium leek
  • 200g soba noodles (or use your favourite variety and cook accordingly)
  • 1 tsp sesame oil
  • 2 tbsp. toasted sesame seeds
  • 40g roasted peanuts, crushed

For the dressing:

  • 50g smooth peanut butter
  • 1 tsp sesame oil
  • 25ml gluten-free soy sauce
  • 1 tbsp. white rice vinegar
  • 15g light soft brown sugar
  1. Trim the beans. Peel the sides of the beans using a vegetable peeler and slice into thin shreds. Peel and trim the carrot; slice into thin ribbons using a vegetable peeler. Trim the leek. Slice down the centre and run under cold running water to flush out any trapped soil. Shake well to remove excess water, then cut in half, and slice into ribbon-like strips. Arrange all the vegetables in a steamer, colander or large sieve.

    Preparing_runner_beans_and_carrots_into_ribbons_for_steaming
    Preparing the ribbon vegetables. Images: Kathryn Hawkins
  2. Bring a saucepan of water to the boil (unsalted if you’re using soba noodles). Put the vegetables on top, cover and cook for 2 minutes. Add the noodles to the boiling water, bring back to the boil, put the vegetables back on top, and cook everything for a further 5 minutes, until the noodles are tender and the vegetables are just cooked through. Drain the noodles well, and return to the saucepan. Toss in the sesame oil and then the vegetables. Mix well and either leave to cool if serving as a salad, or cover to keep warm.

  3. For the dressing, put all the ingredients in a small screw-top jar. Seal and shake well to mix into a thick, dressing.

    Glass_jar_for_making_peanut_dressing
    Making peanut dressing. Images: Kathryn Hawkins
  4. To serve, pile the hot or cold vegetable noodles on to a serving platter and sprinkle with sesame seeds and peanuts. Serve with the peanut dressing.

    Forkful_of_ribbon_vegetables_and_soba_noodles_served_as_a_salad
    Ready to eat, ribbon vegetable and soba noodle salad. Image: Kathryn Hawkins