Yellow courgette and lemon cake (gluten-free, dairy-free)

Homegrown_yellow_courgettes
Home-grown yellow courgettes. Image copyright: Kathryn Hawkins

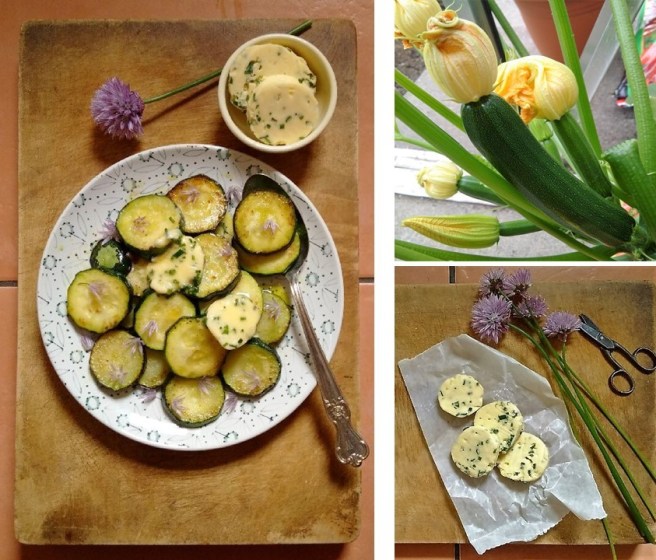
I’ve had a bumper crop of green and yellow courgettes this year, and they are still ripening thick and fast. Apart from enjoying them as a vegetable, they do make a good substitute for grated carrot in a cake. After a successful weekend bake-in, I thought I’d share my recipe for courgette and lemon loaf cake with you. It is moist and tasty, and improves with keeping (if you can leave it alone!). Perfect sliced and eaten on its own with a cup of tea, or served as a dessert with coconut yogurt and blueberry compote. Enjoy!

Serves: 8-10

  • 2 medium eggs
  • 150ml sunflower oil
  • 150g caster sugar
  • Finely grated rind 1 unwaxed lemon
  • 115g yellow courgette, trimmed and grated
  • 50g ground almonds
  • 150g plain gluten-free flour blend (such as Dove’s Farm)
  • 7g gluten-free baking powder (such as Dr Oetker)
  • 3 tbsp Demerara sugar
  1. Preheat the oven to 180°C (160°C fan oven, gas mark 4). Line a 1kg loaf tin with a baking parchment liner and sit the tin on a baking tray.
  2. In a mixing bowl, whisk together the eggs, oil, sugar and lemon rind. Stir in the courgette and ground almonds.
  3. Sift the flour and baking powder on top and carefully mix all the ingredients together. Pour into the tin and sprinkle thickly with Demerara sugar.
  4. Bake for 55 minutes to 1 hour until risen, golden and firm to the touch – insert a skewer into the centre of the cake, it should come out clean if the cake is cooked. Cool for 30 minutes before removing from the tin and transferring to a wire rack to cool completely. Wrap and store for 24 hours before serving to allow the flavour and texture to develop. The cake freezes well, leave to cool then wrap and freeze for up to 6 months. Allow to thaw at room temperature, in the freezer wrappings.

    Gluten-free_courgette_and_lemon_loaf_cake
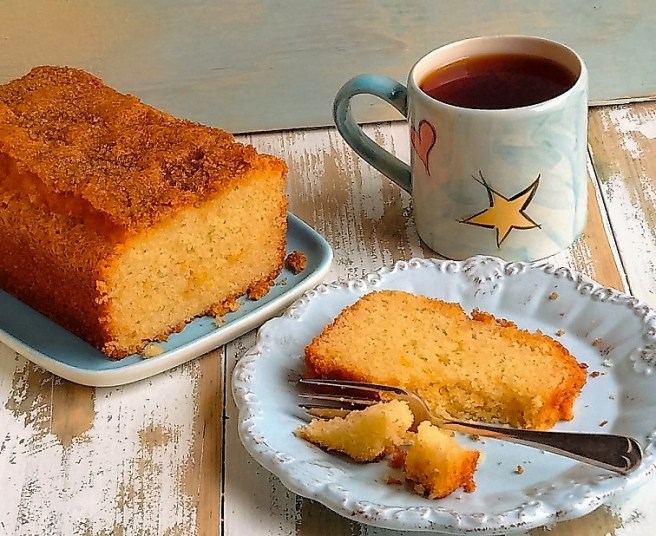
    Yellow courgette and lemon cake. Image copyright: Kathryn Hawkins


Home-grown courgettes with chive butter (gluten-free)

homegrown_Tristar_courgette_with_homemade_chive_butter
Home-grown courgette with chive butter. Images copyright: Kathryn Hawkins

One of the vegetables I have great success in raising is the courgette. This year I have a couple of varieties on the go: Tristar and Jemmer. My single Tristar plant has produced 6 courgettes already and there’s a few more to come. It is in a grow-bag on the floor of my greenhouse. Jemmer is a yellow variety; the first courgettes are just forming.

To enjoy the delicate, slightly earthy, flavour of my “home-grown” courgettes, I cook them very simply: either sliced and gently fried in sunflower oil, or as bigger chunks, lightly seasoned and roasted in the oven. The slices only take a few minutes on each side, just cooked until lightly golden round the edge.

To liven things up a wee bit, I make a herb or spice butter which I allow to melt over the cooked vegetable just before serving. At the moment, the chive bush in the garden is a combination of soft, juicy stems and pretty flower balls, and is the obvious choice for flavoured butter these past couple of weeks.

I make up a small batch at a time which will keep, well wrapped, in the fridge for 2-3 weeks or can be frozen for up to 6 months. Use half a pack of lightly salted, soft butter with 2-3 tablespoons of freshly chopped chives – snip the stalks into small pieces using kitchen scissors to avoid bruising the stems.

Beat the butter well to start with and then mix in the chives. Pile onto a small square of baking parchment and chill until firm enough to roll.

Pop the parchment square on a small sheet of cling film, and wrap the paper round the butter to make  rough tube. Continue rolling until you have made a cylinder of butter, to the thickness you prefer. Wrap tightly in the cling film and chill until required.

homegrown_chives_in_flower
Fresh chives in flower. Image copyright: Kathryn Hawkins

Chive butter is lovely melted over grilled salmon, pan-fried chicken or tossed into freshly cooked seafood and pasta. Don’t forget the flowers: gently pull the flower heads apart and scatter the delicate lilac star-shaped petals over salads, pasta or your finished dish for a subtle oniony flavour.