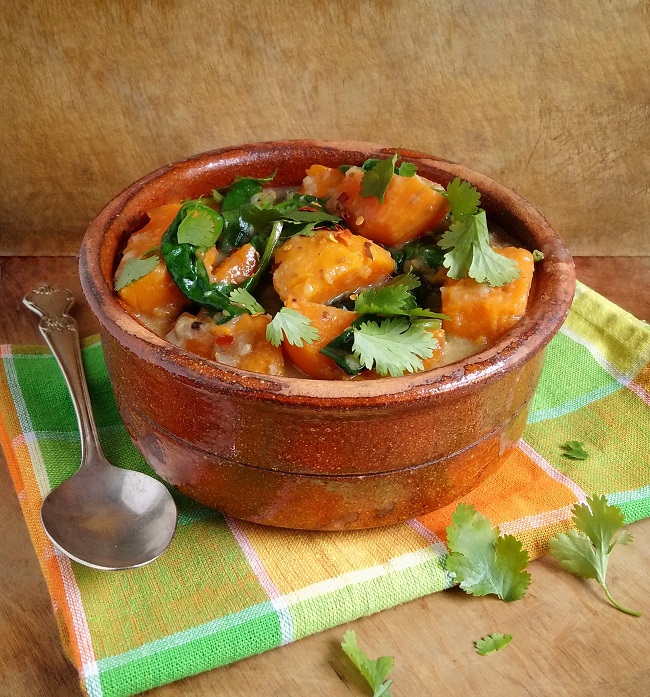
A deliciously fragrant and comforting recipe for you this week. An old favourite of mine which works just as well with potatoes if you’re not a fan of the sweet variety. It makes a good side dish, but I usually serve it as a main course, spooned over rice.

The stew is very easy to make. You can change the proportions of the individual spices to suit your taste. The overall flavour is reminiscent of a green Thai curry without the lemongrass or lime leaves. I’m not a huge chilli fan, I like a hint of heat rather than a major blast, so you may want to increase the chilli-factor for more of a spicy kick. If you have fresh green chillies, grind them up in the spice paste as an alternative to using the dried flakes.
If you have any leftover, the stew makes a good soup the next day. Just blend it up in a food processor with stock or more coconut milk. I hope you enjoy it 🙂
Serves: 4
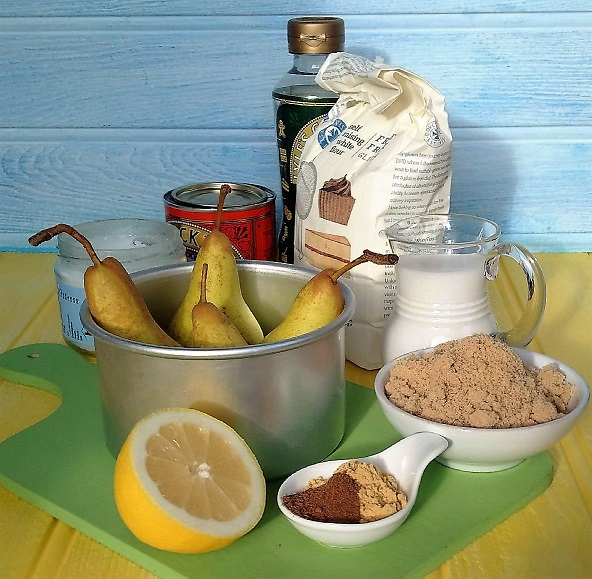
Ingredients
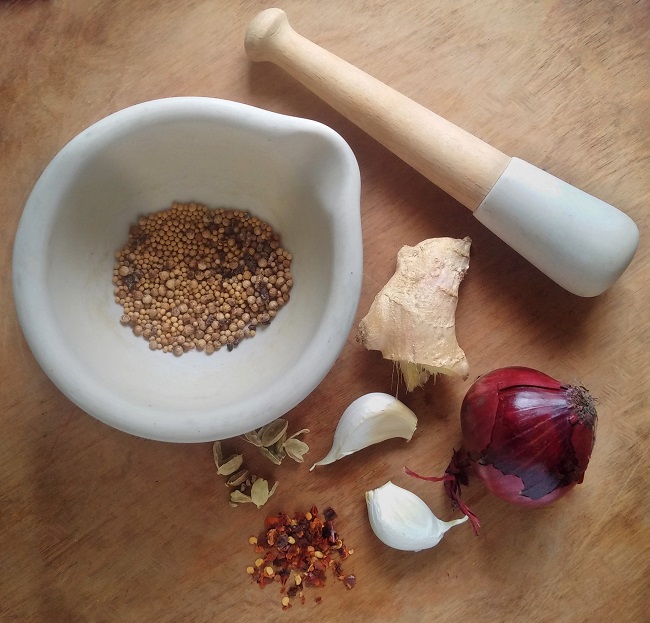
- 6 cardamom pods
- 1 teasp each of coriander and mustard seeds
- 1 small red onion or shallot
- 2 garlic cloves
- 3cm piece root ginger
- Dried chilli flakes, to taste
- 2 tbsp. vegetable oil
- 400ml canned coconut milk
- 650g sweet potatoes, peeled and cut into 3cm thick chunky pieces
- 225g prepared spinach
- 1 teasp salt
- A small bunch fresh coriander, roughly chopped
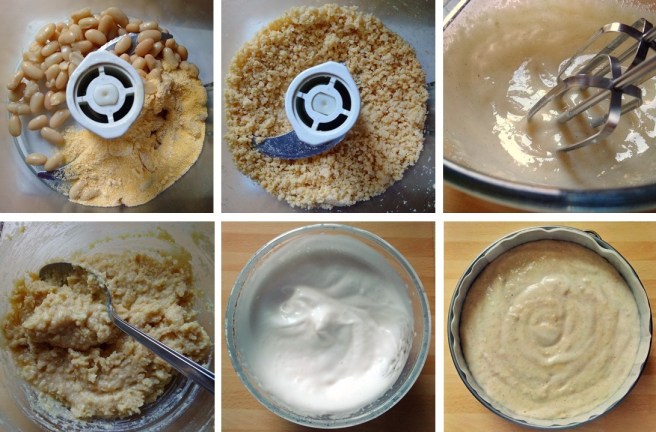
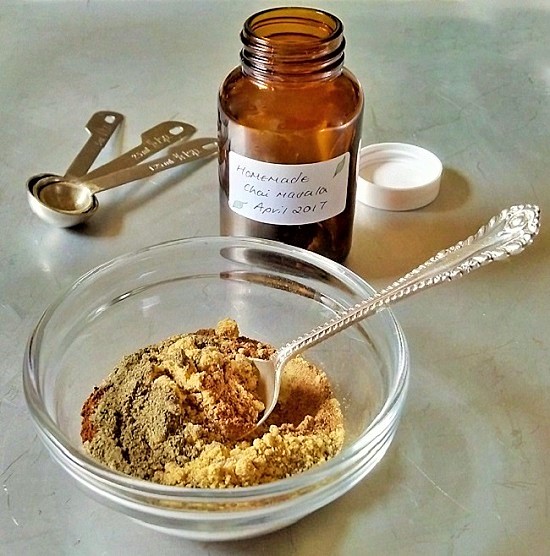
- Remove the green casing from the cardamom pods and put the seeds in a pestle and mortar along with the coriander and mustard seeds. Lightly crush them, then toast them in a small frying pan, over a medium heat, for 2-3 minutes until fragrant and lightly toasted but not brown. Leave to cool.
- Peel and roughly chop the onion, garlic and ginger and place in a food processor or blender. Add 1 tbsp. oil and the toasted spices and chilli flakes to taste. Blend for a few seconds to make a paste.
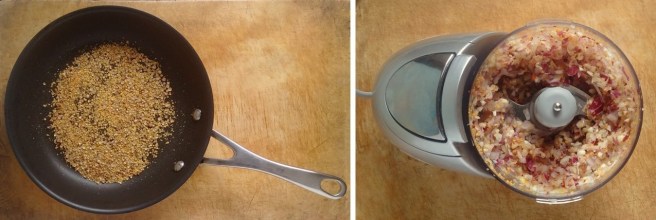
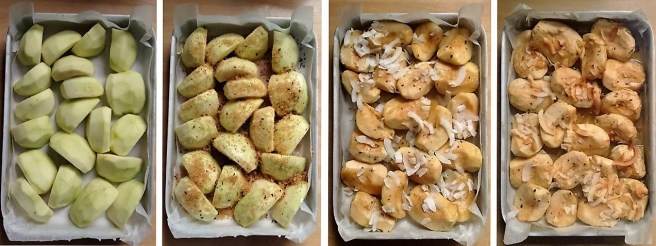
Toasting spices and making a spice paste. Image: Kathryn Hawkins - Heat the remaining oil in a large, deep-sided frying pan or wok and gently fry the paste for about 5 minutes until softened but not browned. Pour over the coconut milk, bring to the boil, and stir in the sweet potato pieces. Bring back to the boil, cover, reduce the heat and simmer gently for about an hour until tender.
- Add the spinach in batches, stirring well to make sure it gets completely coated in the coconut liquor. Add the salt, cover and continue to cook gently for a further 10 minutes, stirring occasionally, until then spinach is wilted and the sauce is thick.

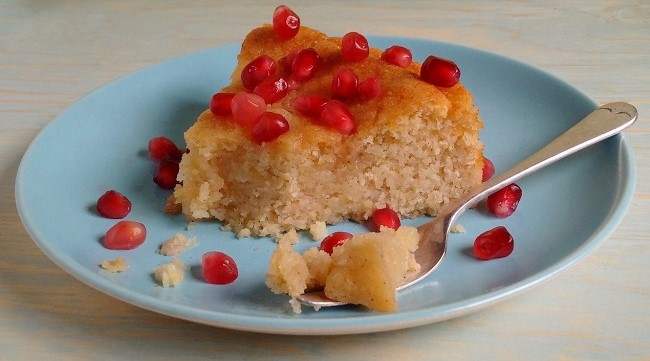
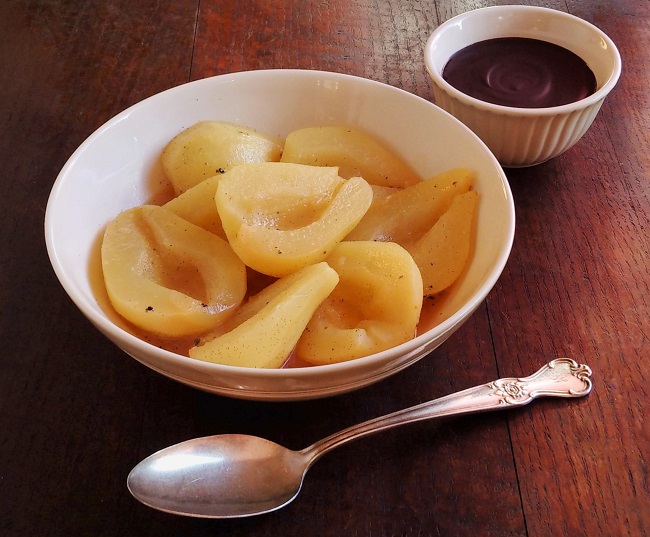
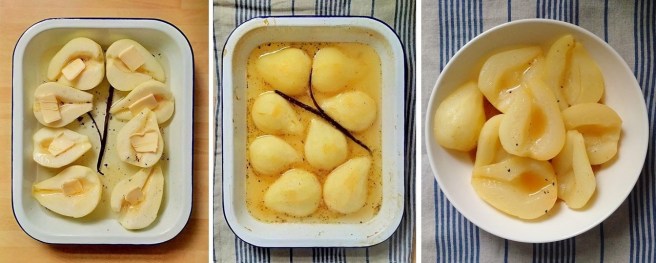
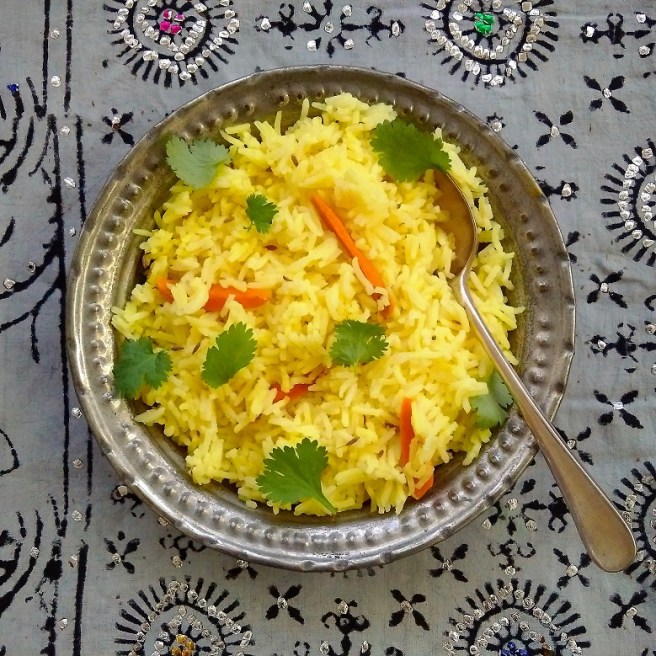
The 3 stages of stew. Images: Kathryn Hawkins - To serve, sprinkle the stew with a generous amount of chopped, fresh coriander, and extra chilli if liked. Serve immediately, spooned over rice.
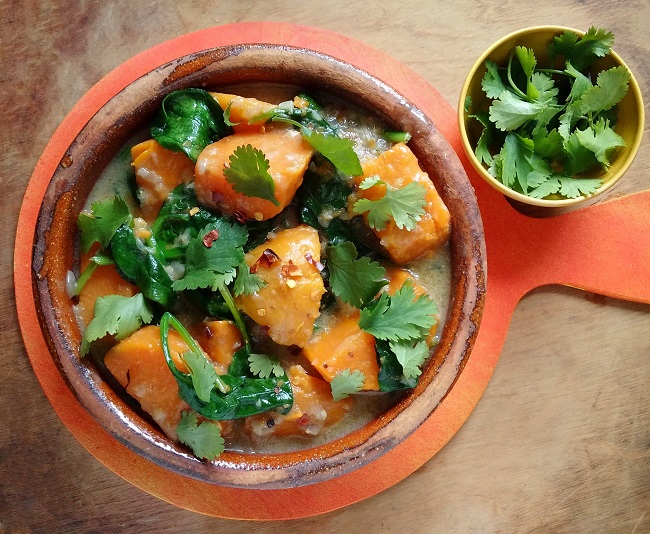
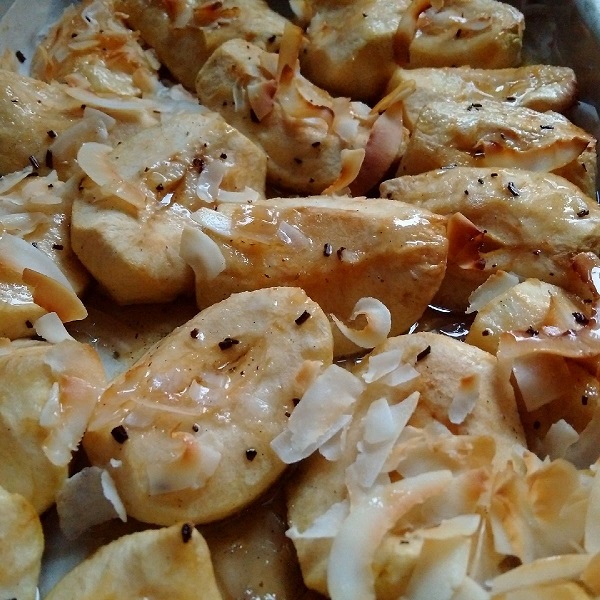
Sweet potato stew, ready to serve. Image: Kathryn Hawkins