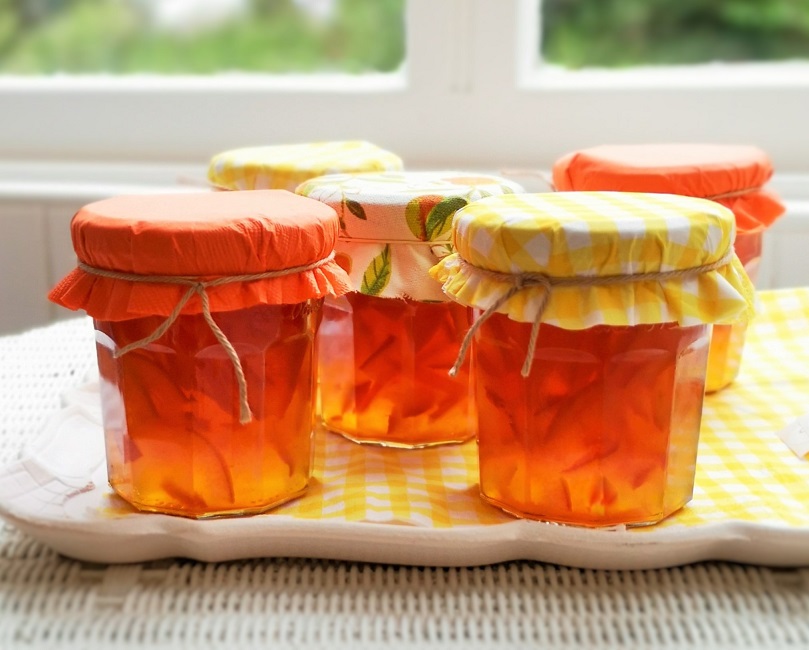
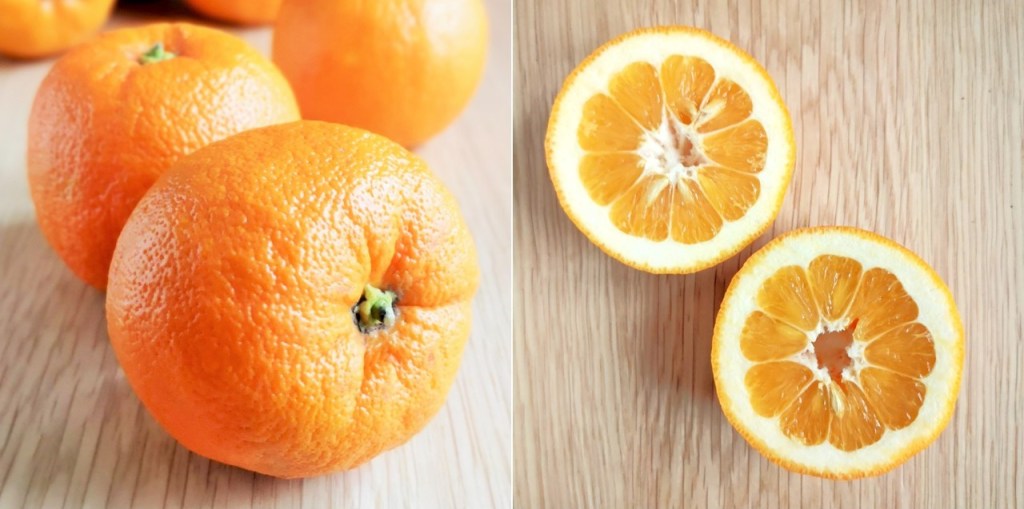
Something bright and cheery to start the new month. It’s that time of year when the air is full of the scents of aromatic citrus and the sweet smell of sugar. Seville oranges are in season and marmalade-making is in full swing.
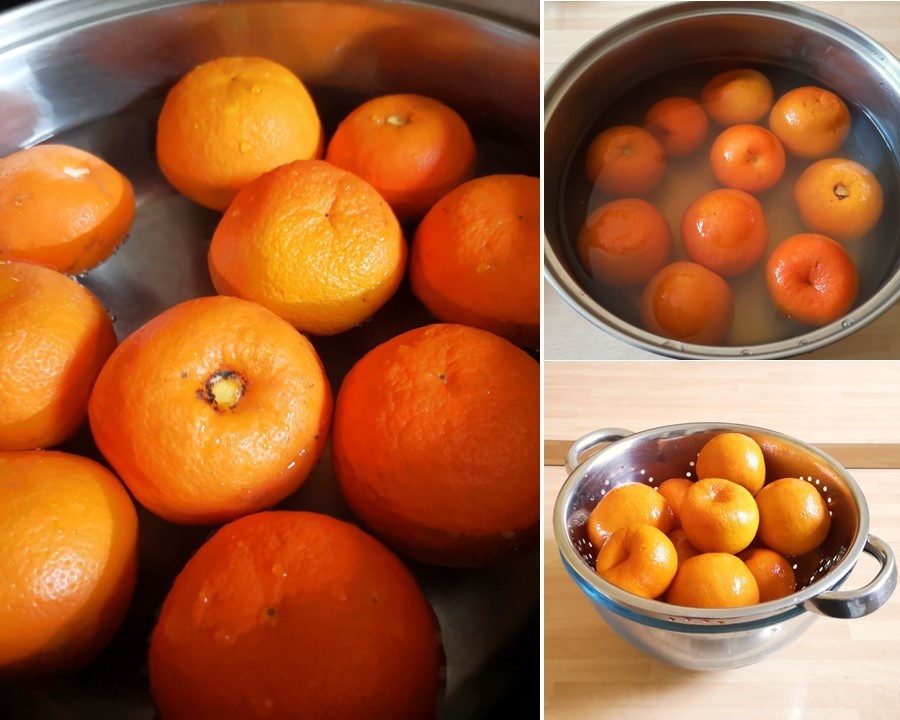
I do enjoy making preserves, but I find the peel-cutting for marmalade a bit of a chore. This time I made marmalade, I cooked the oranges whole, then once the oranges were cooked, I extracted the fruit pulp from the skin and was left with softer peel to slice. I found the cooked orange skin much easier to slice, and the resulting preserve tastes and looks pretty much the same, so I think this recipe will be my go-to marmalade recipe for the future.

You may want to cut the quantities down to make a smaller amount – I had a fair few oranges to use up!
Makes: approx. 3kg
Ingredients
- 1kg Seville oranges, washed and left whole
- 2.4l water
- 1 unwaxed lemon + 60ml freshly squeezed lemon juice (the extra juice is optional but I find it helps with the set especially if the oranges have been stored for a while)
- 1.8kg granulated sugar
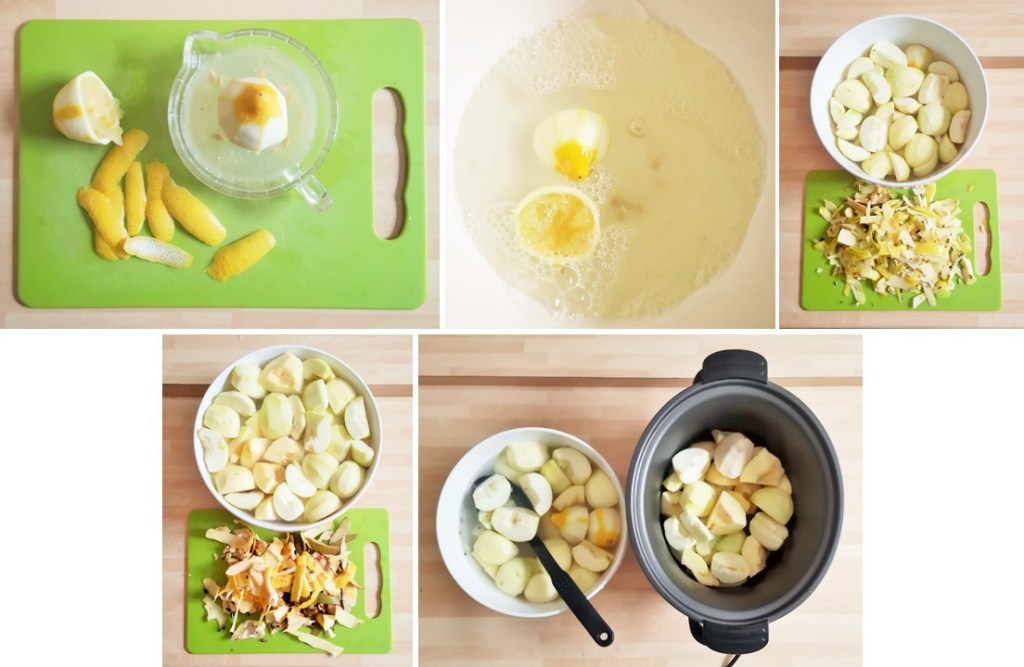
1. Put the whole fruit in a large saucepan with the water. Bring to the boil, then simmer gently for about 1½ hours until a skewer can be inserted into the fruit with ease. Drain the fruit using a draining spoon and leave aside until it is cool enough to handle. Keep the cooking water.
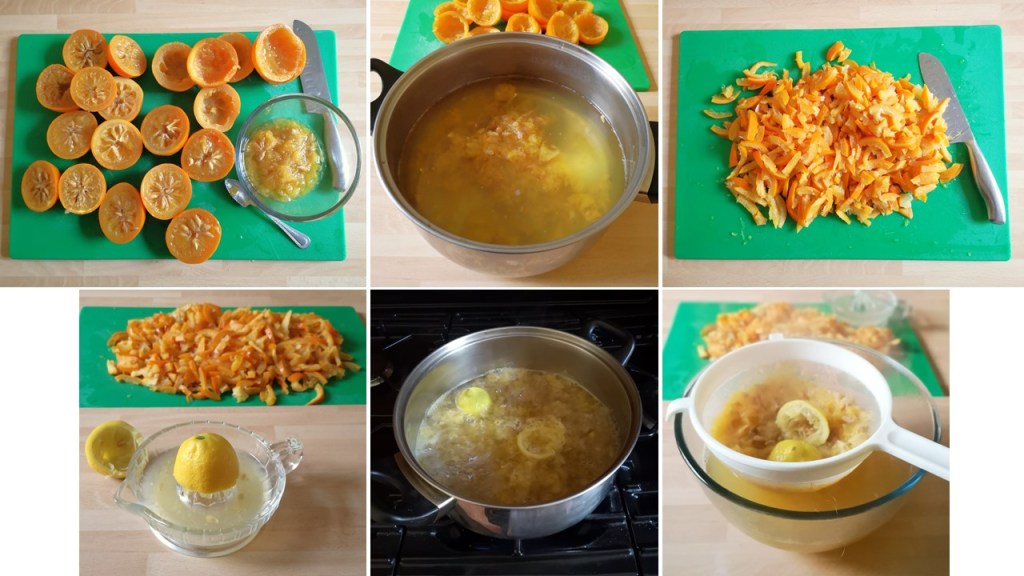
2. Cut the fruit in half, then scoop the seeds and pulp into the saucepan with the cooking liquid. Halve the lemon, extract the juice and add to the saucepan along with any seeds and the lemon shells. Bring to the boil and boil steadily for 10 minutes. Strain the liquid, discard the pulp, and return the liquid to the saucepan.
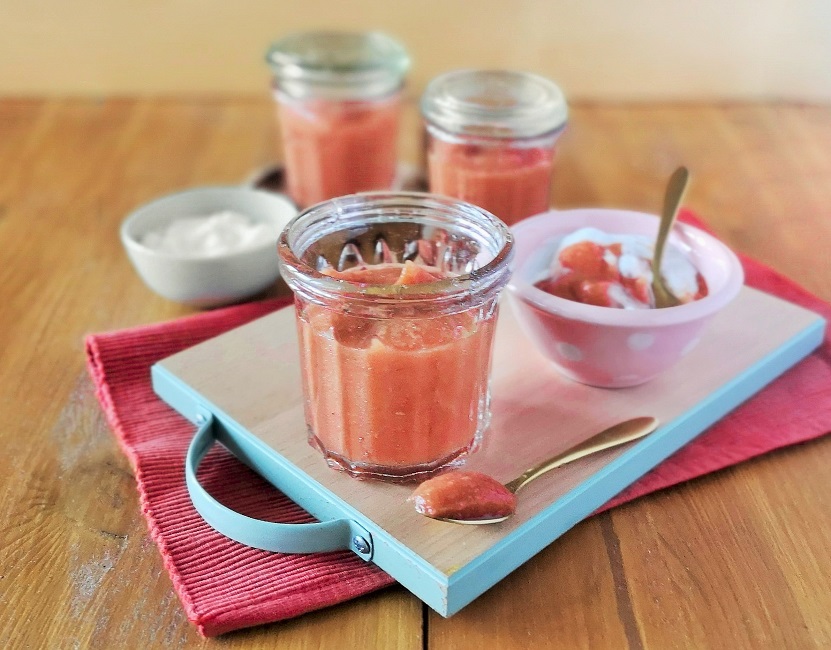
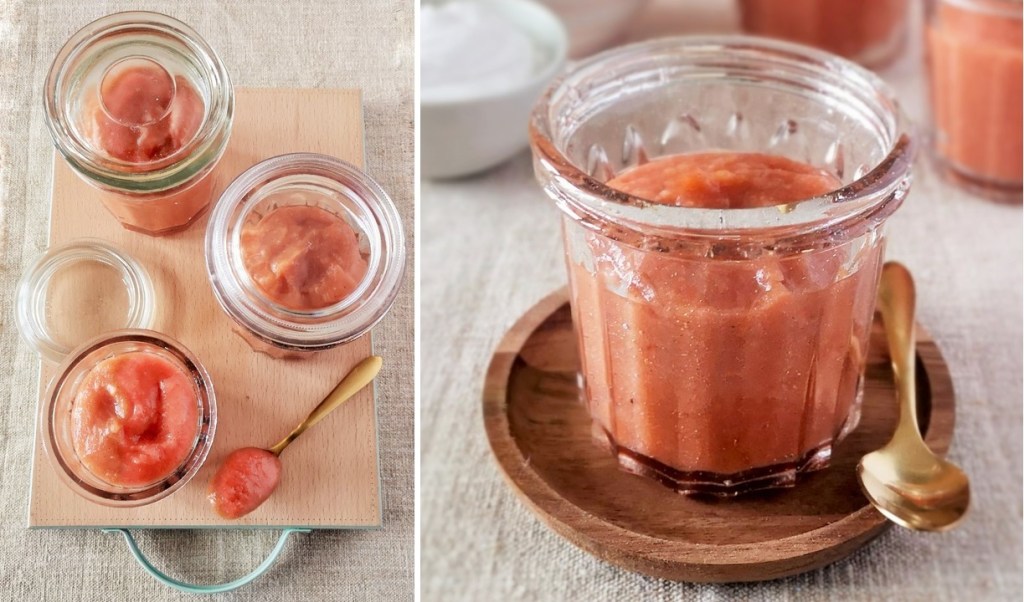
3. Meanwhile, cut up the orange shells into the size of shreds you prefer and put to one side. I kept the sliced peel quite chunky, hence my name for the marmalade.
4. Stir the shredded peel into the cooking liquid. Add the sugar and extra lemon juice if using. Stir over a low heat until the sugar is dissolved. Raise the heat and boil for about 25 minutes until setting point is reached – 105.5°C . Allow to cool a little in the saucepan until the mixture begins to firm slightly, then stir the marmalade to distribute the peel before spooning into clean jars and sealing whilst still hot.

Cool, label and store in the usual way. Here’s a link to my other marmalade recipes if you want to compare the methods Seville orange marmalade – traditional and dark (naturally gluten-free, dairy-free and vegan)

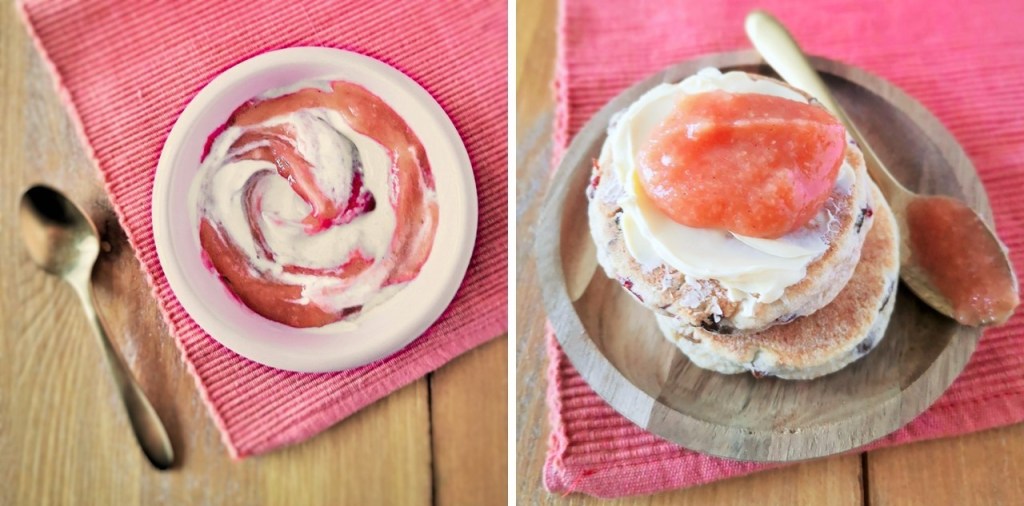
I had a few spoonfuls of marmalade leftover once I had put the rest in jars; the “cook’s privilege” I call it. It made the perfect topping for a very indulgent bowl of porridge the next morning 🙂
Until next time, have a good few days and I look forward to posting again soon.