I like all root vegetables, but sadly I struggle to grow anything other than potatoes. Fortunately, I am able to buy a good variety from local farm shops and this feels like the next best thing to growing them myself. This week’s recipe can be made with any root you have to hand. The cooking method bakes the different vegetable layers to a melting-tenderness and is a perfect choice if you want a vegetable dish suitable for preparing ahead. Once the basic layering and baking is done, the cooked vegetables will sit quite happily in the fridge for a couple of days before baking again to serve. You can scale the recipe up easily if you’re feeding a crowd and mix and match the vegetables you use.
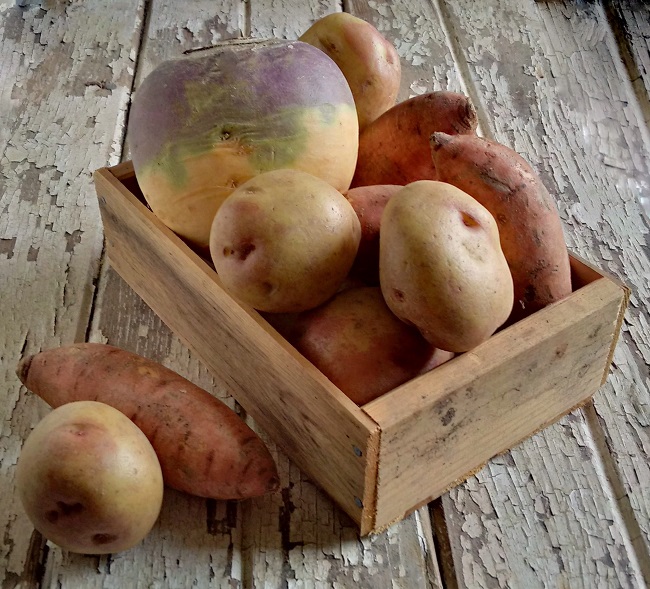
My version makes an 18cm square layer which cuts neatly into 9 portions and uses sweet potatoes, turnip (or swede, depending on where you come from) and potatoes, but carrots, parsnips and celeriac work fine as well, and you can also use just 1kg of your favourite root, if you prefer. The most important things to remember are to slice the vegetables thinly and evenly (preferably use a food processor or mandolin) and make sure you cook the vegetables until completely tender during the first baking – test with a skewer to be completely sure.

Makes 9 portions
Ingredients
- 300g sweet potatoes
- 300g turnip (swede)
- 400g main crop potatoes such as King Edward or Maris Piper
- 75ml vegetable stock
- 3 tbsp. olive oil
- 40g dairy-free margarine (or butter if you eat it)
- 1 large clove garlic, peeled and crushed
- Salt and freshly ground black pepper
- Freshly chopped parsley
- Preheat the oven to 180°C (160°C fan oven, gas 4). Grease and line a straight-sided, deep 18cm square cake tin with baking parchment.
- Peel and thinly slice all the vegetables – I use a food processor for this. Either layer in the tin individually or mix all the vegetables together and arrange evenly in the tin.
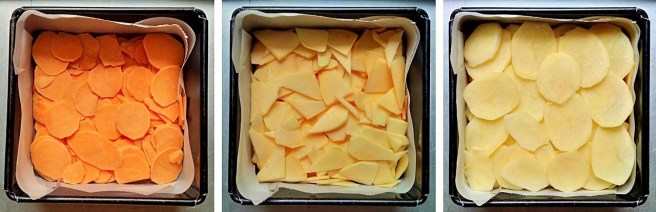
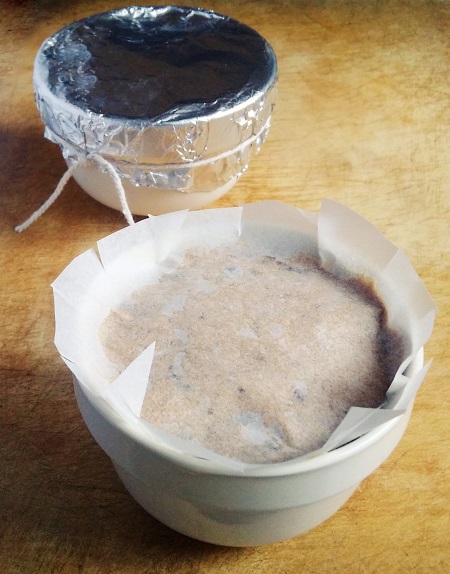
Layering the root vegetables in individual layers. Images: Kathryn Hawkins - Pour over the stock and drizzle with the oil. Cover the top of the tin with foil and bake for at least an hour until completely tender. Remove the foil and leave to cool completely.
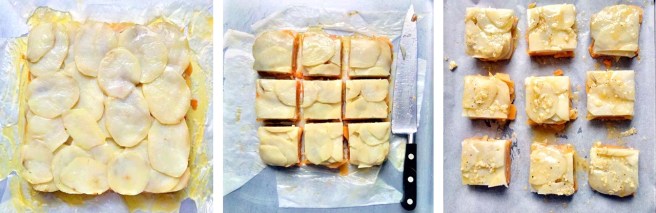
- Cut a square of firm cardboard the same size as the inside of the tin and wrap in a layer of foil. Place a sheet of baking parchment over the vegetables and sit the foil-wrapped board on top. Weigh down the vegetables evenly using 3 or 4 same-weight cans or jars and chill overnight or for up to 2 days before serving.

Pressing the vegetable layer. Images: Kathryn Hawkins - When ready to cook, preheat the oven to 200°C (180°C fan oven, gas 6). Remove the weights, foil board and baking parchment and carefully remove the pressed vegetable square from the tin.
- Cut into 9 squares and arrange on a lined baking tray. Melt the margarine (or butter) and mix in the garlic and seasoning. Brush the mixture generously over the vegetable squares.
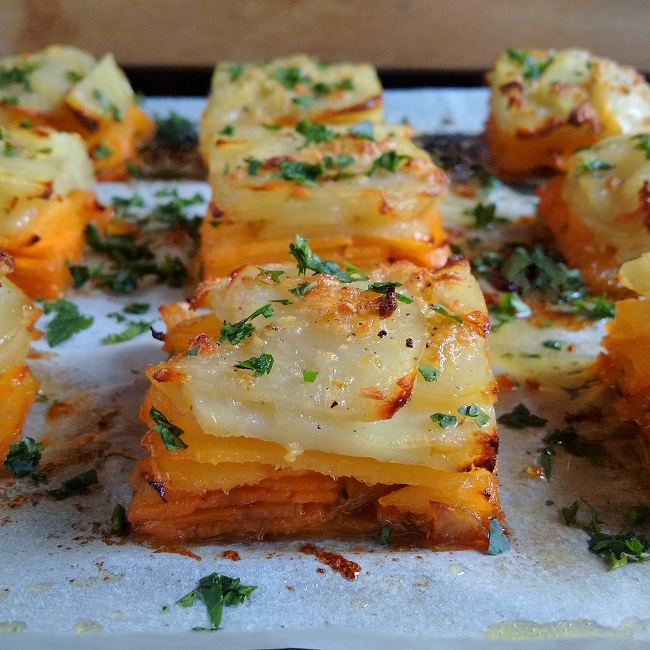
Ready for baking. Images: Kathryn Hawkins - Bake the squares for about 30 minutes until golden and hot. Serve immediately sprinkled with chopped parsley. A great accompaniment to any kind of roast.
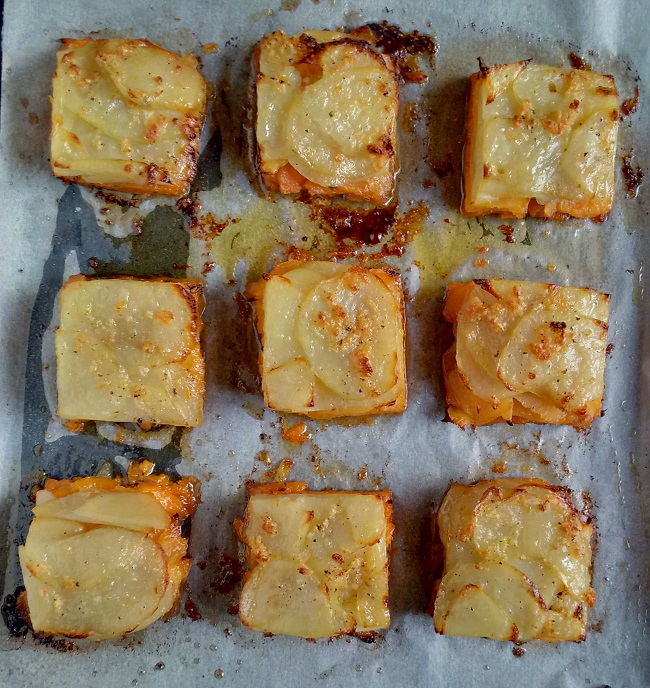
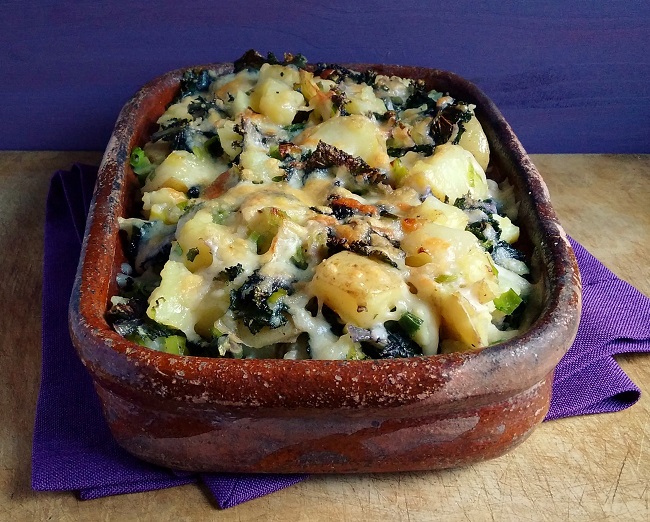
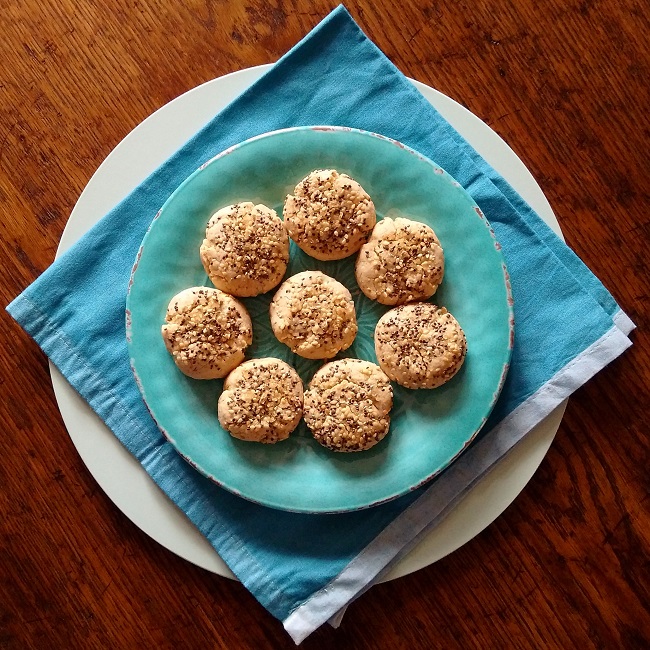
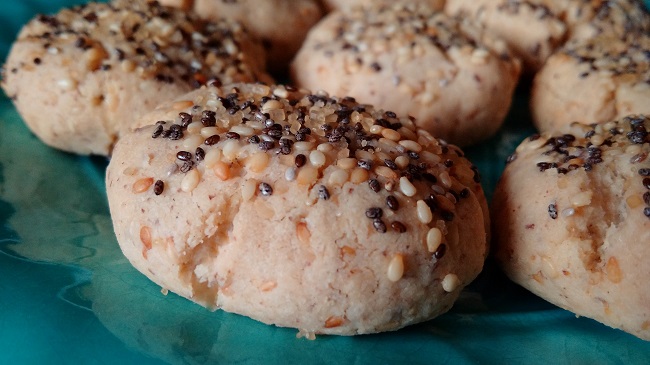
Just baked root vegetable squares. Image: Kathryn Hawkins 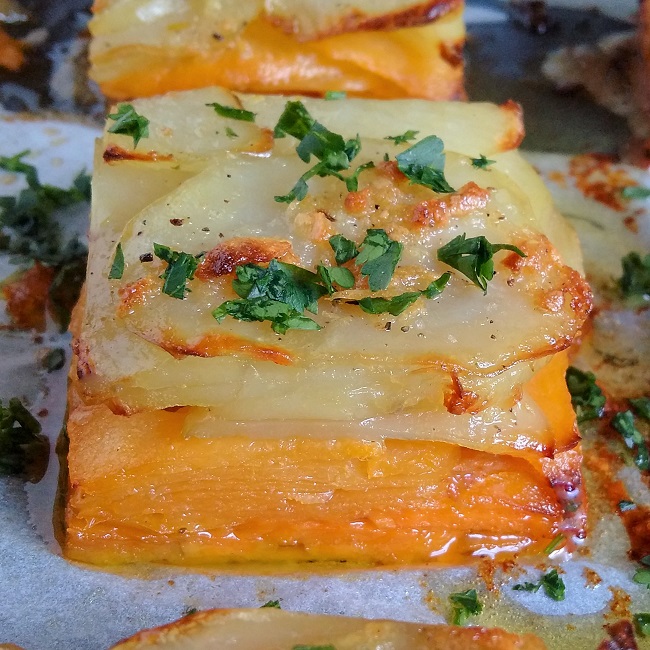
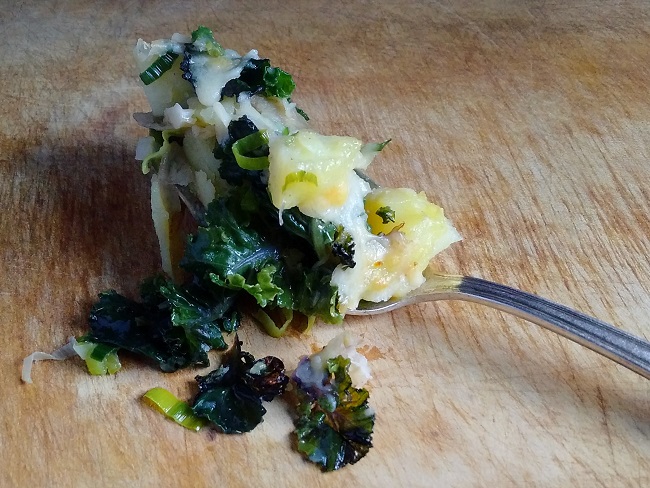
Root vegetables: meltingly tender and packed full of flavour. Image: Kathryn Hawkins