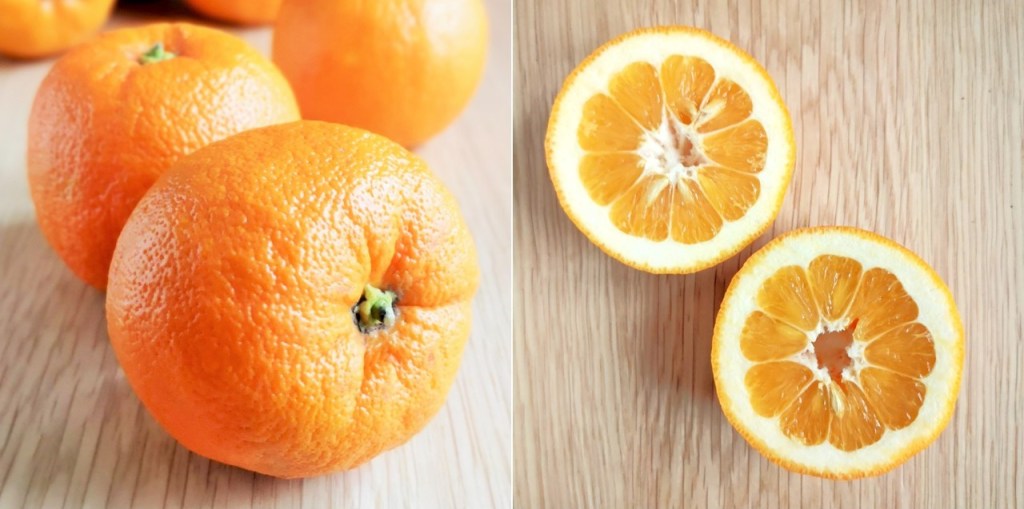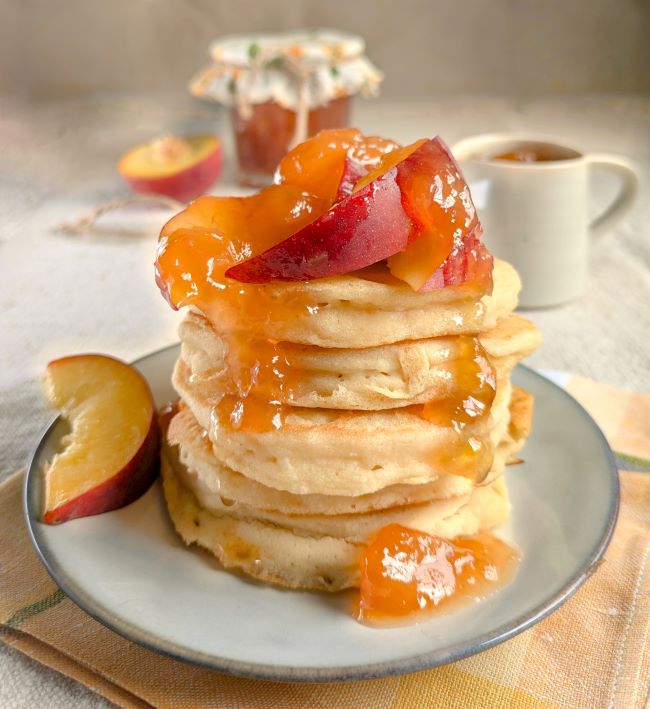
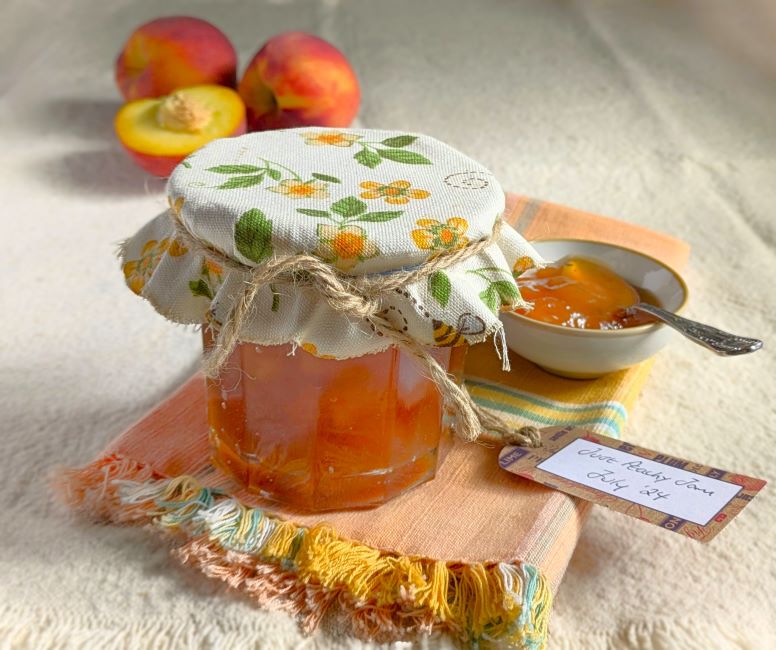
Hello there. I have 2 recipes for you this month: light fluffy pancakes served with a homemade fresh peach jam, inspired by acquiring some homegrown fresh peaches last July. My then neighbour, asked me in to water his burgeoning garden and greenhouse whilst he was away on holiday, and in return I was able to enjoy the pick of the crop. How lucky was I when I discovered the greenhouse peach tree bearing fruit that was ripening so fast the peaches were literally falling from the tree.
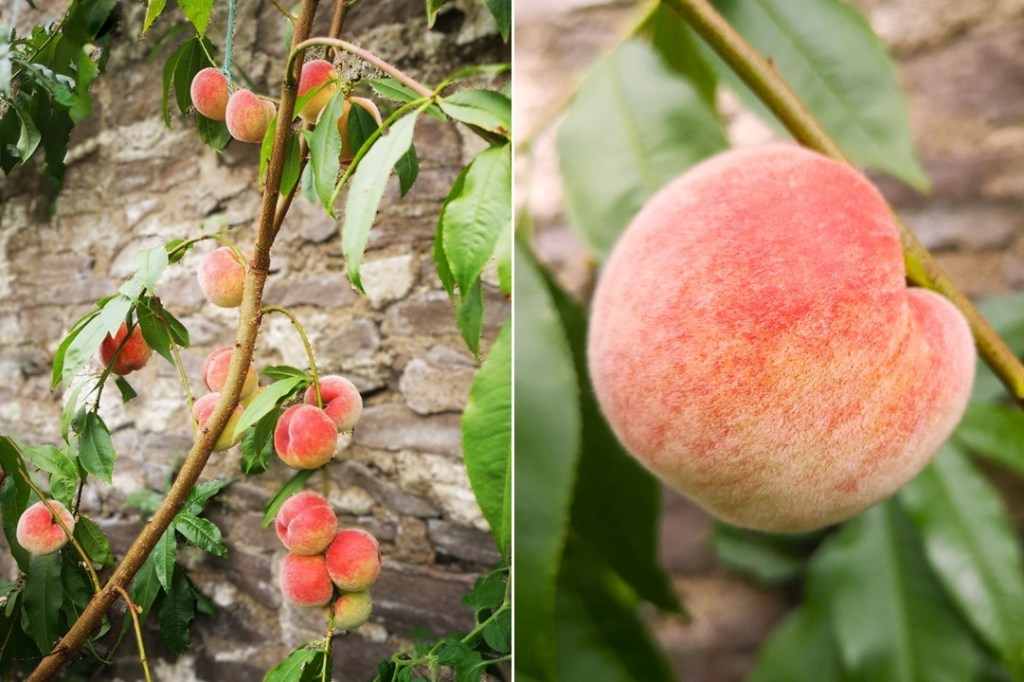
I gathered up the crop and made peach jam for the very first time. Delicious it was too, and, by the way, I did give him a pot when he returned 🙂 The peaches were a very sweet and juicy white variety which peeled very easily without any intervention. I made some this year with firmer, yellow-fleshed peaches and dipped them in boiling water for a few seconds to loosen and then peel away the skins. You can also use a vegetable peeler to do this if preferred. You do need to peel peaches and nectarines for jam making because the skins become very tough when boiled with sugar.
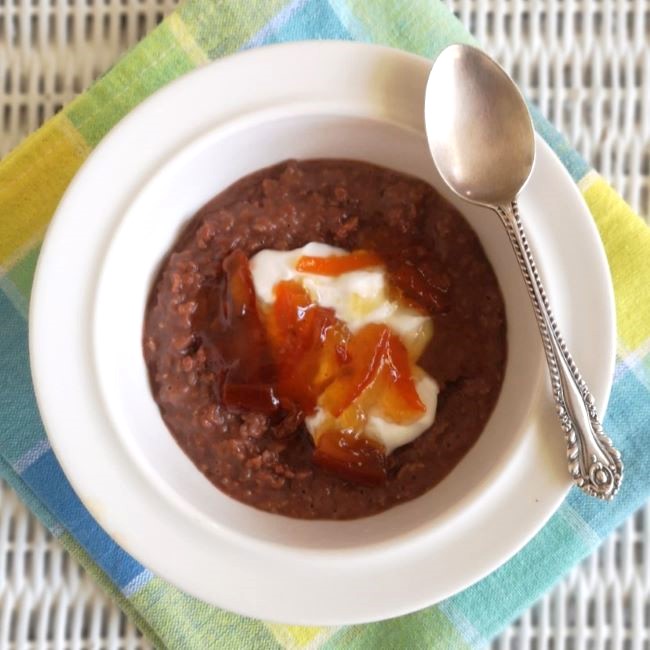
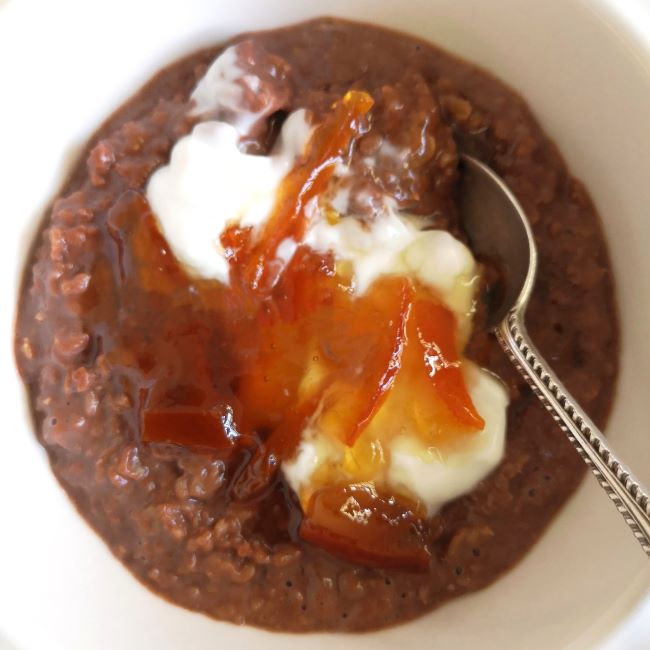
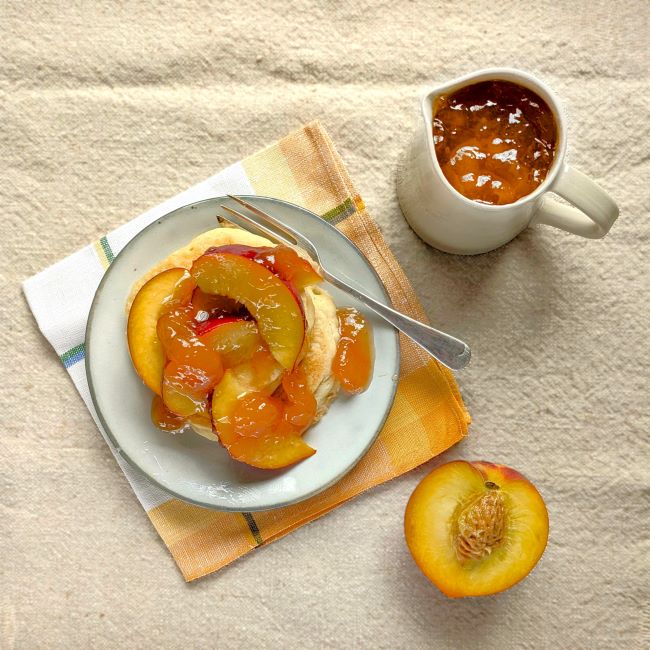
Pancakes make the perfect base to enjoy homemade jam, so I am combining the jam and pancake recipes below in case you want to make either or both.
Makes: approx. 1.125kg jam and 12 pancakes
Ingredients
For the jam:
- 1kg peaches
- 6tbsp lemon juice
- 800g granulated sugar (I used 200g demerara sugar and 600g white sugar)
For the pancakes:
- 175ml plant-based milk
- 2½tsp lemon juice
- 150g gluten-free blended self raising flour
- 30g cornflour (cornstarch)
- ½tsp bicarbonate of soda (baking soda)
- 50g plant-based butter, melted
- 1tbsp maple syrup
- A little vegetable oil for frying
1. For the jam, wash, skin and chop the peaches. If the peaches are very ripe, then will break up easily. If the peaches are firm, cut them into small pieces. Put the stones to one side and place the peach flesh in a bowl. Mix in the lemon juice.
2. Put the stones on a square of muslin, twist the edges together to contain the stones within, and bash hard with a rolling pin to smash them open. Tie the muslin securely.
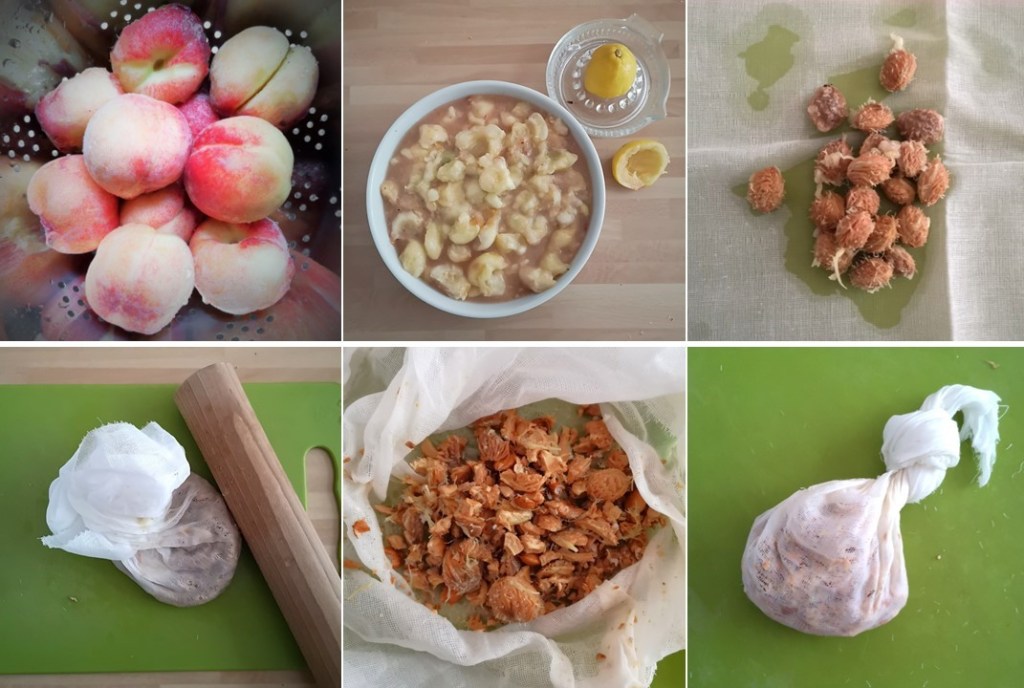
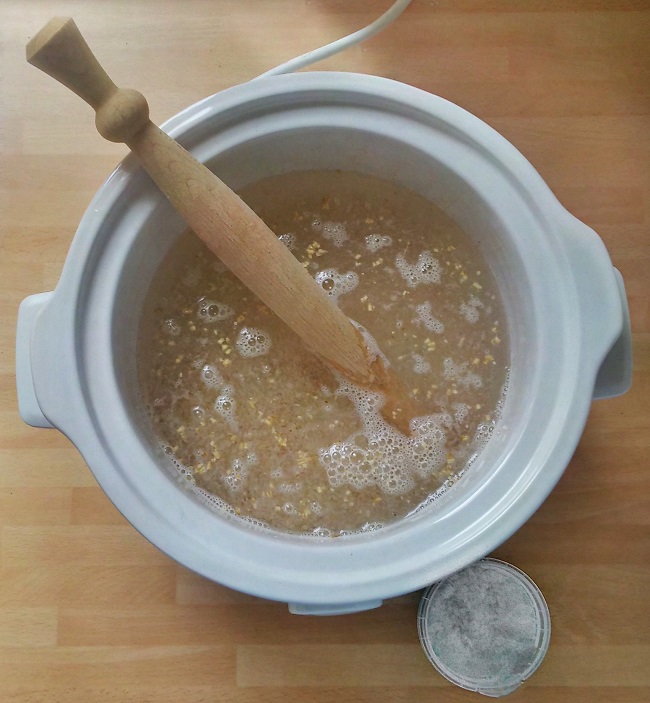
3. Transfer the peach and lemon mixture to a saucepan, and heat until steaming and hot, then simmer gently to soften the fruit. If the peaches are very ripe and soft, they will require little or no cooking.
3. Add the sugar and stir until dissolved, then raise the heat, add the bag of crushed stones and boil rapidly until setting point is reached – between 104° and 105.5°C.

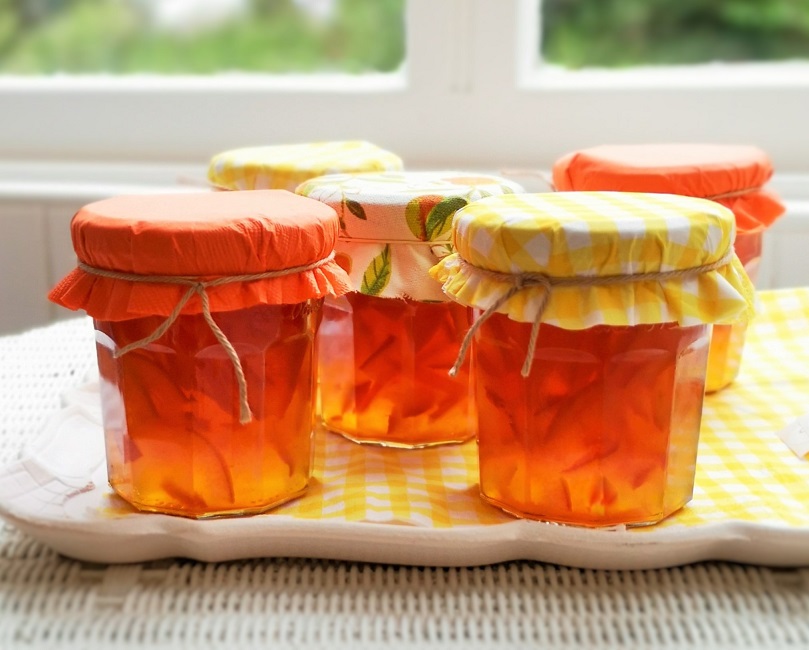
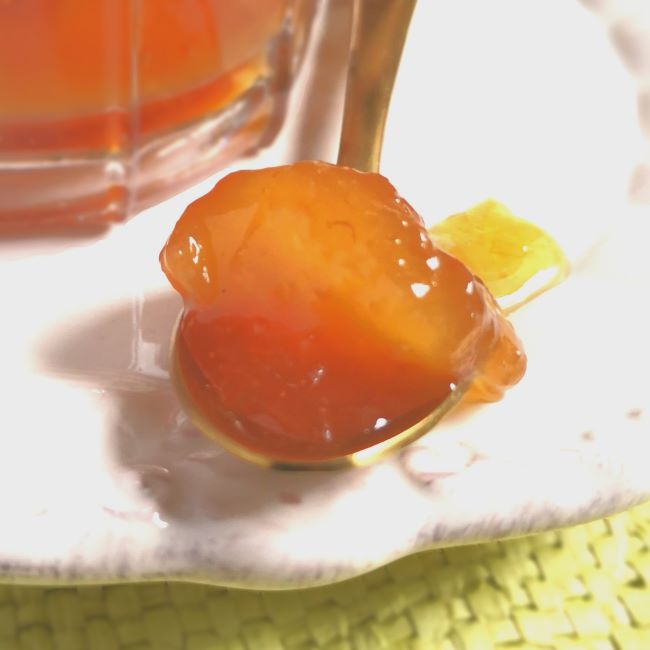
4. Discard the stones and leave the jam to stand for a few minutes to thicken slightly, the stir to distribute the fruit pieces and spoon into clean jars and seal straight away. Cool, then label. The jam is ready to eat but will keep for several months if stored correctly.
To make the pancakes:
1.First make a buttermilk. Mix the milk and lemon juice together and leave to stand for a for a few minutes until it thickens slightly.
2. Sift the flour, cornflour and bicarbonate of soda into a bowl and make a well in the centre. Add the melted butter, maple syrup and buttermilk and gently mix everything together to make a thick batter. Note: as soon as you mix the liquid into the dry ingredients, the raising agents get to work and produce air bubbles. You need to get the batter cooked as quickly as possible in order to make fluffy pancakes.

3. Working quickly, brush a large frying pan or flat griddle pan lightly with oil and heat until hot. Use a tablespoon measure to spoon 2 spoonfuls of batter on to the hot pan to make a thick pool. Add further pools depending on how much space you have in the pan. Cook over a medium heat for about 2 minutes, turn over and cook for a further 1-2 minutes until lightly golden and puffed. Either transfer to a dish, cover and keep warm, or cool on a wire rack, whilst you cook the remaining batter.

Serve warm or cold with your favourite toppings. The pancakes will keep for a few days in a sealed container and can be toasted or quickly pan-fried to heat through. They also freeze well.
Until next time, happy cooking, and I look forward to sharing another post with you soon 🙂