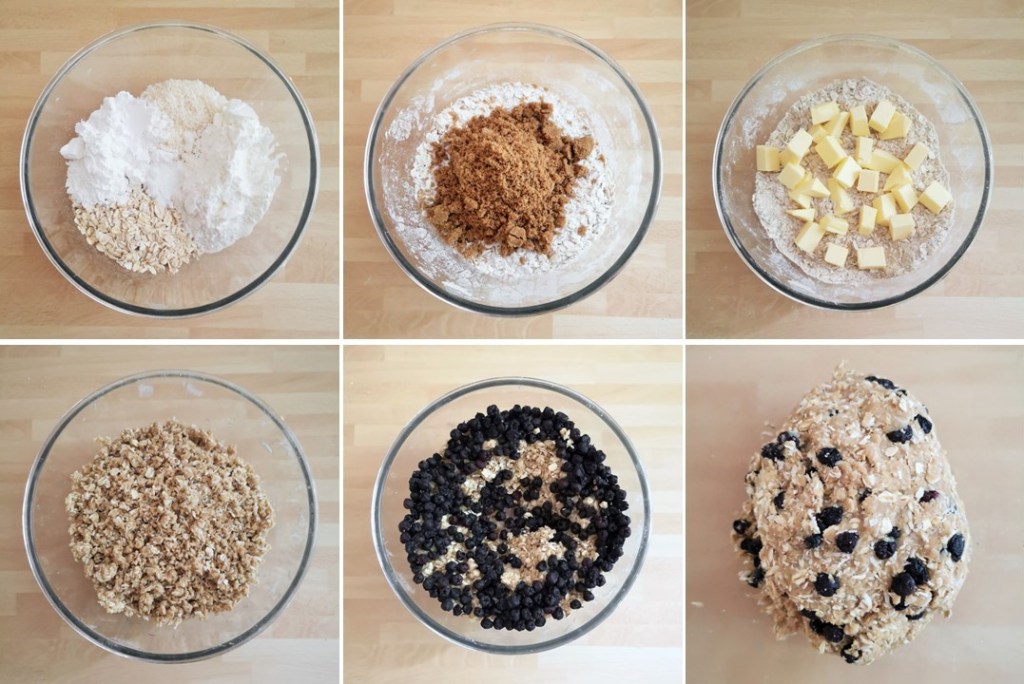
It’s that wonderful time of the year when the garden begins to yield produce thick and fast. My latest pickings are from the many Salal (Gaultheria shallon) bushes around the garden which have provided a very abundant crop of berries this year. Too many for me to deal with, so I’m happy to say that the birds are enjoying a feast as well.
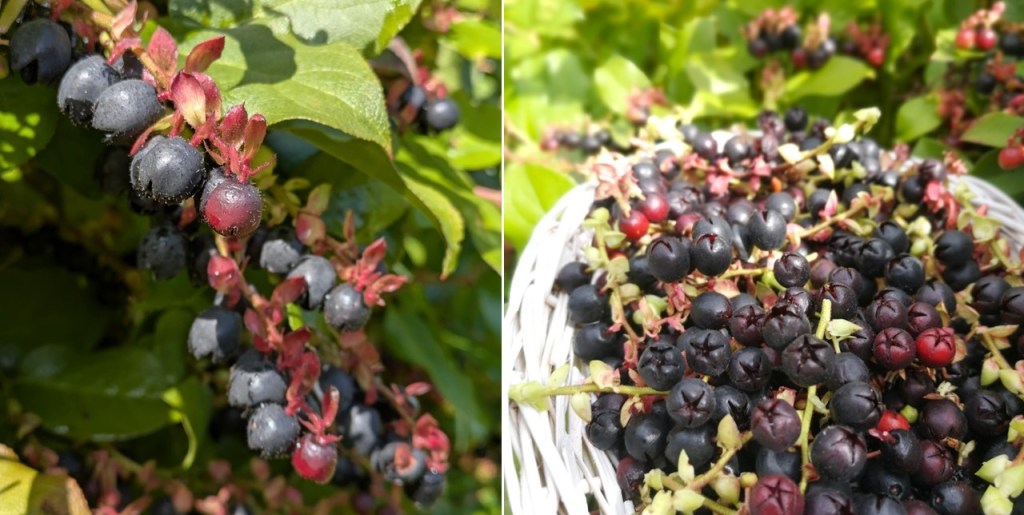
The berries are quite challenging to pick individually as they often go to mush in your fingers when they are very ripe. Last year I found a better way of dealing with the problem. Harvest them on their stalks – they grow in clusters so it is easy to snip off the stems with the berries attached.

Wash and dry the berries well, then lay on trays and place in the freezer until you are ready to deal with them. Once frozen solid, they pull away easily from the stems and the berries can then be packed and returned to the freezer for future use.
If you want to use them fresh though, you’ll have to persevere and pull them gently from the stems after washing and drying them.

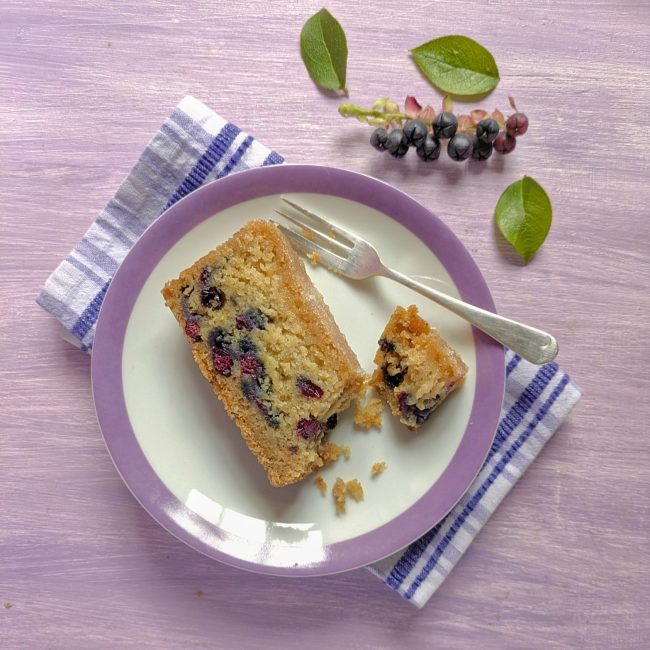
My recipe this week uses the berries fresh, but you don’t need that many for the mixture. I did try it with frozen and it worked fine, but the texture was a little wet for my taste. Blueberries would make a good substitute if you prefer. This is one of those cakes that gets better the longer you leave it. The flavours become more fruity and the texture is denser and richer. Store in an airtight container for up to a week if you can leave it alone. The initial crunchiness of the lemon sugar top will disappear on storing, but it is replaced by a sticky lemony crust instead. It freezes fine as well 🙂
Serves: 8
Ingredients
- 1tbsp ground linseed
- Juice and rind 1 unwaxed lemon
- 185ml plant milk (I use a barista-style oat milk)
- 115g plant butter, softened
- 150g caster sugar
- 175g gluten-free plain flour blend
- 50g ground almonds
- ¼tsp xanthan gum (optional, but the cake is very crumbly without it)
- ¾tsp bicarbonate of soda (baking soda)
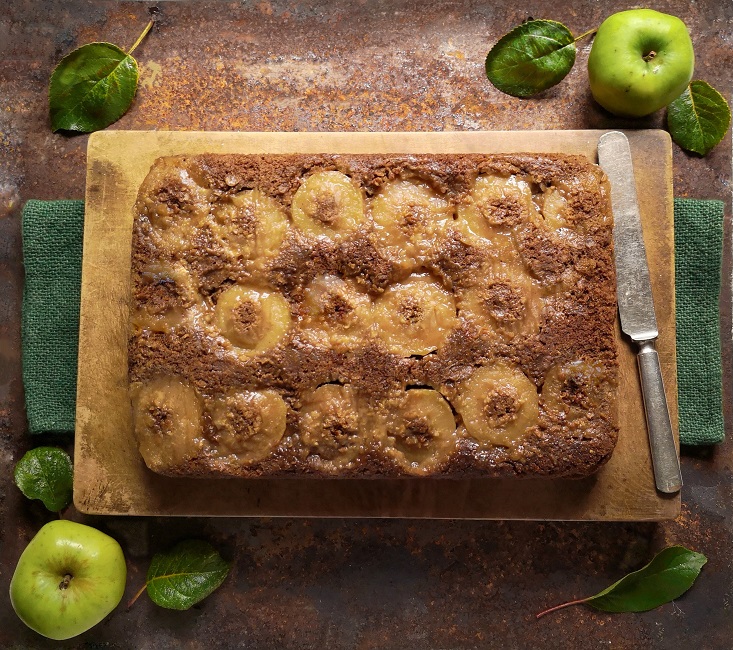
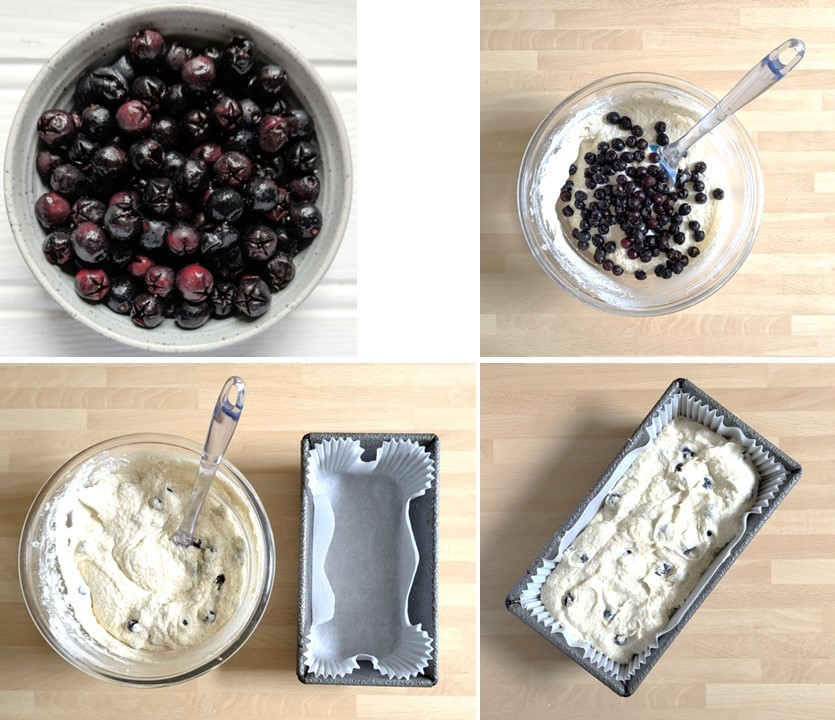
- 80g fresh Salal berries, washed
- 75g granulated sugar
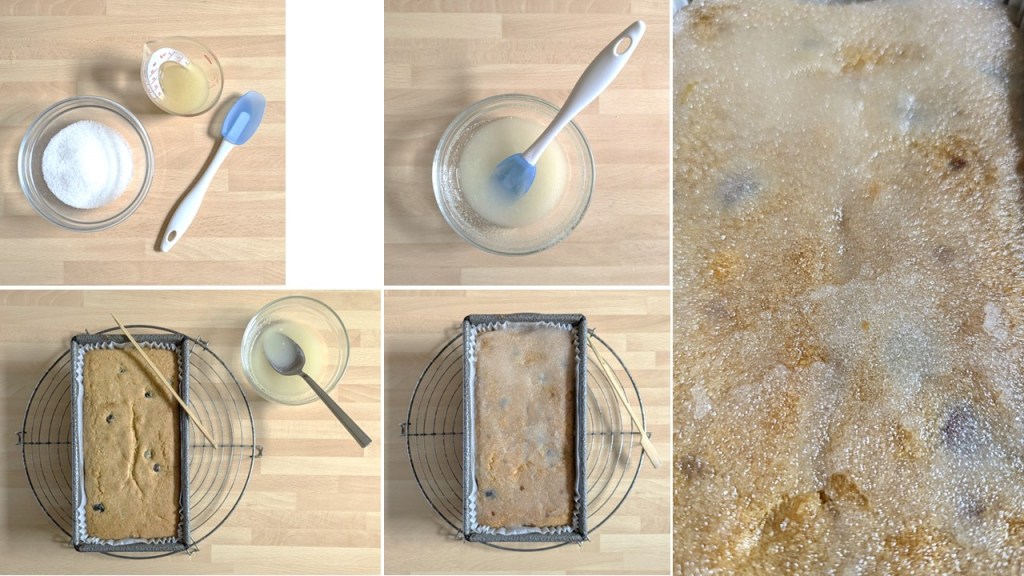
1. Preheat the oven to 180°C, 160°C fan oven, Gas Mark 4. Line a 1kg loaf tin. Mix the linseed with 3tbsp cold water and put to one side to thicken. Mix 2½tsp lemon juice into the milk and leave for a few minutes at room temperature to thicken.
2. Whisk the butter and caster sugar together until creamy and well blended then gently whisk in the linseed and milk mixtures – don’t panic, the batter will look very lumpy!
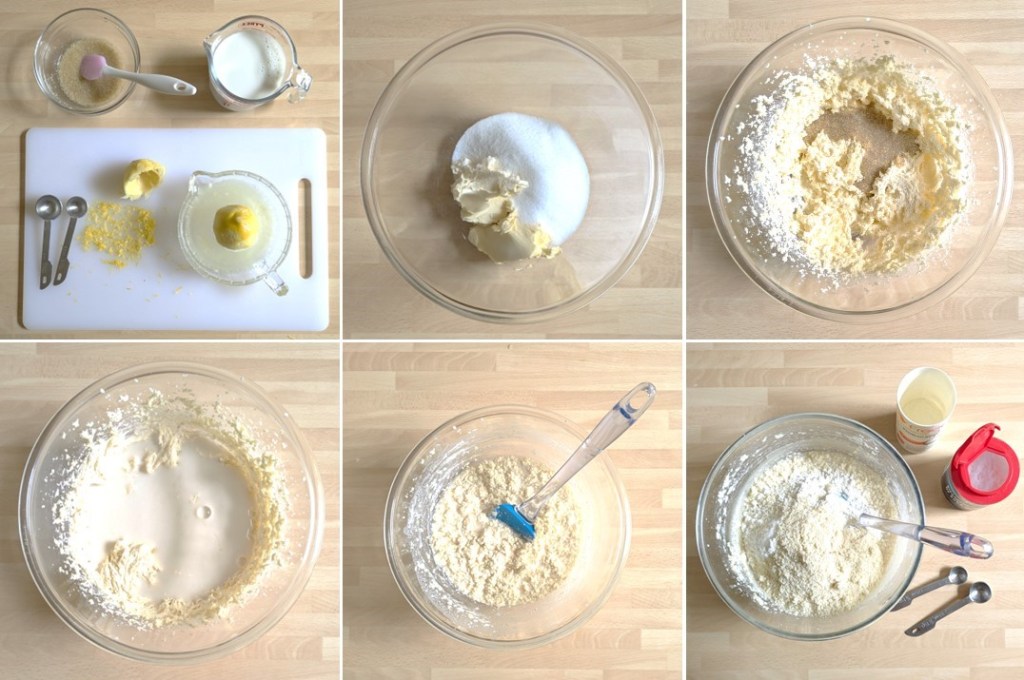
3. Add the lemon zest, flour, almonds, xanthan gum and baking soda, and mix well until the batter is smooth and creamy. Gently stir in the berries.
4. Transfer the mixture to the loaf tin, smooth the top and bake for about 1hr 15 minutes until risen and firm to the touch.
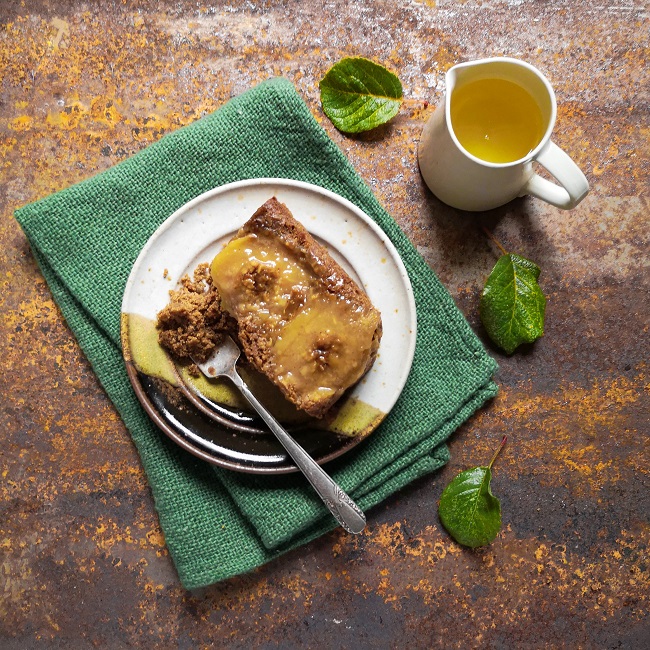
5. While the cake is in the oven, prepare the lemon topping by simply mixing 2tbsp lemon juice with the granulated sugar.
6. When the cake is cooked, place the tin on a wire rack and skewer the cake in a few places. Spoon over the lemon sugar evenly to form a crust and leave the cake to cool in the tin.
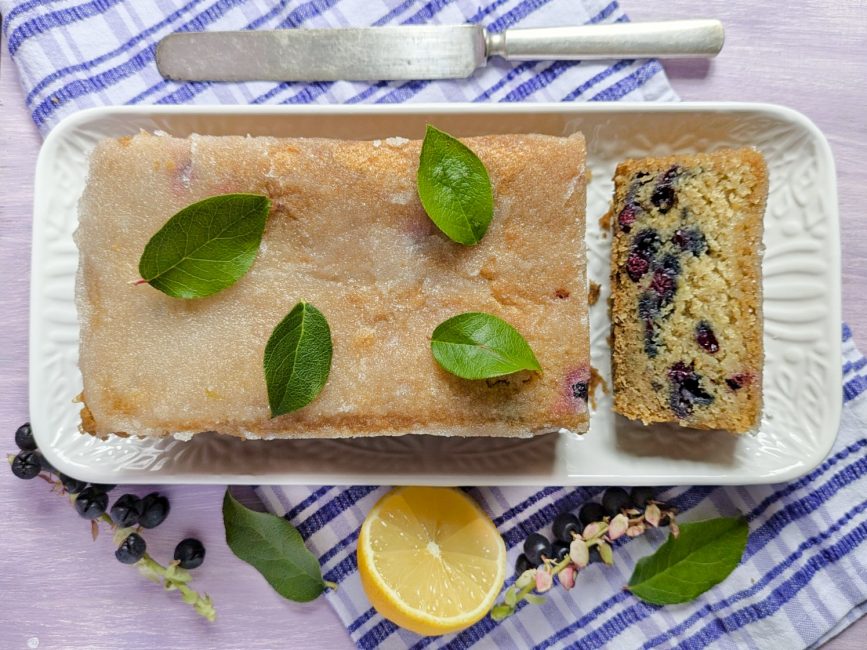
As the cake cools, the sugar sets in a crusty layer on top whilst the juices soak into the cake. Delish. I served my cake decorated with a few (washed) Salal leaves for a splash of colour – just for show, these are not edible.
Thanks for stopping by. I hope to see you again soon. Best wishes and happy baking 🙂