Cauliflower greens with creamy wild garlic sauce (Gluten-free; dairy-free; vegan)

Cauliflower_greens_cooked_in_cream_with_wild_garlic
Cauliflower greens with creamy, wild garlic sauce. Image: Kathryn Hawkins

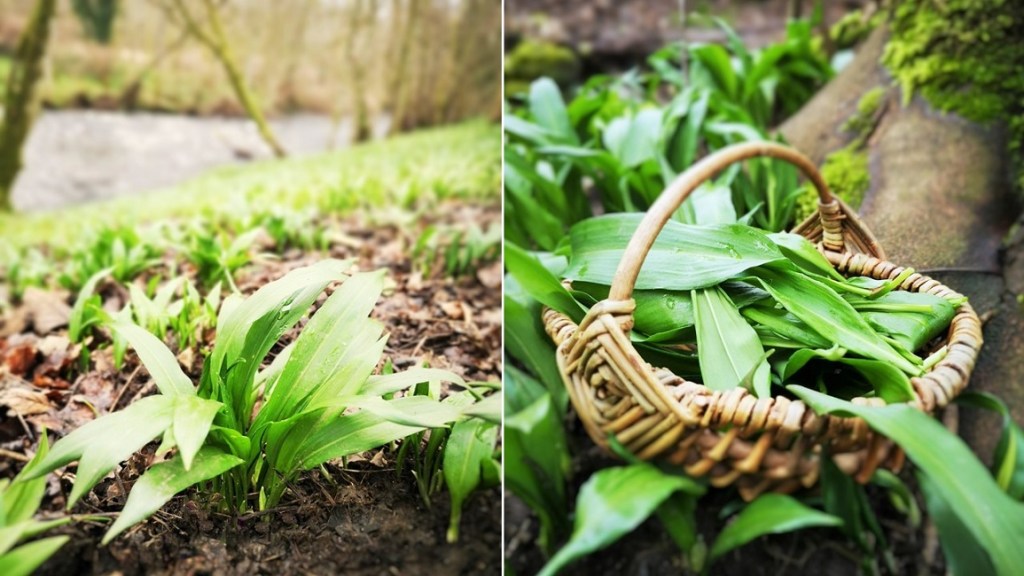
It really does feel like spring has sprung. This week, I have been out picking my first wild garlic of the season from the banks of the River Earn here in Perthshire. And what better way to use this wonderful natural freebie, than a thrifty recipe idea which helps you reduce food waste as well. If you are out picking wild garlic over the next few weeks, only pick 1 or 2 leaves from well established plants, and only in an area where there are plenty of plants growing.

Picking_wild_garlic_beside_the_river_Earn_in_Perthshire
New season Scottish wild garlic. Images: Kathryn Hawkins

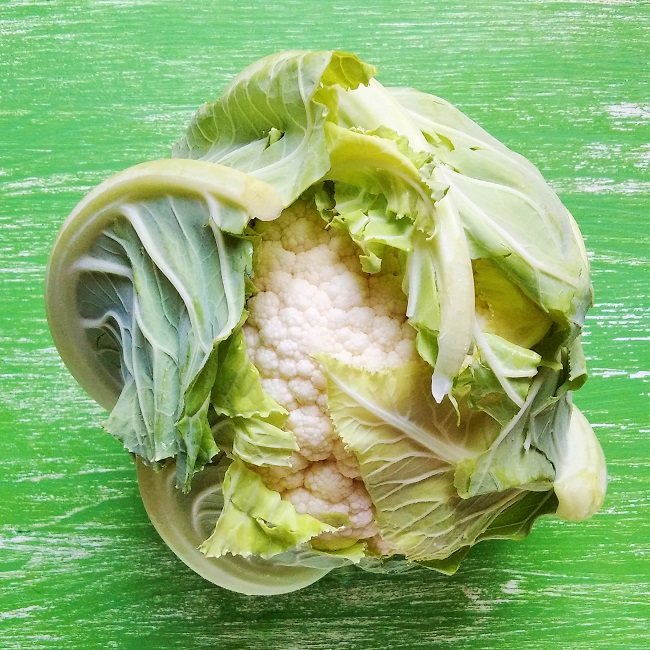
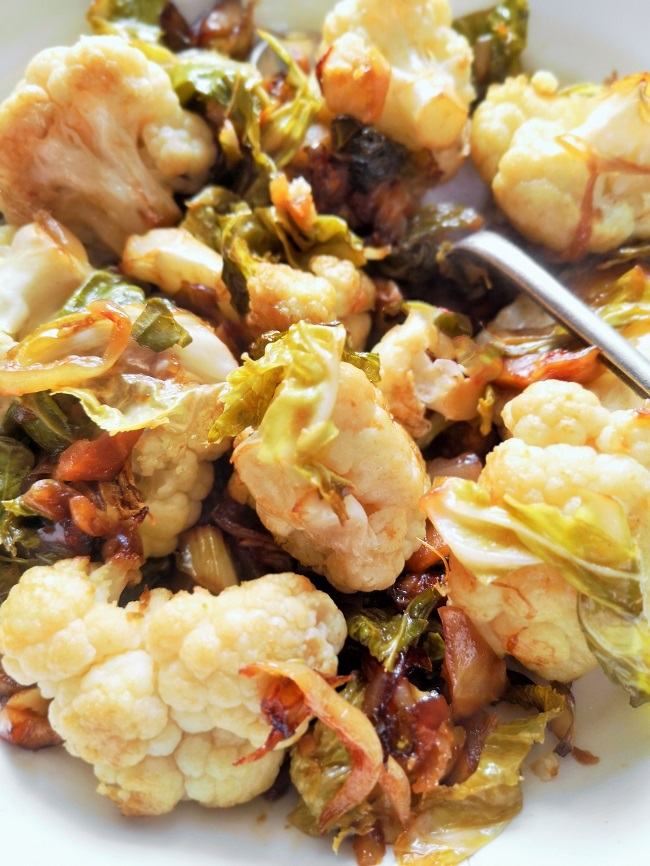
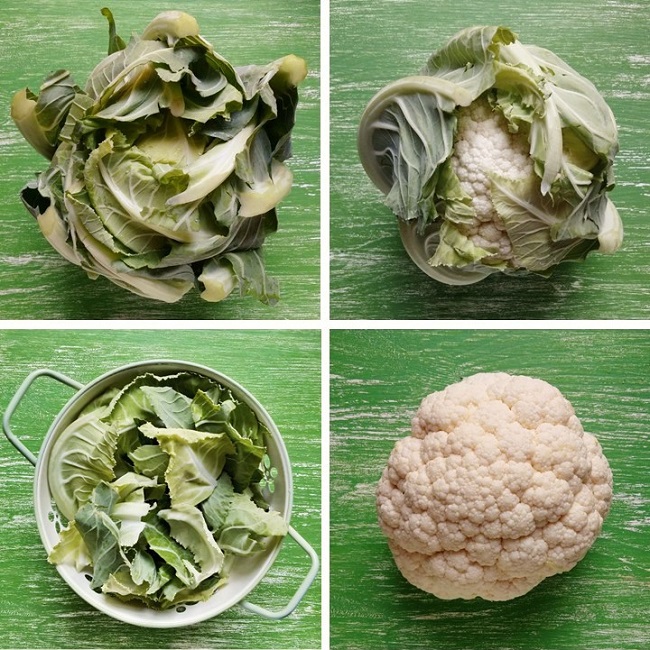
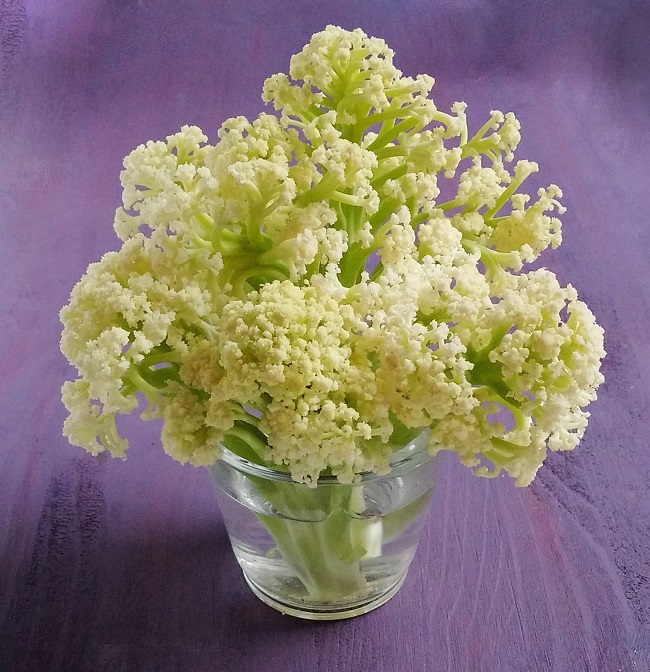
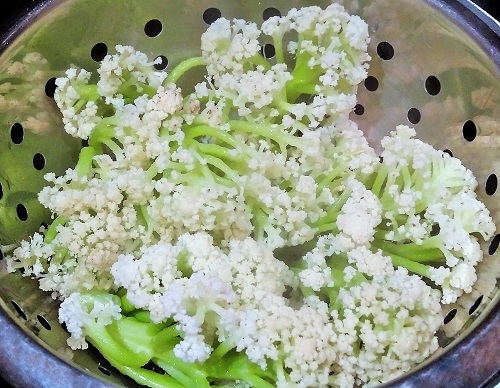
Since I realised how delicious cauliflower greens are, I have been choosing the vegetable untrimmed and with as much foliage as possible. The leaves often look a bit wilted and sad, but after popping them in a bowl of cold water, they plump up again in no time. Rinse and drain, and then they are ready to use just like spring greens or cabbage.

Reviving_cauliflower_leaves_in_cold_water
Reviving cauliflower leaves. Images: Kathryn Hawkins

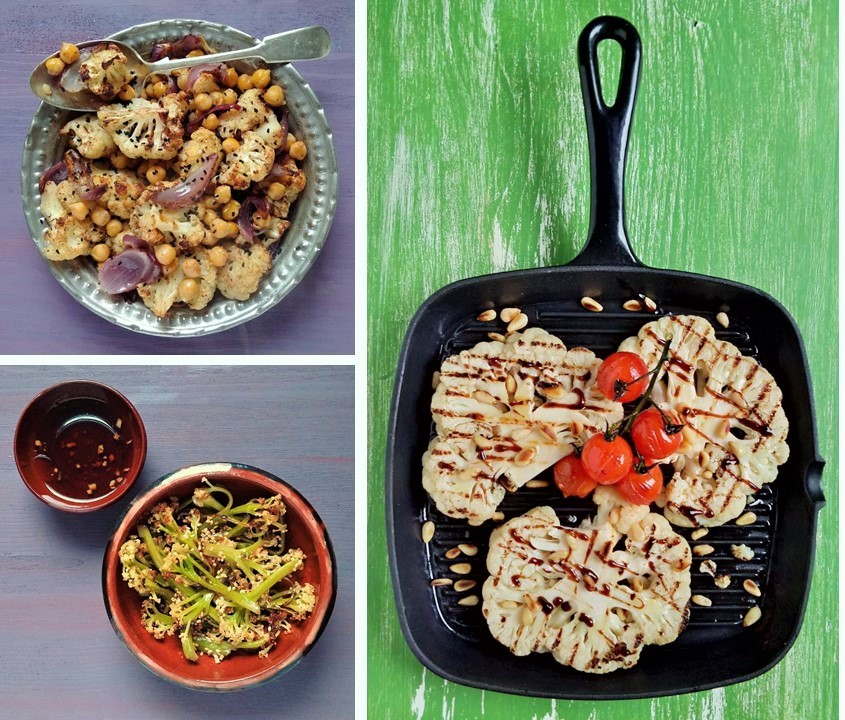
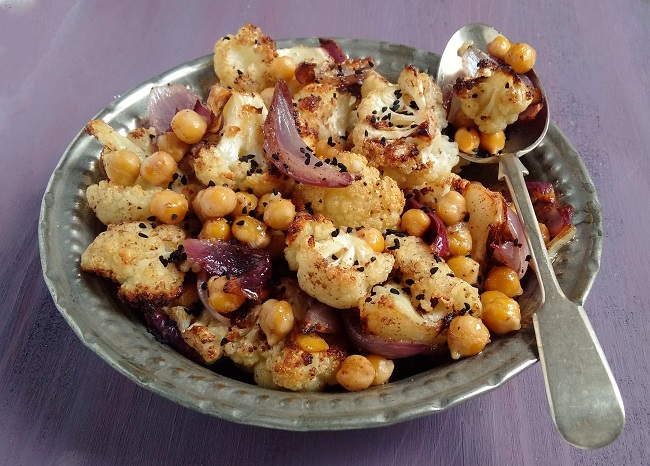
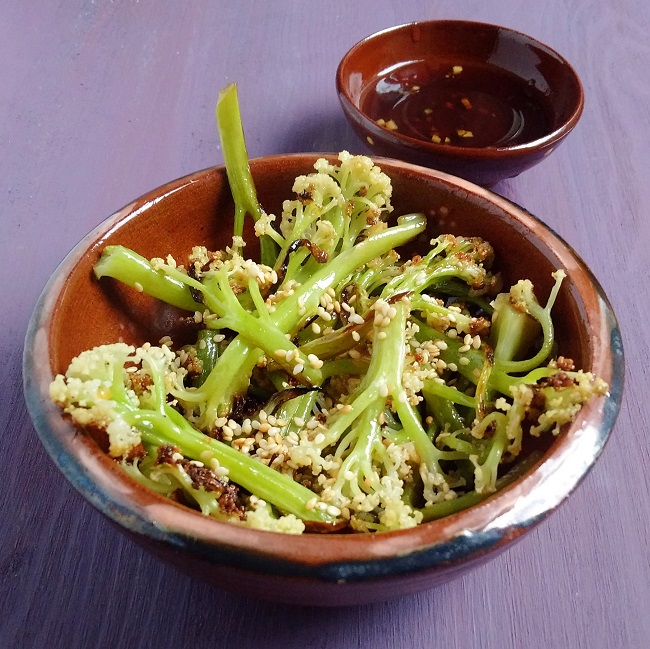
My recipe this week is based around the greenery and stalks of the cauliflower, so you can use the creamy curds for something else. If you want some inspiration, here are some links to other cauliflower recipe posts on my blog: Soy-braised cauliflower (gluten-free; dairy-free; vegan) and Cauliflower – the king of winter vegetables – 3 recipe ideas (gluten-free; dairy-free; vegan)

Cauliflower_leaves_and_stalks_being_prepared
Preparing cauliflower stalks and leaves. Images: Kathryn Hawkins

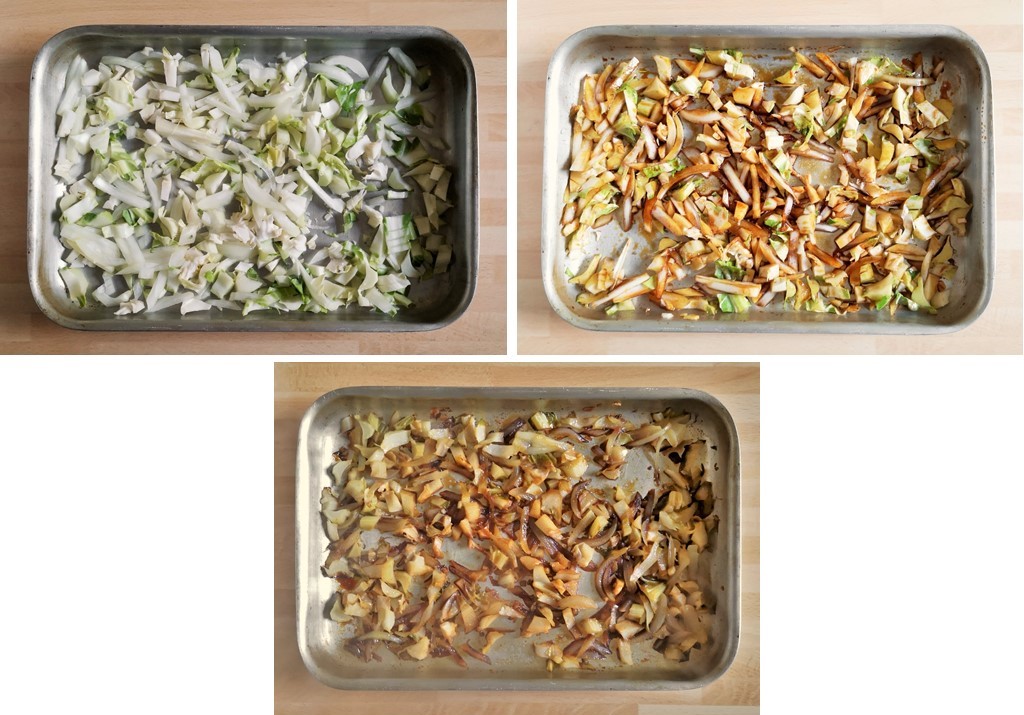
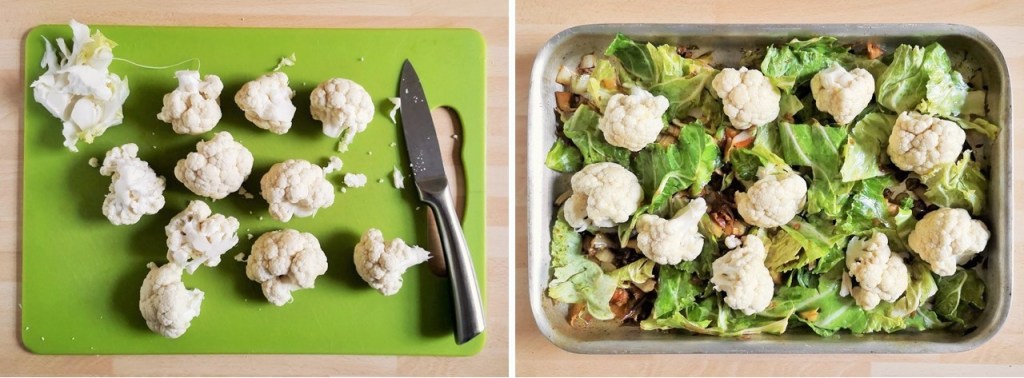
Once you have revived the cauliflower greens, slice or rip the leafy part from the stalks. Trim the stalks and get rid of any damaged bits, then chop finely. Shred up the leaves and set aside. I ended up with 270g leaves and stalks from one smallish cauliflower.

Washing_drying_and_chopping_wild_garlic_leaves
Washing and prepping wild garlic leaves. Images: Kathryn Hawkins

Always wash wild garlic very well in plenty of cold water. Drain and shake dry – I find my salad spinner useful for this. Trim and shred the leaves for immediate use, or put whole washed leaves in a food bag or sealable container in the fridge for up to 4-5 days.

Chopped_celery_and_leek_for_sauce_base
Celery and leek for extra flavour. Images: Kathryn Hawkins

The other ingredients for the base of the sauce are some chopped celery stalks – you can see that this one had been in the bottom of my fridge for a while ! (By the way, I ate the celery leaves in a salad) Once trimmed and chopped, I had about 90g celery stalks. I also sliced up a large leek.

Here’s the very simple recipe method to make enough sauce for 3-4 portions:

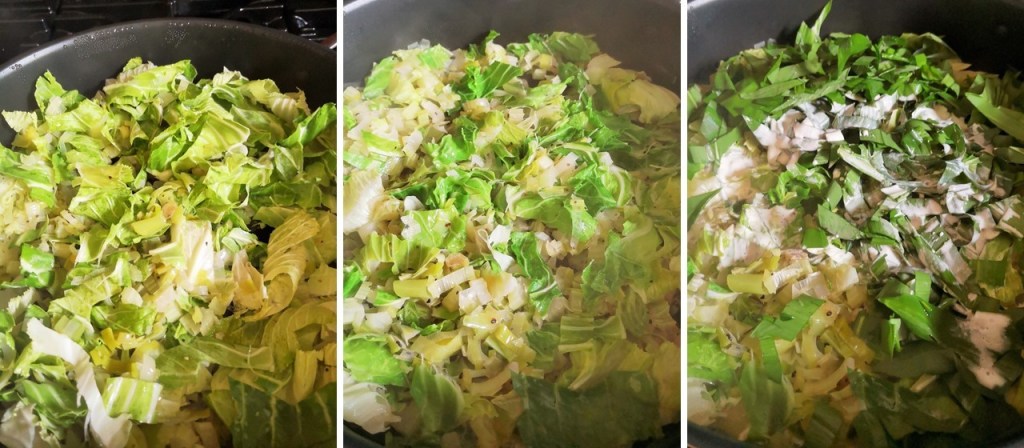
  1. Melt 25g plant butter with 1tbsp olive oil or other vegetable oil until bubbling, then add the chopped cauliflower stems, celery and leek; season with salt and ground black pepper and stir for 1 minute until well mixed. Turn the heat down to low, cover and cook gently for 10 minutes to soften
  2. Mix in the cauliflower leaves, re-cover and cook gently for 5 more minutes.
  3. Finally, add about 40g chopped wild garlic leaves and 150ml plant-based double cream – add more if you want a looser consistency. Stir over a low heat for 3-4 minutes until wilted down, then cover, turn off the heat and let stand for 10 minutes before serving.
Preparing_the_caulifower_sauce_base
Adding_cauliflower_leaves_and_wild_garlic_to_sauce_base
This 6 stages of sauce. Images: Kathryn Hawkins
Freshly_cooked_creamy_garlic_greens
Creamy greens ready to serve. Image: Kathryn Hawkins

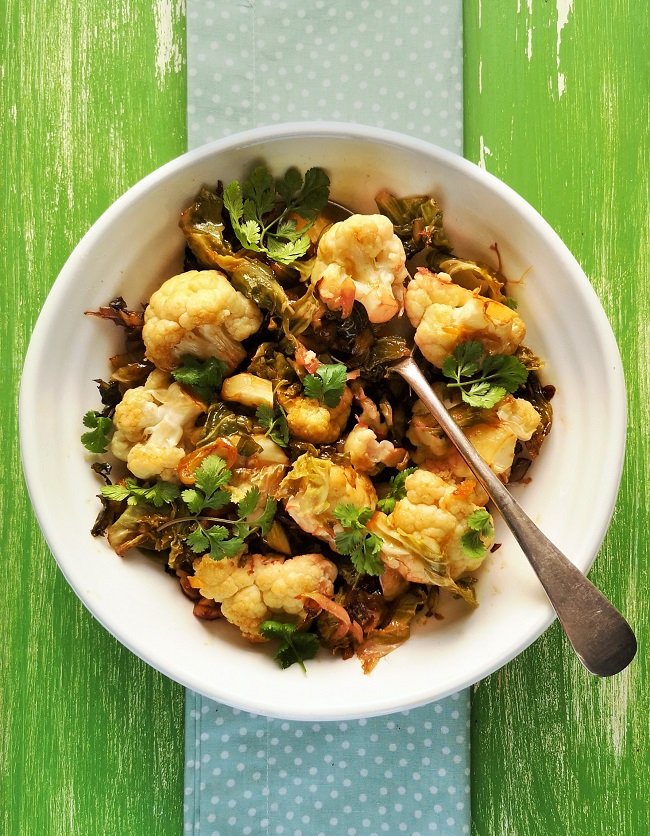
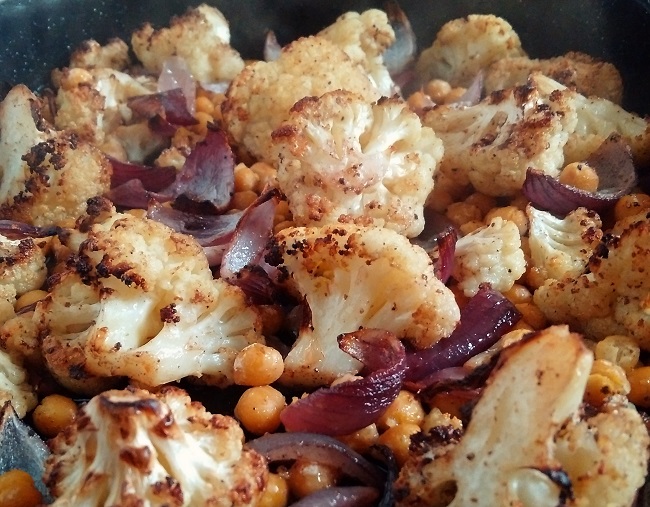
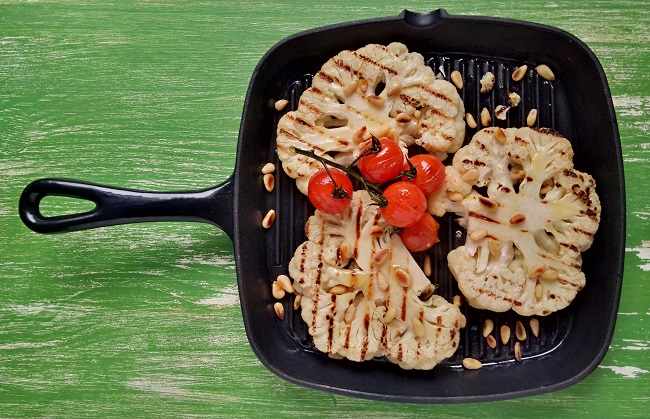
And that’s it. A delicious green sauce for serving over pasta or rice, or as an accompaniment to griddled cauliflower steaks or roast cauliflower florets. If you don’t have access to wild garlic, add a couple of crushed garlic cloves to the sauce base at the beginning.

Until next time, enjoy Spring, happy foraging, and take care 🙂

Soy-braised cauliflower (gluten-free; dairy-free; vegan)

Serving_bowl_of_soy-braised_cauliflower
Soy-braised cauliflower. Image: Kathryn Hawkins

Hello again. Here we are half-way through another month, and here I am not knowing where the time has gone since my last post. I hope you had a good Easter holiday. We had some glorious weather over the Easter weekend, but subsequently, we have had a return to winter with sub-zero temperatures at night, along with snow and hail showers. The fruit blossom had just started to open, and then along came Mr Jack Frost. I think I have managed to save the most delicate blooms, but sadly the rhododendrons got scorched.

With the weather being a little on the chilly side, I have been back in the kitchen cooking up some more heart-warming food. This week I’d like to share with you a very simple cauliflower dish, but it’s a tasty one and it uses up just about every part that this magnificent vegetable has to offer.

Whole_cauliflower_encased_in_leaves
The mighty cauliflower. Image: Kathryn Hawkins

You can adapt the recipe to suit how much cauliflower you have to cook. I had used half of this one in another recipe where just the curds were required, and was left with the other half plus all the leaves and stalks. There is plenty of room for adding your own flavourings to my simple mix of soy sauce, oil and maple syrup, so if you fancy something more spicy or herby, feel free to make your own additions.

Cauliflower_leaves_soaking_in_water
Reviving cauliflower leaves. Images: Kathryn Hawkins

Sometimes when you buy a cauliflower, the outer leaves can look a bit sad and wilted, but I have found that if you soak them in a bowl of cold water, it is quite possible to revive them and make them fresh enough to cook. Discard anything that is too damaged or brown, but the other leaves should perk up quite nicely after a good bath. After soaking, simply drain them and shake off the excess water.

Here’s the rest of the recipe.

Serves: 2 to 4 as a main or side

Ingredients

  • 1 medium cauliflower (approx. 300g curds plus leaves)
  • 1 onion
  • 2 garlic cloves
  • 1 tbsp gluten-free dark soy sauce
  • 1 tbsp vegetable oil
  • 1 tbsp maple syrup
  • 2 tsp sesame oil
  • Fresh coriander to serve

1. Remove the leaves from the cauliflower. Slice out the stalks and put the leafy bits to one side along with the curds. Cut the stalks into small pieces and place in a roasting tin. Peel and slice the onion, and peel and chop the garlic. Mix into the stalks.

Slicing_and_chopping_cauliflower_stalks_for_cooking
Preparing cauliflower leaves and stalks ready for braising. Images: Kathryn Hawkins

2. Mix the soy sauce, oil and syrup together and toss into the vegetables. Cover with foil and put in a cold oven. Set the thermostat to 200°C, 180°C fan oven, gas 6 and cook for 35 minutes.

3_images_ showing_the_cooking_stages_of_cauliflower_stalks_with_soy_and_maple
Cooking cauliflower stalks with soy and maple sauces. Images: Kathryn Hawkins

3. While the stalks are cooking, prepare the curds. Break them into even-sized florets, and cut any larger ones in half. Discard the stump. After 35 minutes cooking time, mix the leaves into the stalk mixture along with 3 tbsp water. Sit the curds on top and brush lightly with sesame oil. Cover the tin with foil again and bake for a further 25 minutes. Remove the foil and bake for 10 minutes, until tender.

Preparing_cauliflower_curds_and_cooking_the_leaves
Adding the curds and leaves. Images: Kathryn Hawkins
Close-up_on_soy-braised_cauliflower
Soy-braised cauliflower curds, leaves and stalks. Image: Kathryn Hawkins

For an extra finishing touch and fresh flavour, sprinkle the cauliflower with fresh coriander.

I hope you have a good few days until my next post. As always, take care and keep safe 🙂

Cauliflower – the king of winter vegetables – 3 recipe ideas (gluten-free; dairy-free; vegan)


Indian-spiced_roast_cauliflower_teriyaki_stir_fried_cauliflower_and_Italian-style_cauliflower_steak
Cauliflower roasted, stir fried, and steaks. Image: Kathryn Hawkins

When it comes to the winter months of the year, trying to buy only home-grown, British vegetables (as is my want) can be quite challenging especially if you desire something other than starchy root crops. In my opinion, the humble cauliflower reigns supreme at this time of year as it is a welcome diversion in flavour, taste and texture.

However, my thoughts haven’t always been so positive towards the cauliflower. At school, cauliflower was boiled beyond all recognition and served as a watery, soft mush – enough to put anyone off the vegetable for life. Yet, today, it is one of the “on trend” vegetables. If you cook it correctly, cauliflower has a  meaty texture, sweet flavour, and best of all, it can be cooked in many ways. It’s full of vitamin C and K, as well as B vitamins and dietary fibre. Easy to prepare, you can eat just about all of it from the inner the cream-coloured curds  to the outer wrapping of juicy leaves.

Preparing_a_whole_cauliflower_in_4_steps
Preparing cauliflower. Images: Kathryn Hawkins

The leaves help protect the curds, so try to buy the vegetable with as much greenery as possible. If you want to store cauliflower for a few days,  keep the leaves intact and place the stalk-end in a shallow depth of water in a bowl, in the fridge, and the cauliflower should keep fresh for up to a week.

To prepare, discard any damaged outer leaves, but keep the inner, more tender leaves – these can be cooked like cabbage. Once the curds are free from leaves, slice or break the head into florets. Prepared cauliflower florets dehydrate quickly so are best cooked soon after preparation.

I rarely cook cauliflower in water, but if I do, it is for a very short time only – the curds can get very spongy very quickly when cooked in water, and the flavour will be lost.

Following are my current 3 favourite ways of cooking cauliflower for maximum taste and texture: roasting, griddled steaks and stir-fried sprouting stems.

Spiced_roast_cauliflower_with_red_onion_and_chick_peas
Roast cauliflower with Indian spices. Image: Kathryn Hawkins

Toss chunky florets of cauliflower and  thickly sliced red onion in sunflower oil. Season with garam masala to taste. Spread out on a baking tray, season with salt and pepper and roast at 200°C (180°C fan oven, gas 6) for about 30 minutes, turning occasionally. Mix in cooked chick peas and return to the oven for a further 10 minutes until everything is lightly browned. Drain well, then serve sprinkled with black onion seeds. For a main meal,  mix into freshly cooked Basmati rice and sprinkle with fresh coriander and roasted cashew nuts.

Close-up_of_spiced_roast_cauliflower_florets
Freshly roasted spiced cauliflower. Image: Kathryn Hawkins

Probably the most popular way to serve cauliflower at the moment is as a steak. I usually cut the prepared curds into 2cm thick slices and poach them in simmering water for a couple of minutes before frying or placing on a griddle or barbecue – a large frying pan is good for poaching as it enables you to lift out the steaks more easily. Use tongs to make sure you drain the steaks well,  and dry them on kitchen paper so that excess cooking water is removed before cooking in oil.

Poaching_cauliflower_steaksin_gently_simmering_water
Pre-cooking cauliflower steaks. Image: Kathryn Hawkins

Griddled_cauliflower_steaks_with_Italian_flavours
Cauliflower steaks with Italian flavours. Image: Kathryn Hawkins

Brush the prepared cauliflower steaks lightly with vegetable oil on one side. Heat a griddle pan or frying pan until very hot, then add the streaks, oiled-side down. Press into the pan, reduce the heat to medium, and cook for 2-3 minutes until golden or lightly charred. Brush the top with more oil, and turn the steaks over. Cook for a further 2-3 minutes or until cooked to you liking. Serve straight from the pan drizzled with extra virgin olive oil, balsamic glaze or reduction, and toasted pine nuts. Top with griddled cherry vine tomatoes and fresh basil.

Vase_of_sweet_sprouting_cauliflower_stems
Sweet sprouting cauliflower. Image: Kathryn Hawkins

One of the new kids on the block in the cauliflower world, is a variety with fine green stems and small, flowery curds. I was a bit sceptical when I first saw it (mainly because of the price), but I have since been converted. The stems are best cooked for a minimum time, just as you would for asparagus – steamed, griddled or stir fried – in order to retain the crisp texture. Unusually, the stems become even brighter green when cooked. The flavour is mild and sweet. To make sure the stems cook evenly, break or cut the stems up so that you have same-size thickness pieces.

You can keep these stems in a jug of water in the fridge for a couple of days to keep them fresh, as they do lose texture quickly. These sweet stems are a perfect choice for a single serving or to add to a combination of other vegetables.

Steamed_cauliflower_sprouts
Freshly steamed in 3-4 minutes, sweet sprouting cauliflower stems. Image: Kathryn Hawkins

Heat a tablespoon of vegetable oil in a deep-frying pan or wok until hot. Add prepared raw stems and stir fry in the hot oil for 3 minutes. Cover with a lid, reduce the heat, and cook for a further 1 minute. Turn off the heat,  add finely chopped garlic to taste and drizzle with a little honey or agave syrup and gluten-free teriyaki marinade. Put the lid back on and leave to stand in the residual steam for a further minute. Drain the stems, reserving the juices, and pile into a warm serving bowl. Sprinkle with toasted sesame seeds. Mix a little sesame oil into the pan juices and serve alongside the stems as a dressing or dip. Utterly delicious 🙂

Bowl_of_freshly_cooked_cauliflower_stems_dressed_with_teryiaki_and_sesame_seeds
Teriyaki and sesame dressed cauliflower stems. Image: Kathryn Hawkins