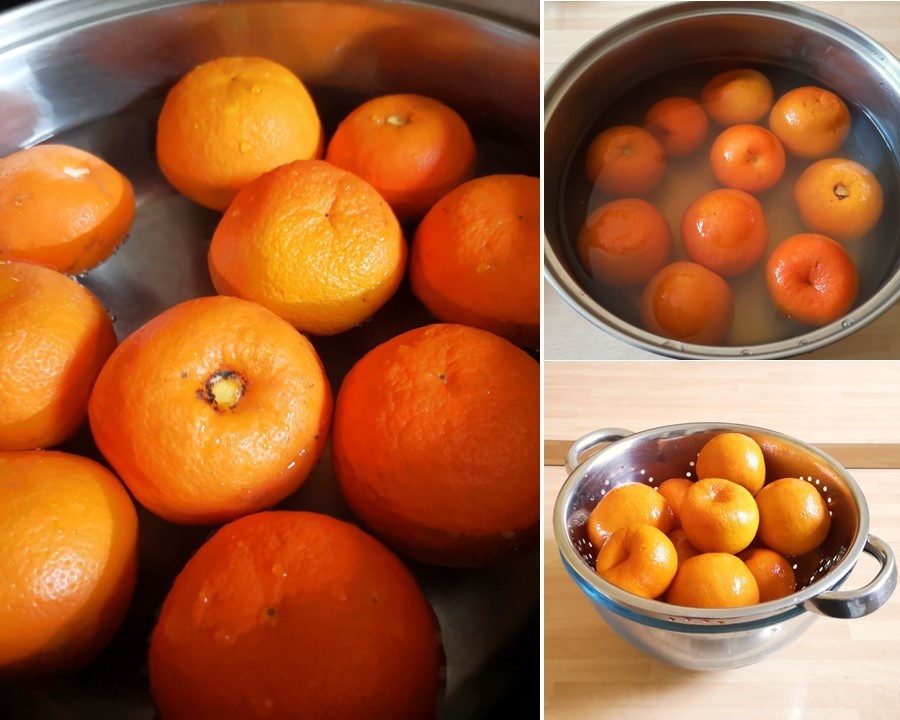
Happy new year to you! 2024 has begun with chilly, frosty weather here in central Scotland and elsewhere in the UK. But it’s that time of year when the Seville oranges are in the shops, marmalade-making is underway and the sweet smell of citrus wafting round the kitchen makes me think of sunnier climes and warmer days.

I’ve covered making marmalade in a couple of other posts over the years so if you want to have a go, here are the links to the recipes: Chunky Seville orange marmalade (naturally gluten-free; dairy-free; vegan) and Seville orange marmalade – traditional and dark (naturally gluten-free, dairy-free and vegan)
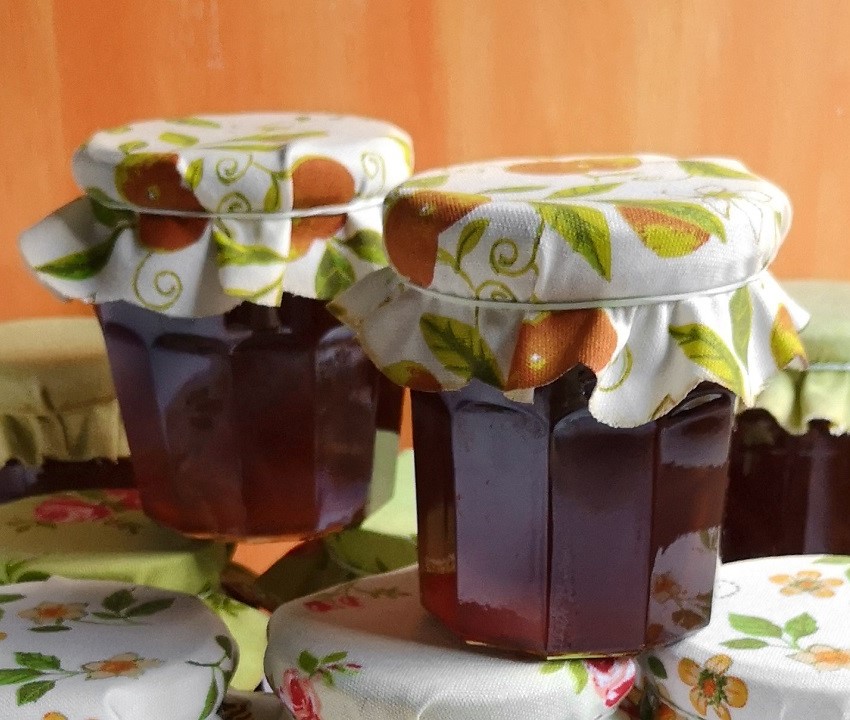
Even with the best planning, I always have leftover preserve once I have filled the jam jars I have cleaned and got ready. However, it does mean that I get to taste what I’ve made straight away without feeling guilty about opening a jar of freshly made preserve too soon. I call the surplus “The Cook’s Privilege”, after all the effort, you deserve the first pickings 🙂

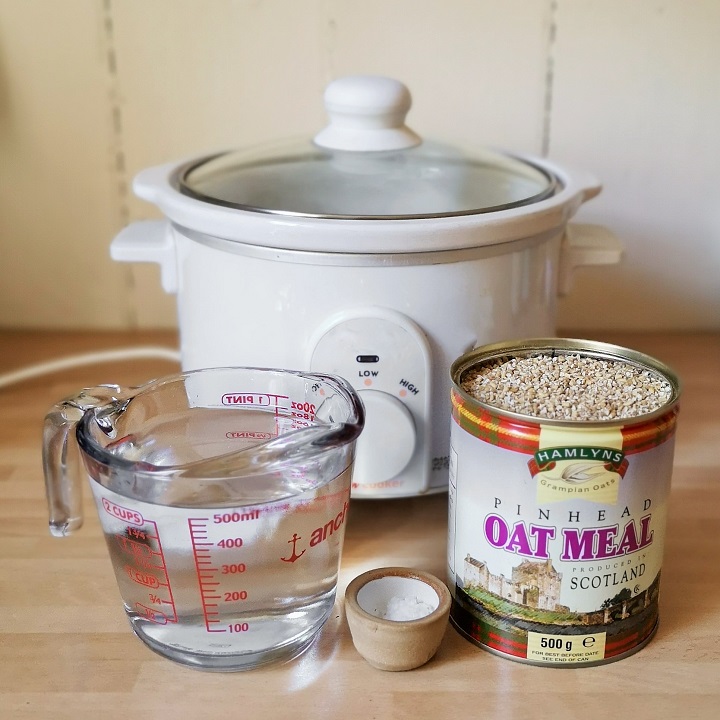
My recipe this week is a simple way to enjoy such spoils for your breakfast the day after your toils. The ingredients below make enough for one portion. I cook my porridge in the microwave, but you can just as easily pop everything in a saucepan and cook it on the stove top.
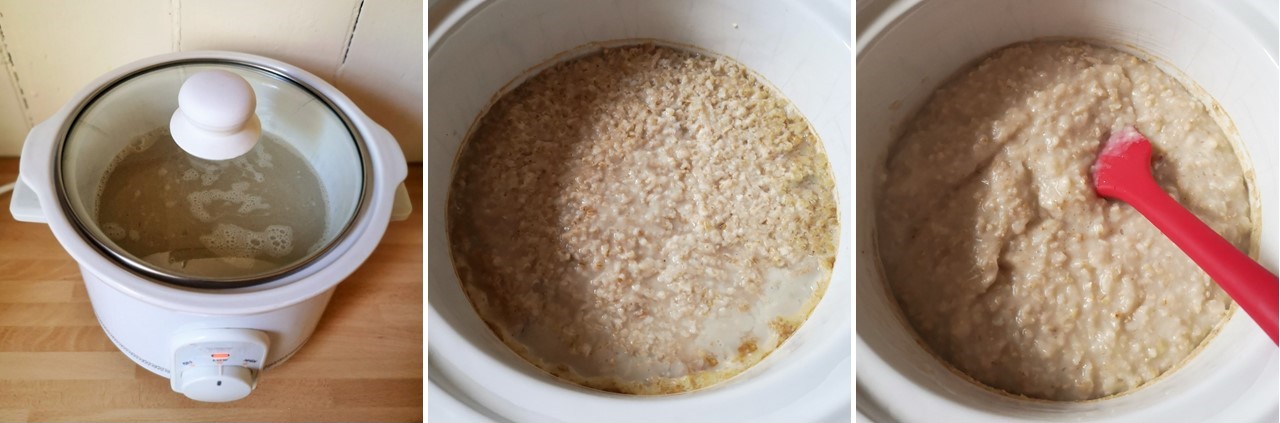
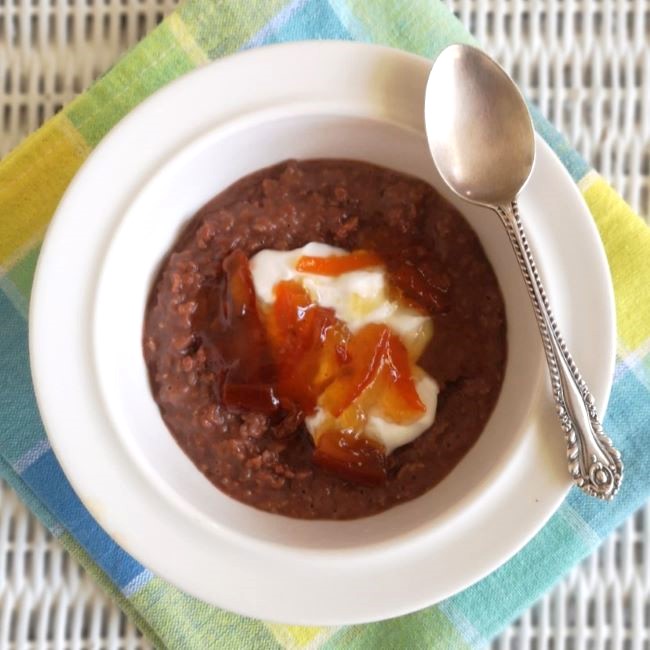
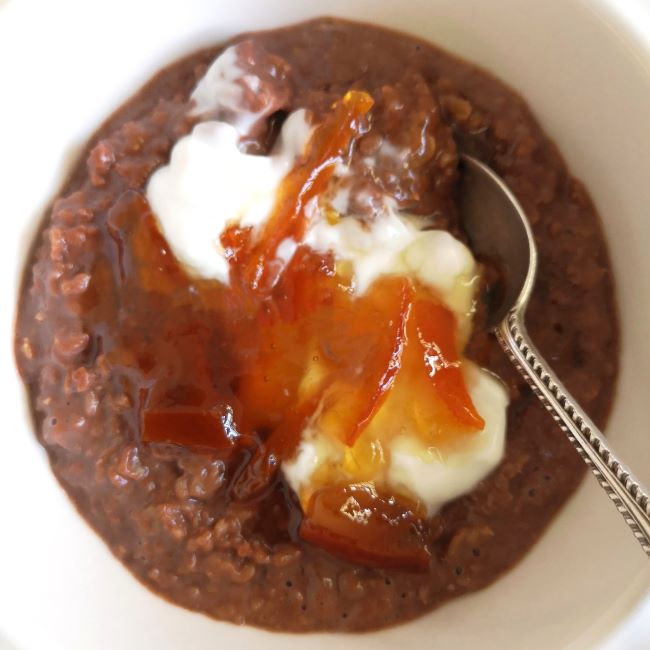
Chocolate porridge: put 40g gluten-free porridge oats in a large microwave-proof bowl. Sift 1½ teaspoons of cocoa on top and stir in 2 teaspoons maple syrup and a pinch of salt. Mix in 200ml plant-based milk. Cover and microwave on High for 2½ minutes (my microwave is 900W so adjust the cooking time accordingly if necessary). Stir well then cook for a further 1 minute on High. To serve, stir in extra plant milk (or plant cream for extra indulgence) if you prefer a thinner consistency and top with plant-based yogurt and a generous dollop of your leftover marmalade. Delish 🙂

Until next time, happy marmalade making and enjoy your preserving spoils!