Hello there. I hope you are enjoying some good weather this season. It’s been very hot here in the UK again, and so salads are very much still on my daily menu. To follow on from my post last month which you can read here , I have another recipe which can help towards increasing your calcium levels if you are on a gluten-free, dairy-free and/or vegan diet.
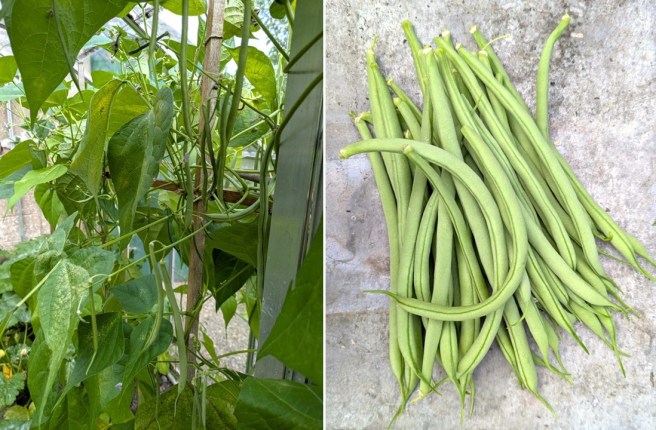
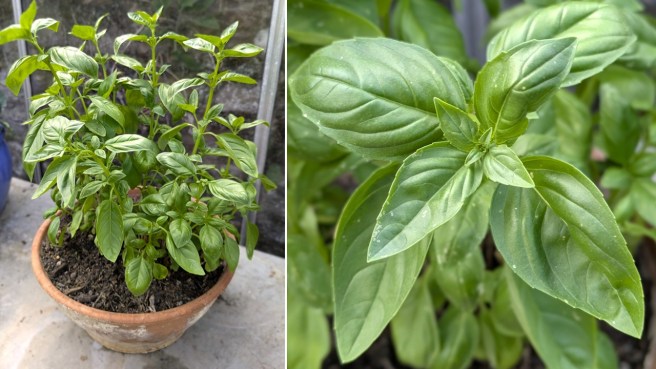
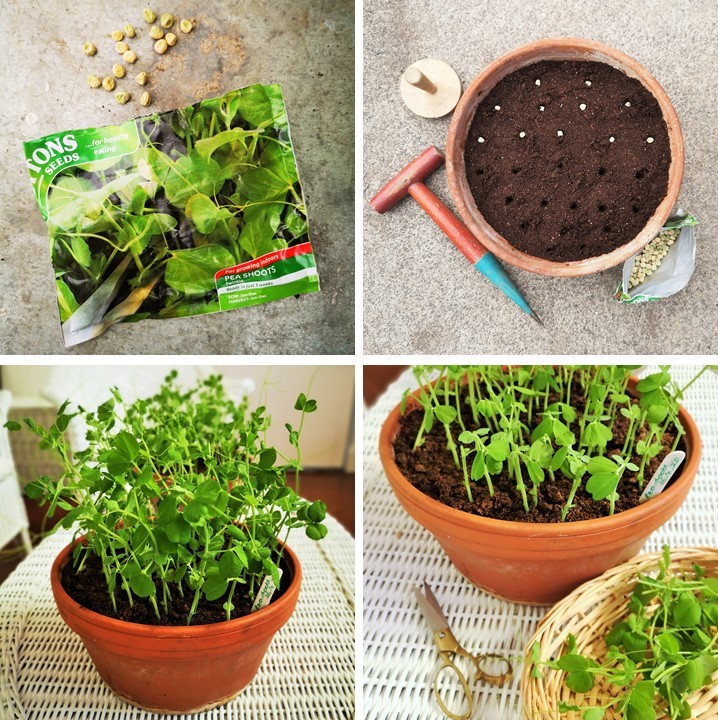
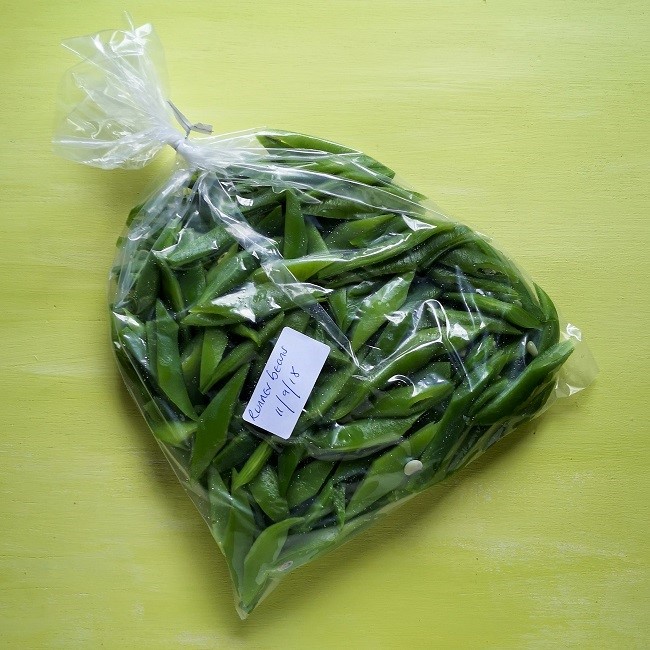
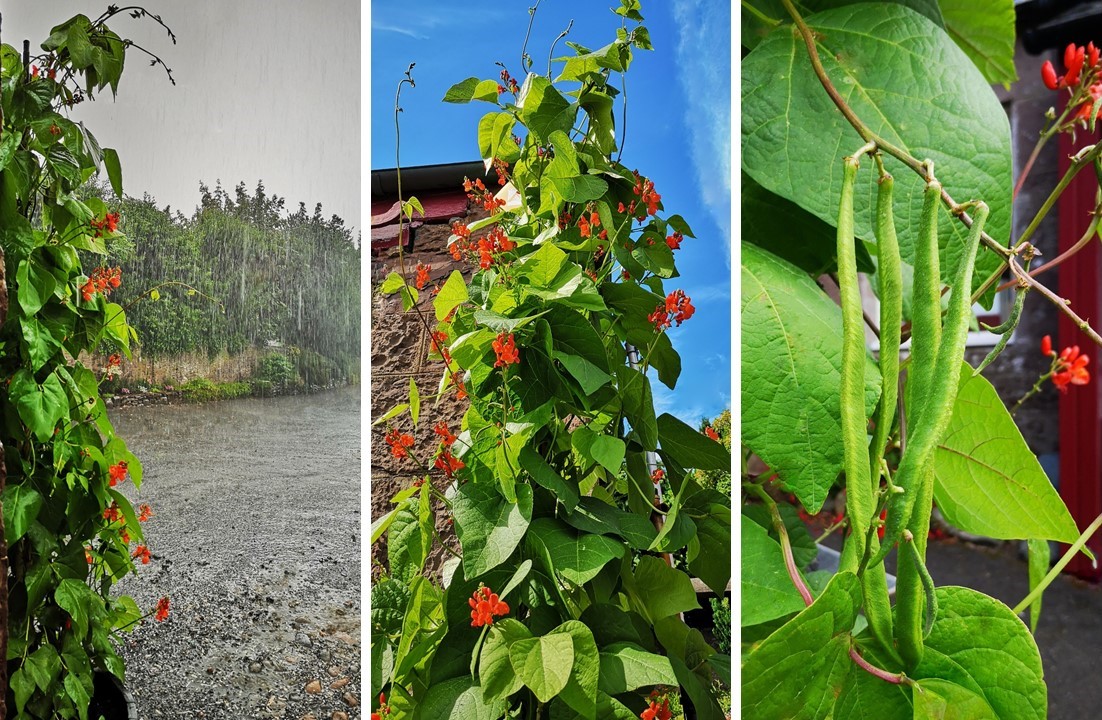
It’s been a bumper season for the green (French) beans (Cobra variety) in my greenhouse. The vines have been producing an abundance of beans for several weeks now, and the basil plant loves all the heat and sunshine as well. To my delight, I discovered that both green beans and basil offer useful amounts of calcium, and that’s how my recipe this month began.
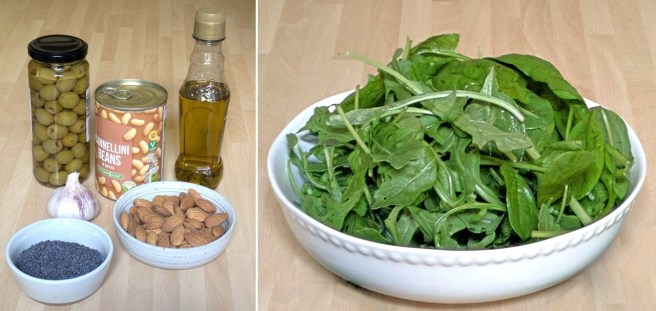
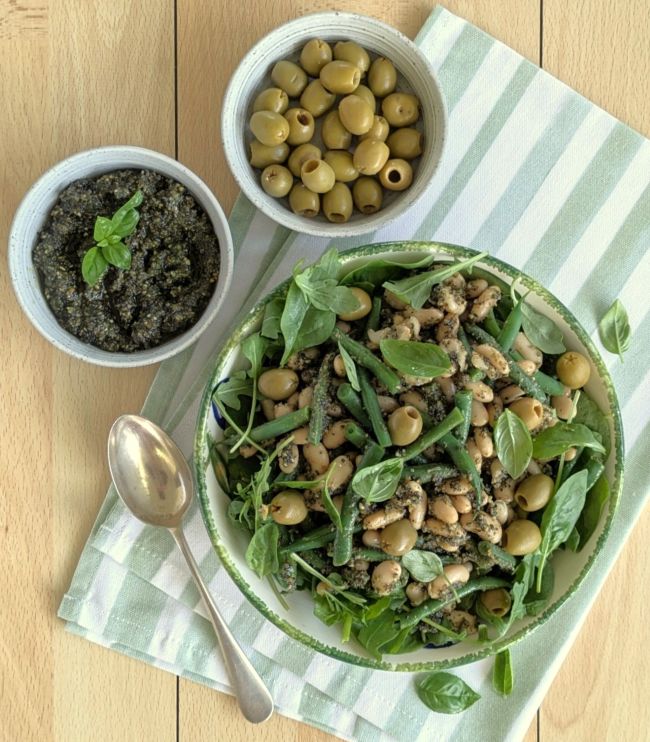
Combined with some other calcium-rich ingredients, this tasty salad is delicious on its own or as a side dish. The table below gives you a breakdown of which ingredients contain the most calcium so that you can make up your own combinations.
| Rocket | 216mg calcium/100g |
| Baby spinach | 119mg calcium/100g |
| Cooked cannellini beans | 93mg calcium/100g |
| Cooked green beans | 61mg calcium/100g |
| Green olives | 61mg calcium/100g |
| Fresh basil | 250mg calcium/100g |
| Whole almonds | 269mg calcium/100g |
| Poppy seeds | 1580mg calcium/100g |
| Garlic | 19mg calcium/100g |
Source: McCance and Widdowson’s The Composition of Foods
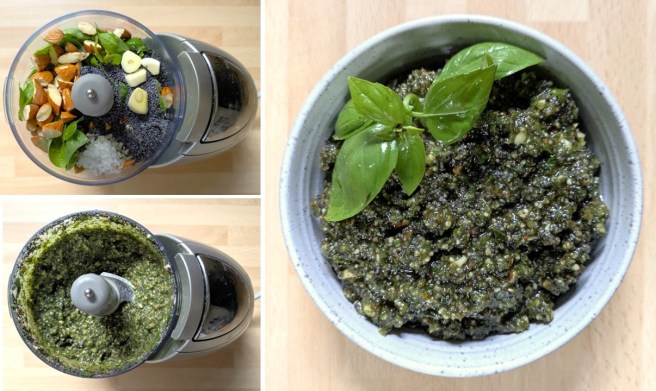
For the pesto, put 20g fresh basil in a food processor with a peeled garlic clove and add 50g roughly chopped whole almonds, 20g poppy seeds and some salt. Pour over 60ml extra virgin olive oil and blitz until smooth.
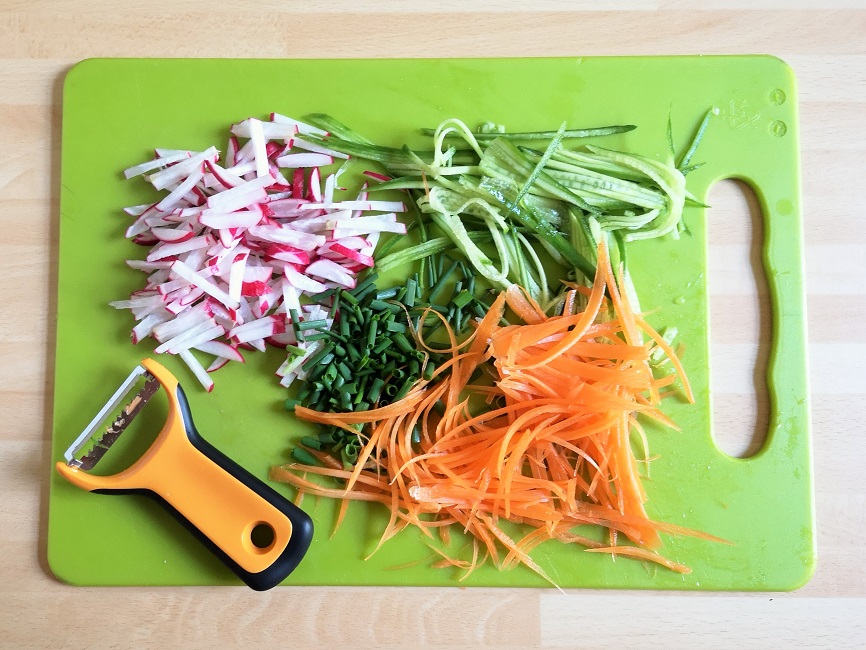
For the salad, I combined 240g canned cannellini beans with 100g chopped cooked green beans and half the pesto sauce above. I lined a salad bowl with 40g wild rocket and 20g baby spinach and piled the bean mixture on top. Serve with 100g pitted green olives and extra basil leaves, with the remaining pesto on the side.

The salad serves 4, and each portion will provide 238mg calcium and 330 calories.
That’s me for another month. Hope to see you again soon. Thanks for stopping by 🙂