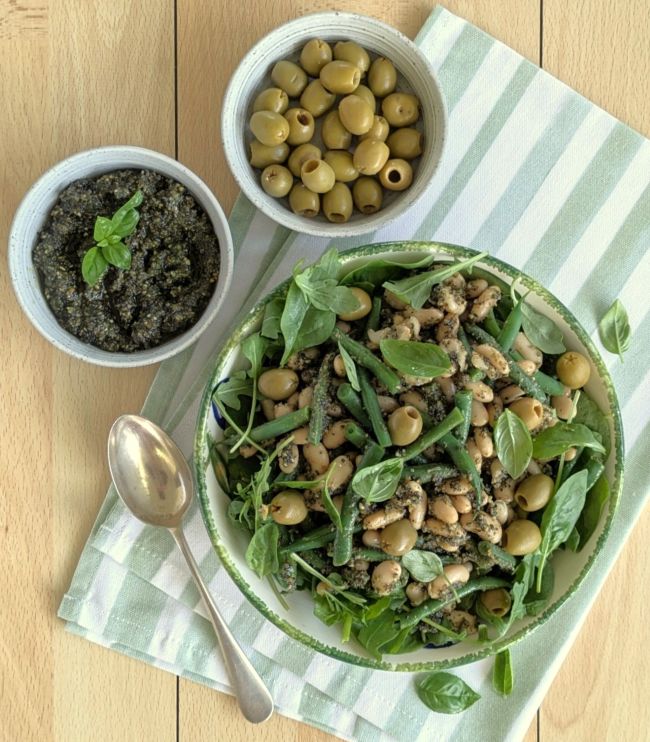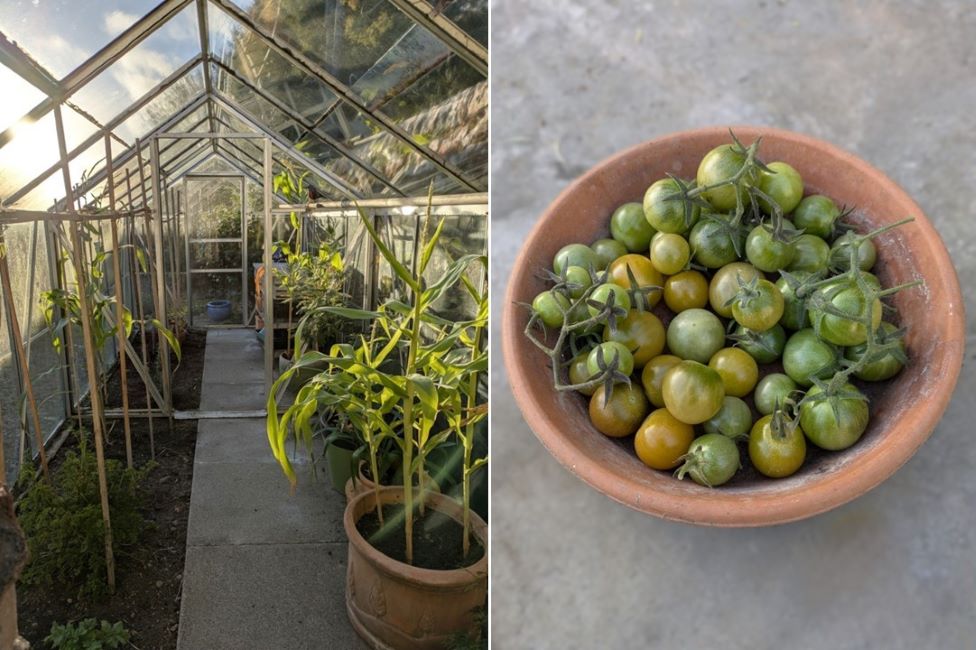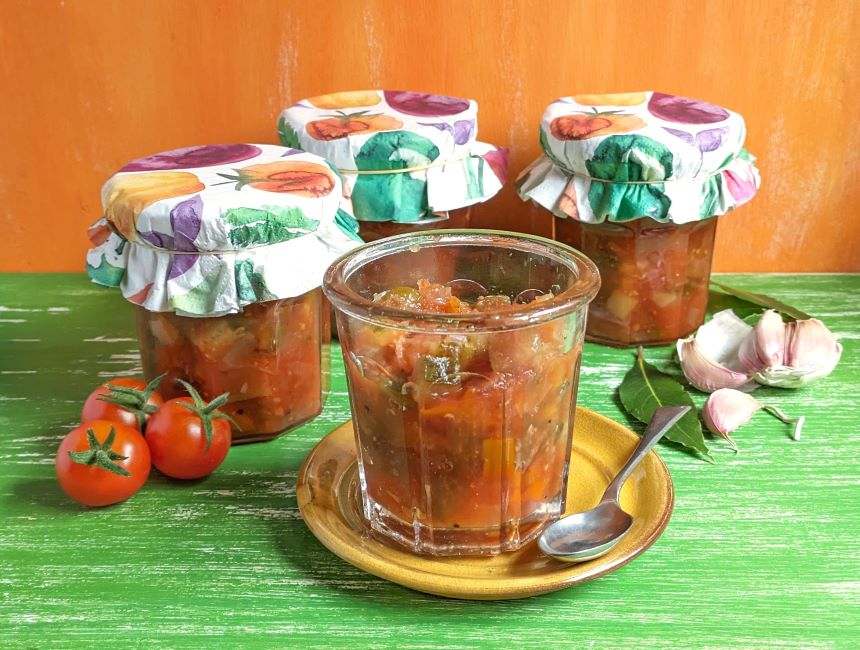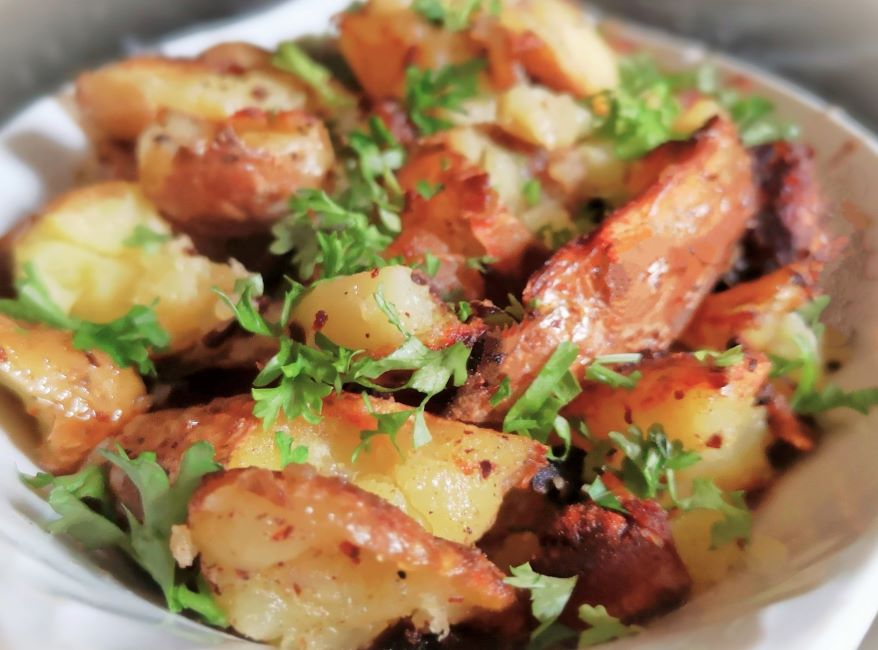
Hello again. It’s that time of year when there is so much produce ready at the same time. My fridge is groaning with vegetables and fruit, and I really need to get down to some serious recipe/meal planning and freezing.

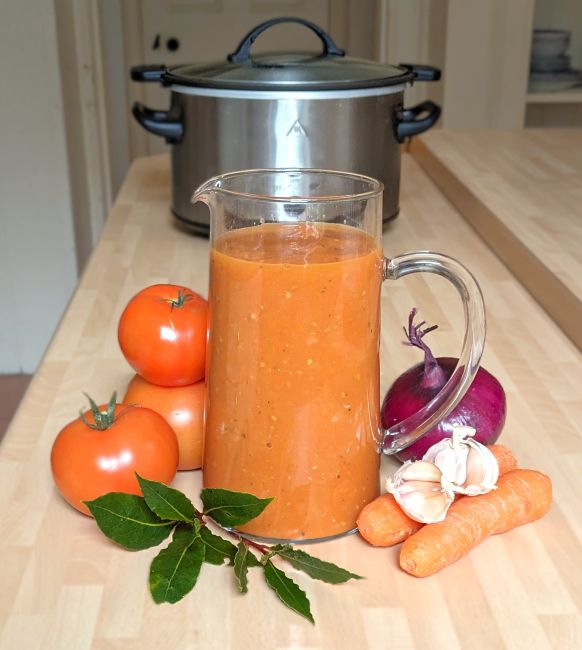
When life gets in the way and time is tight, I am thankful for the slow cooker. This marvellous gadget gets on with the cooking while I do something else. I used to always make batches of tomato sauce on the stove top – here’s a previous recipe post for this method Home-grown tomatoes – recipe for fresh tomato sauce, a salsa, plus other serving suggestions (gluten-free, dairy-free, vegan) but this year I popped everything in the slow cooker and let the pot do the cooking.

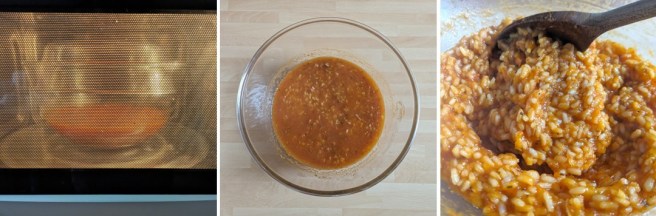
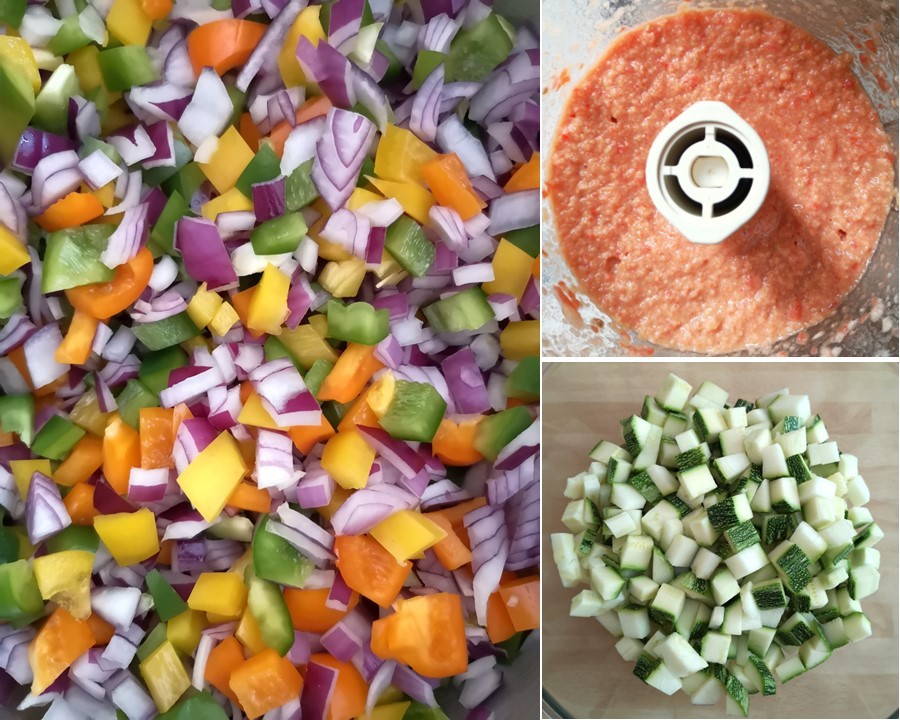
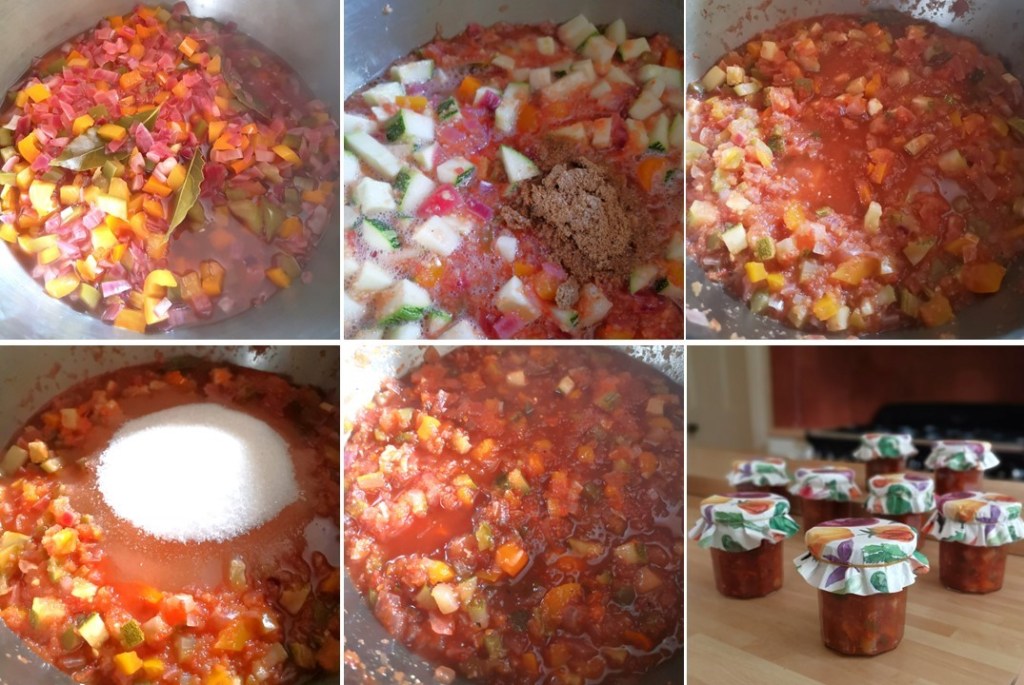
For a simple tomato sauce, put 1.5kg washed and chopped fresh tomatoes in the slow cooker with 2 peeled and sliced medium carrots. Add a peeled and chopped large onion and 4 peeled and halved garlic cloves. I seasoned the mix with 2 teaspoons celery salt, 1/2 teaspoon black pepper and 4 teaspoons caster sugar. Add a couple of bay leaves and drizzle over 3 tablespoons olive oil. Mix well, cover with the lid and switch to the High setting. Leave to cook for 4 to 5 hours, until completely soft.

Discard the bay leaves and blitz with a hand blender then leave to cool before packing into freezer containers. This quantity will make around 1.75kg sauce. It will keep in the fridge for about 5 days, and in the freezer for 6 months or so.

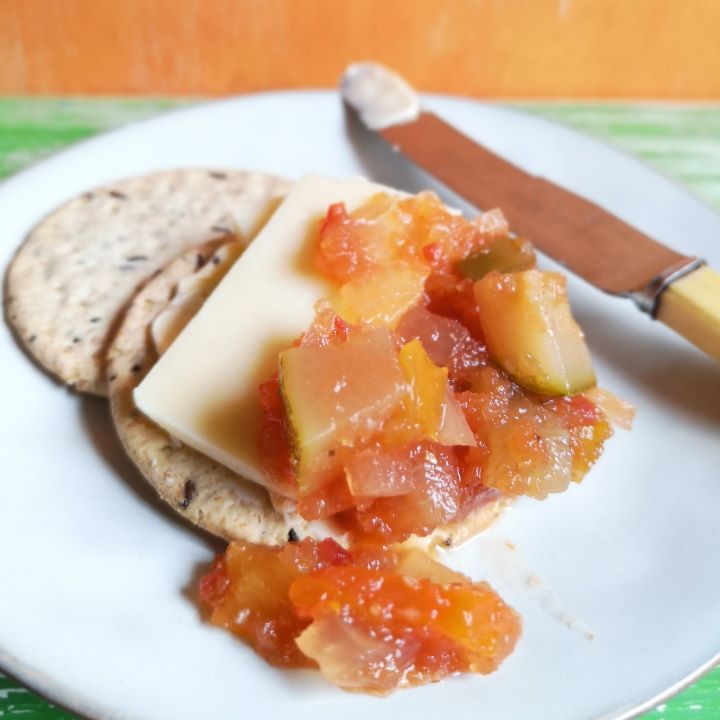
The sauce is quite thin which is fine for some recipes but if you want it thicker, transfer a few ladles of sauce to a deep frying pan, drizzle with a little olive oil, bring to the boil and simmer for a few minutes, stirring occasionally, until it is thickened to you liking.

Thinner sauce is perfect for soups and risotto stocks, whilst thicker sauce clings better to pasta shapes or can be used as a spread for tarts and pizza bases.
That’s all for this post. I hope you are enjoying some good weather and fine homegrown produce. Until next time, thanks for stopping by 🙂