Hello again. I hope this posts finds you well. The season has definitely shifted here in central Scotland, and Autumn is upon us once again. It’s been a mixed bag of weather with some unseasonal, very hot and humid days back at the beginning of the month, and now wet, windy and stormy ones to bring the month to a close. On the whole, it has been quite mild. Given this mixed bag of growing conditions, it is a wonder that the plants know what season it is, like these foxgloves still producing flowers since June.

A couple of weeks ago, I was able to harvest the plums from the small tree in the garden. Like a lot of fruit trees this year, the harvest was good and there were a fair few plums to pick. All now cooked and made into jam 🙂

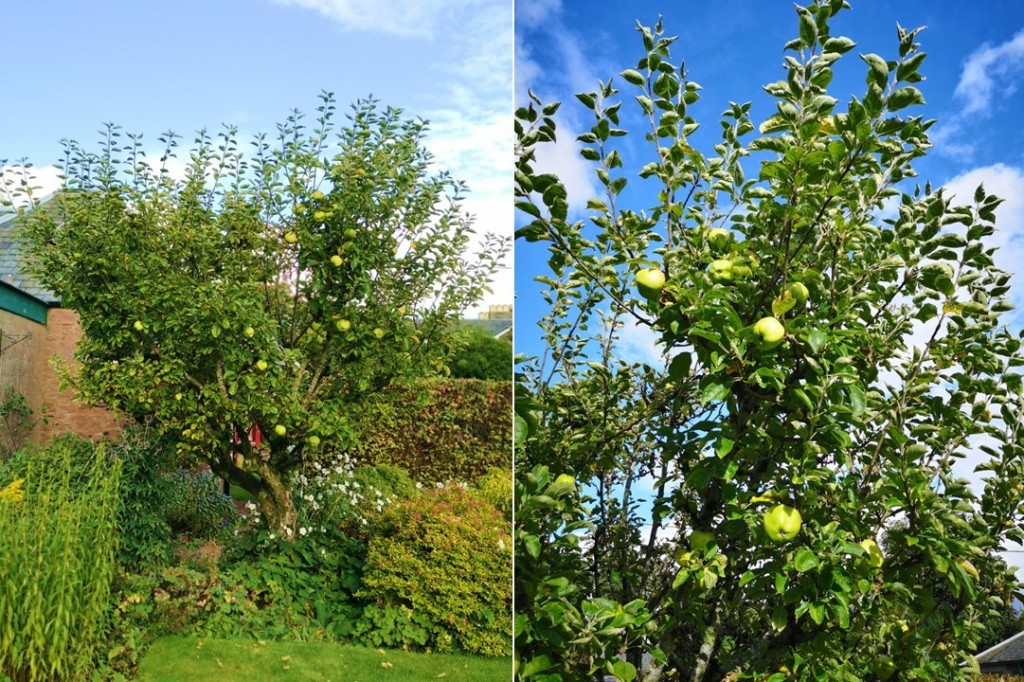
The next garden harvest will be from the apple tree. I think we’re looking at a more modest harvest this year compared to last year’s bumper crop.
Hydrangeas do quite well in the garden due to the acidic soil. This one was planted back in late spring, and although the blooms naturally fade at this time of year, it still adds some colour and cheer in the flowerbed.

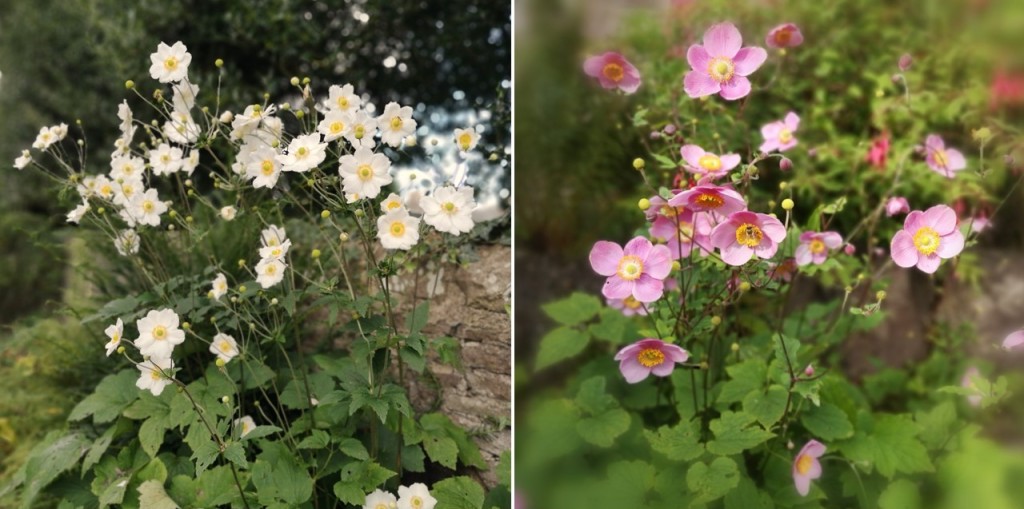
No post from me at this time of year would be complete without a few images of the Japanese anemones. They have done very well this year, surviving the heat and now the wind and rain. As delicate as they look, their hardiness still amazes me.

My favourite rose bush in the garden didn’t do quite so well earlier in the year, so I was very happy to see new buds forming at the end of last month and some healthy foliage forming. In the past couple of weeks, new heavily scented flowers have opened up along with fresh green leaves.

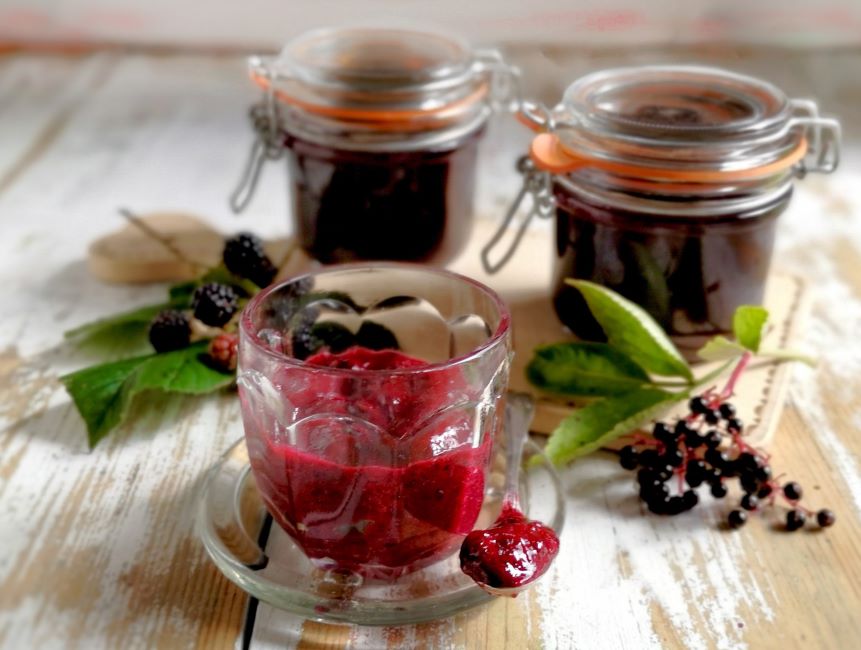
After my hedgerow harvest post at the end of last month, I have been on the look out for more wild berries. Whilst the blackberries and sloes have finished now, there are still plenty of elderberries ripening. On a walk last weekend, I picked this container-full. Once the berries were removed from the stems, I had just under 2lb of fruit which are now stashed in the freezer for later use.

That’s me for another week or so. I will be back in the kitchen for my next post. Until then, enjoy the change of season and thanks for stopping by 🙂