
Hello again. It’s the time of year for me when I try and use up as much from the freezer as I can, both for reasons of economy and also to make sure there is room for any new season produce that comes along. In the past few days, the freezer fruit drawer has attracted my attention; the jam pan came out of the cupboard and another cooking session began.

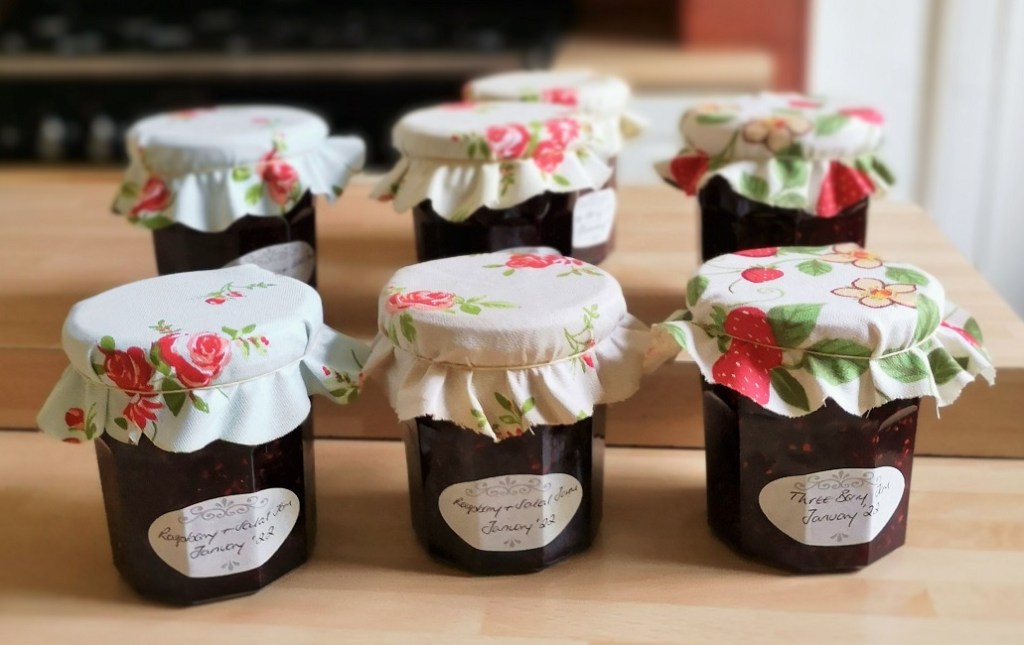
I wasn’t that sure how the jam would taste if I put all the berries I had in one pot. I always have lots of raspberries from the garden but last year also produced some great hedgerow blackberries as well as homegrown salal berries and a few strawberries I decided to freeze down. I settled on 2 combinations: raspberry, strawberry and blackberry, and raspberry with salal berries. I made 2 separate batches of the recipe below.

When raspberries are fresh they have a lot of the setting agent pectin present, and any jam made with the fresh berries sets very quickly. However, freezing fruit destroys some of the pectin, so it is important to add freshly squeezed, pectin-rich lemon juice to any frozen fruit mix to compensate for the loss – redcurrant juice will also work. Otherwise, jam-making with frozen fruit is exactly the same as with fresh.

Make sure your jars and lids are sound – no signs of corrosion on the lids if you are recycling – and thoroughly clean them in hot soapy water. This should mean that your jams, jellies and other preserves will store in perfect condition for many months ahead.
I have reduced the sugar content slightly in the recipe. Usually berry-based jam recipes suggest equal sugar to fruit, but I have found you can reduce the quantity slightly and still maintain a good set and a lengthy period of storage time.
Makes: approx. 1.2-1.4kg
Ingredients
- 900g frozen berries – I used 300g each frozen raspberries, blackberries and strawberries, and then for the second batch, 450g each of raspberries and salal berries
- 750g granulated white sugar
- 2tbsp freshly squeezed lemon juice
- Put the berries in a large saucepan or preserving pan and allow them to semi-defrost so that the juices begin to run. When slushy, heat the fruit gently until steaming, cover with a lid and simmer for about 10 minutes or until very soft and pulpy.
2. Add the sugar and lemon juice, and stir over a low heat until the sugar dissolves.

3. Raise the heat, bring to the boil and cook the fruit uncovered until the temperature reaches 104 – 105°C on a sugar thermometer. If you don’t have a thermometer, check the jam after about 5 minutes of rapid boiling by spooning a small amount on to a cold plate. If you can push the jam with your finger and see wrinkles on the surface, the jam has reached setting point.
4. Turn off the heat and let the jam settle for 5 minutes. Stir and skim away any scum from the surface of the jam. Spoon into clean jars and seal with the lids while the jam is still very hot.

Homemade jam sealed properly and stored in a cool, dry cupboard should keep for many months. If you have insufficient jam to fill a jar completely, let the jam cool before putting the lid on and then keep in the fridge for up to 6 weeks. I had some jam leftover from both batches which meant I could taste the fruits of my jam-making labours instantly 🙂


Great set, lovely rich colours, and above all else, delicious homegrown berry flavours in the depth of winter.
It looks like a wintry week ahead for this part of Scotland so I may just have to tuck into another jar to remind me of the summer just gone. All the best for now. Until next time, take care.
