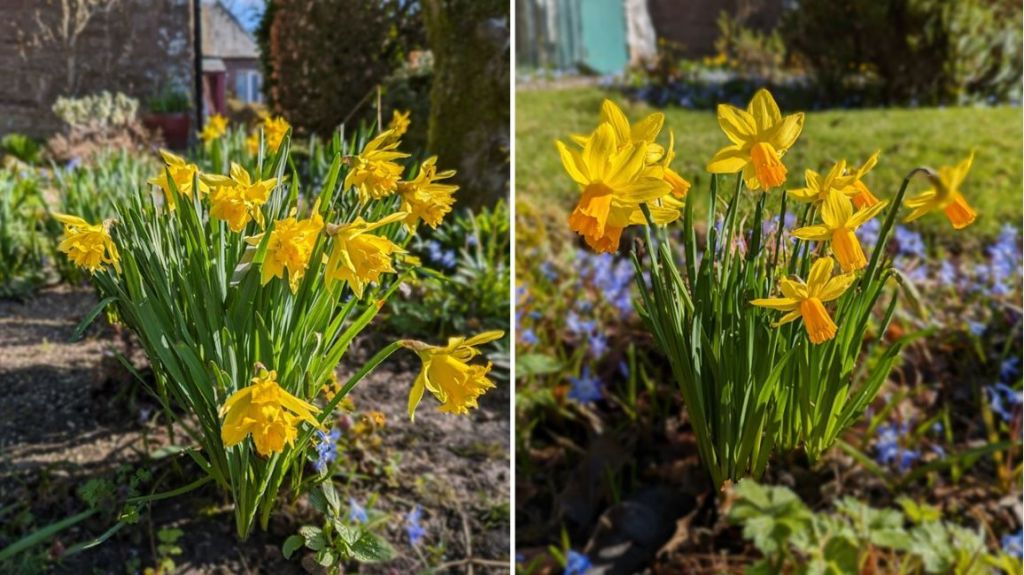
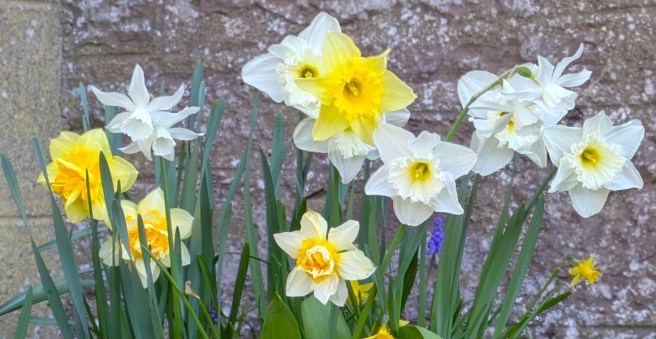
Hello again. Easter is finally upon us. It feels like it’s been a long wait this year. We have had a long spell of warm, dry and sunny weather here in the UK which has brought with it a glorious Spring, full of flowers and blossoms. The daffodils are going over now but they have put on a great show this year, but it is the primroses that have really stolen the show. The dry weather has meant that there have been fewer beasties around to dine out on their delicious petals.


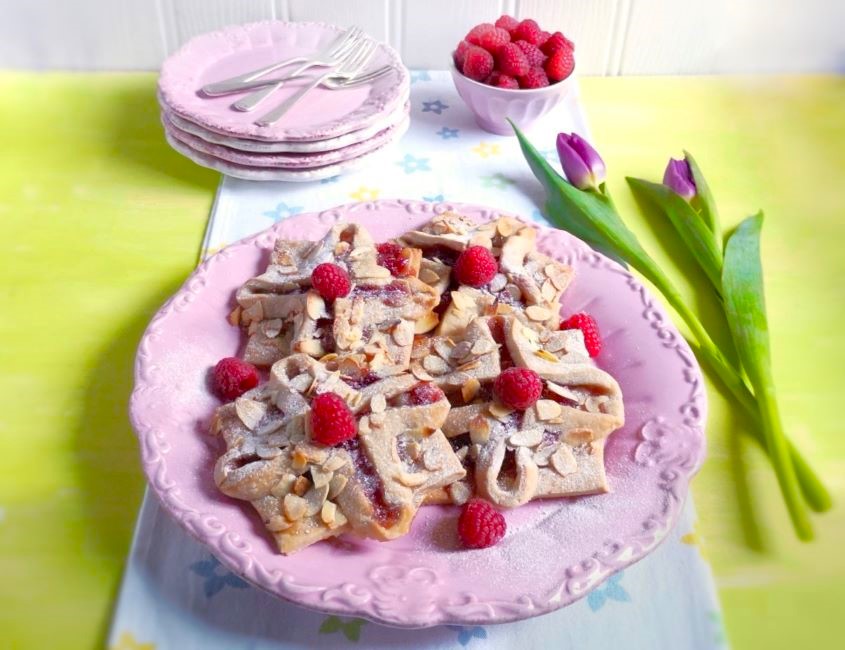
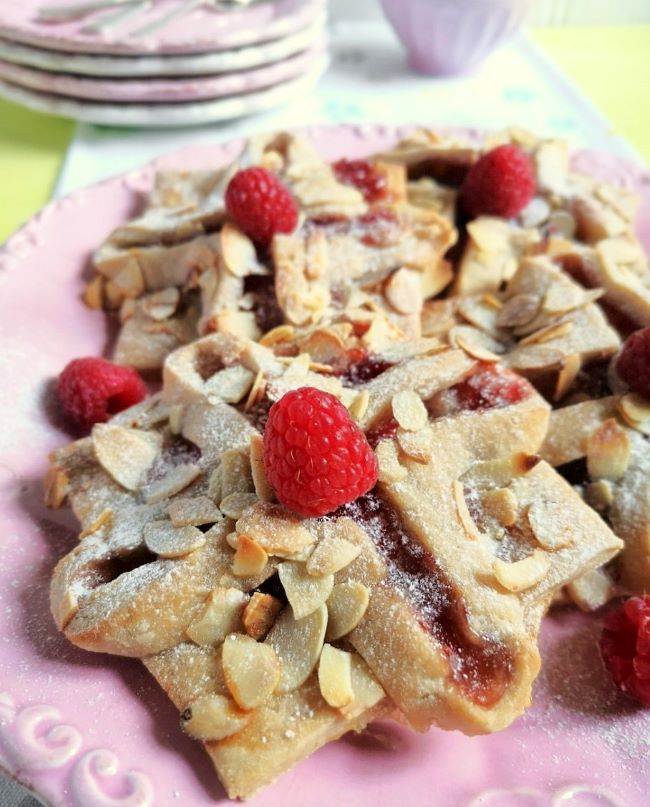
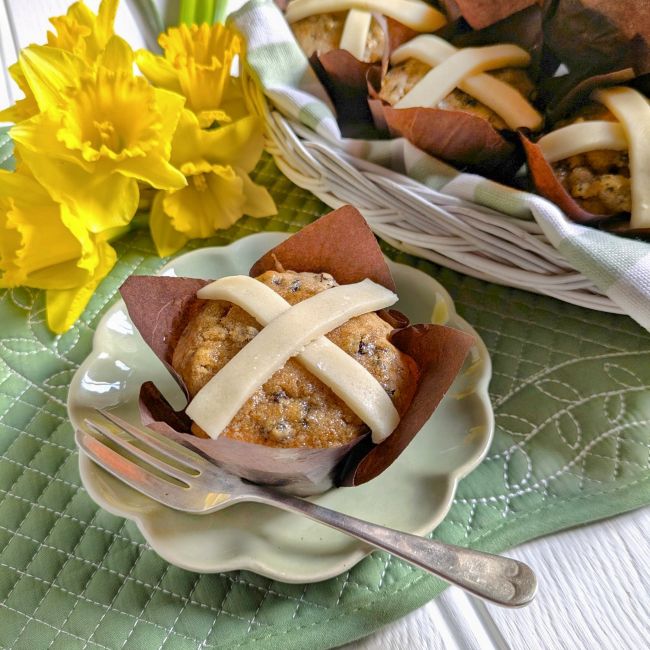
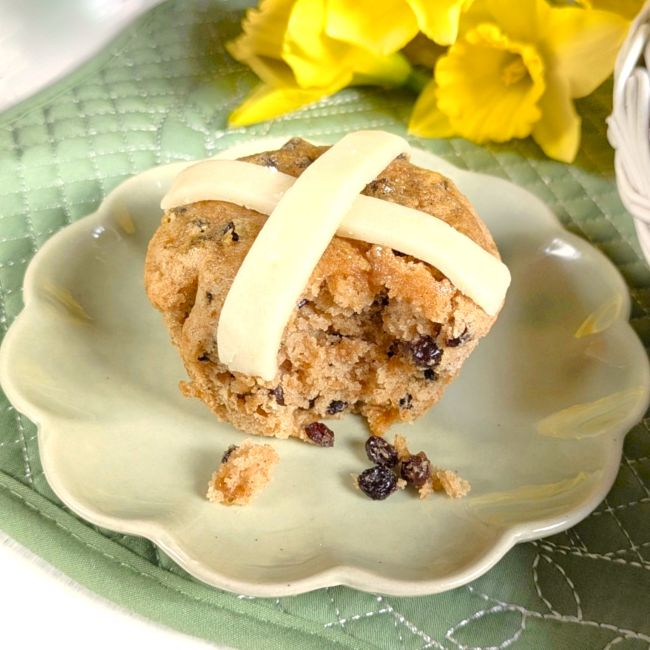
To celebrate the season, I have been baking. A twist on the yeasted fruit and spice buns which are traditional at this time of year, these muffins are easy to make and delicious served warm or cold. They freeze fine as well. I use a gluten-free bread flour which has xanthan gum added to it. Use a plain version if you prefer for a softer and more crumbly muffin.

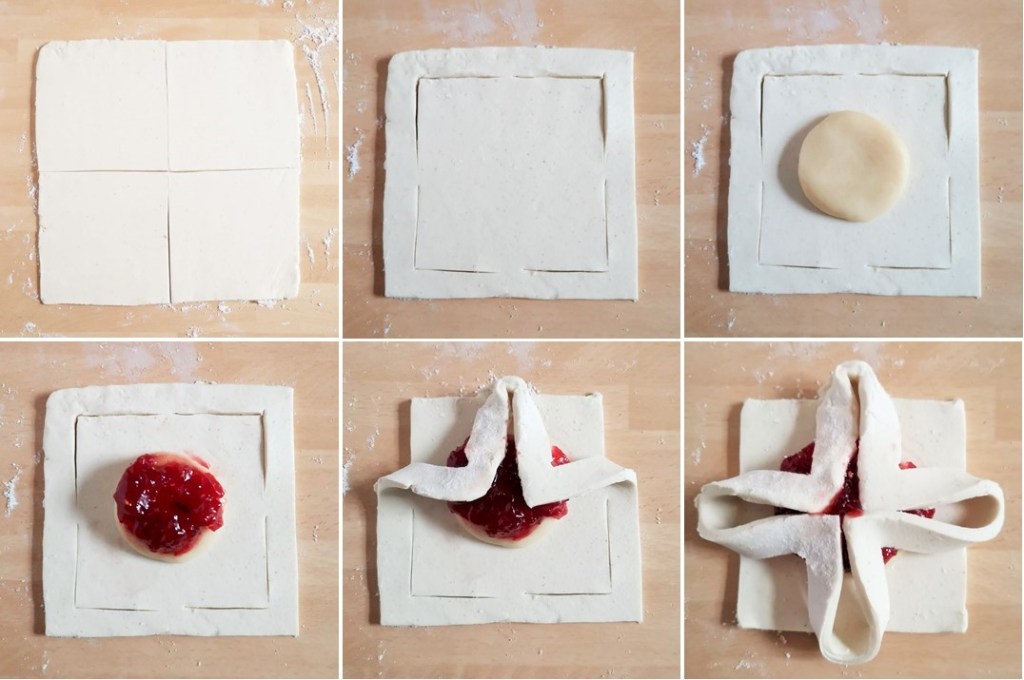
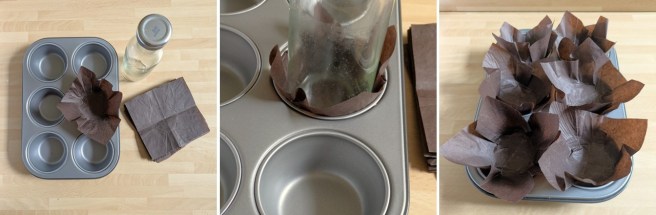
I made my own cases. If you fancy having a go yourself, you will need 10 x 12-13cm squares baking paper and a bottle or jar that fits snuggly into a muffin tin. Line up the paper square over the muffin tin and push it in place using the end of the bottle. You may have to pleat and model the paper a little to make it fit the tin more neatly, but the weight of the cake mixture will hold it in place.
Makes 10:
Ingredients
- 1tbsp ground linseeds (flaxseeds)
- 225g gluten free bread flour
- 2tsp gluten free baking powder
- 1tso ground mixed spice
- 115g light soft brown sugar
- 175g currants or other chopped dried fruit
- 50g plant-based butter, melted
- 175ml plant-based milk (I used oat milk)
- 2tbsp carob or maple syrup
- 100g natural marzipan
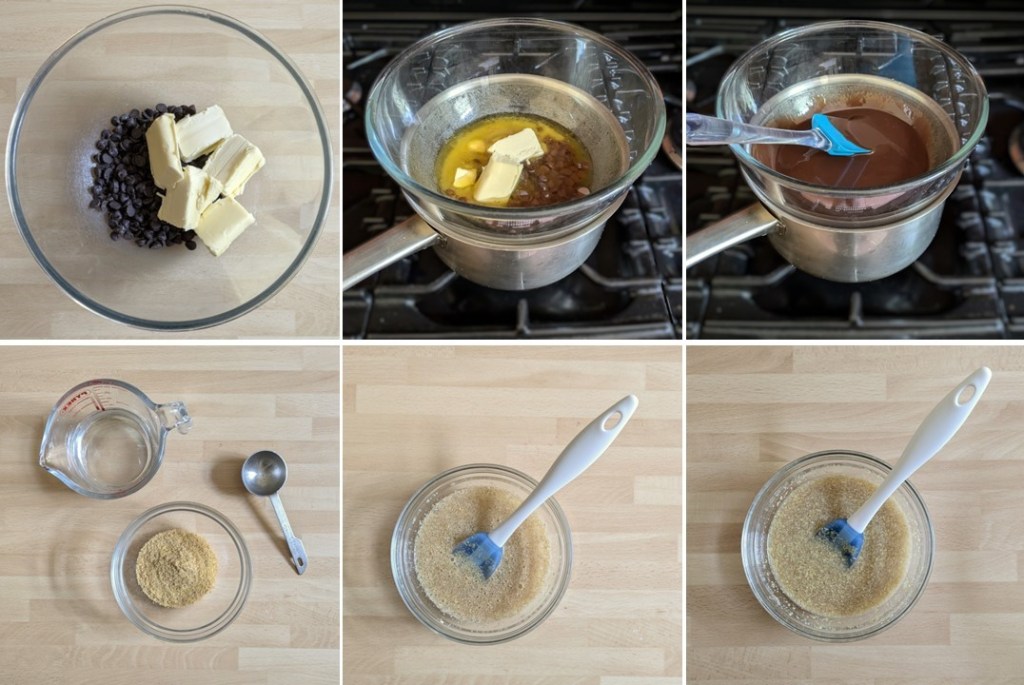
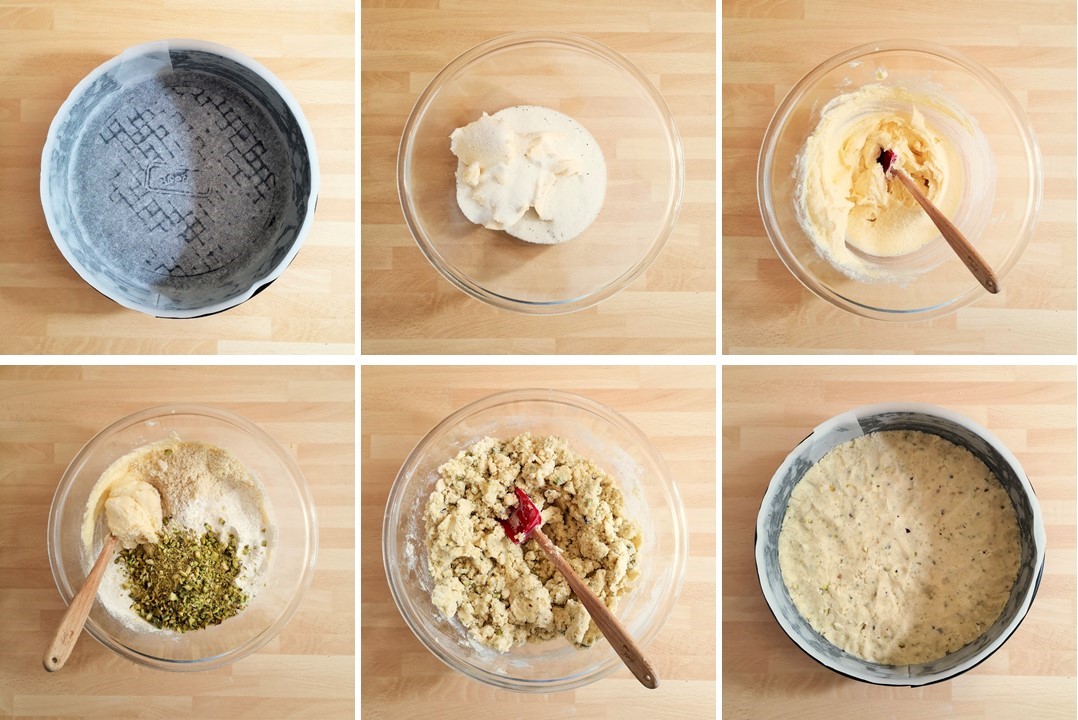
1. Preheat the oven to 190°C, 170°C fan oven, Gas 5. Line 10 muffin tins with paper cases. Mix the linseeds with 3tbsp cold water and leave for 5 minutes to thicken slightly.
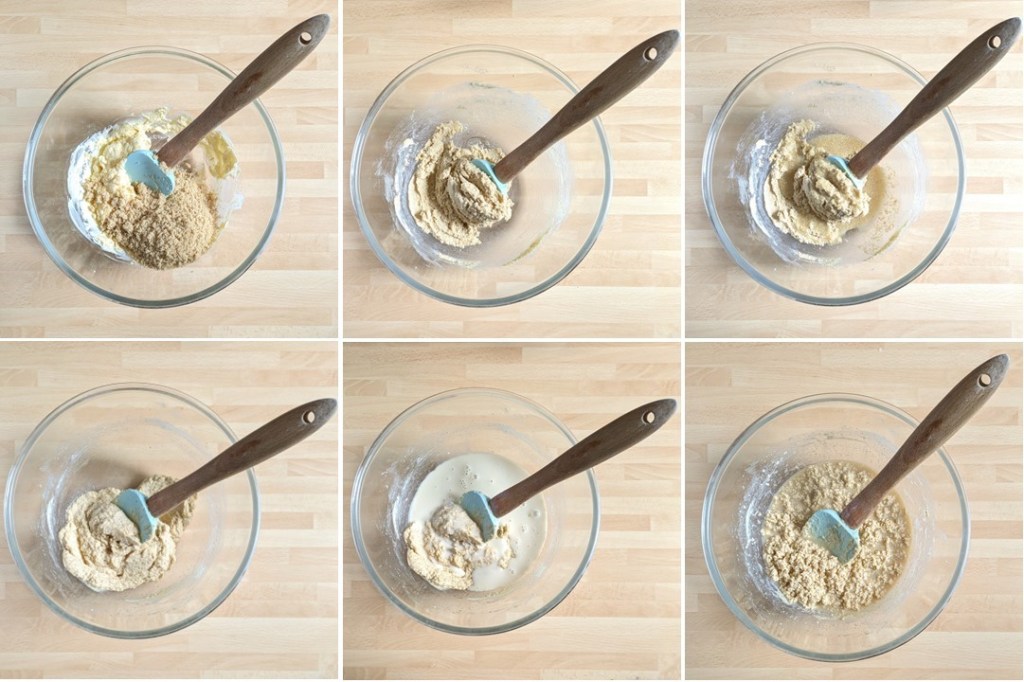
2. Sift the flour, baking powder and spice into a bowl and stir in the brown sugar and currants. Make a well in the centre.
3. Pour in the melted butter, milk and linseed mixture, then mix everything together to make a thick batter.
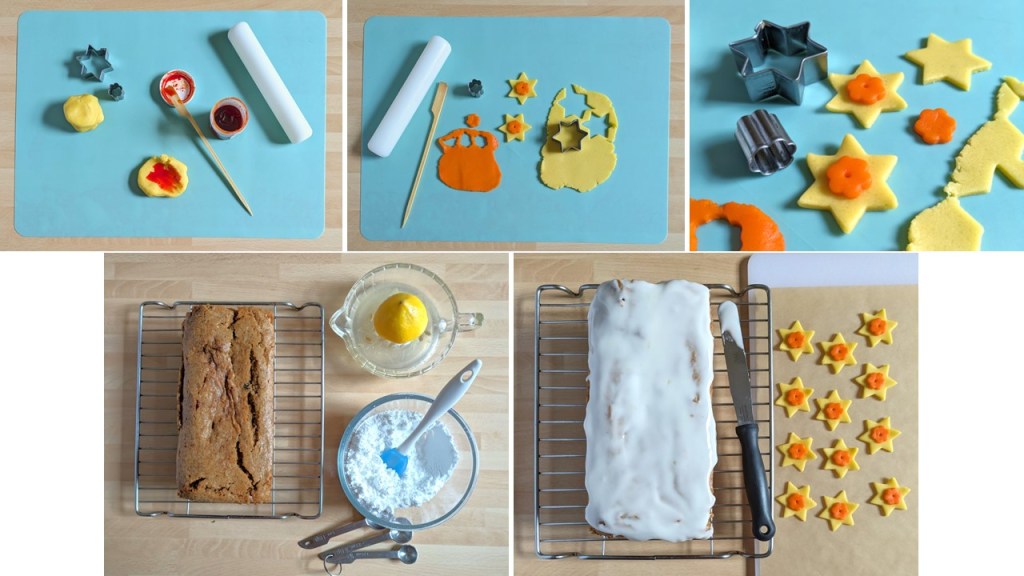
4. Divide between the cases, smooth the tops and bake for 30-35 minutes until risen and lightly golden. Transfer to a cooling rack and brush the tops with the syrup. Leave to cool for 15 minutes.

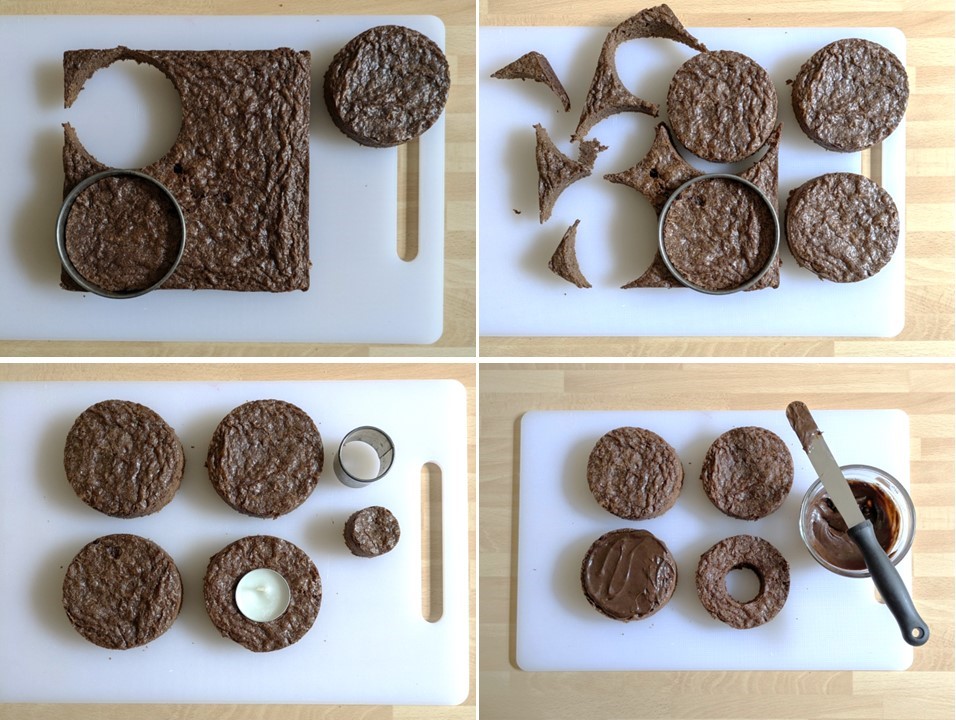
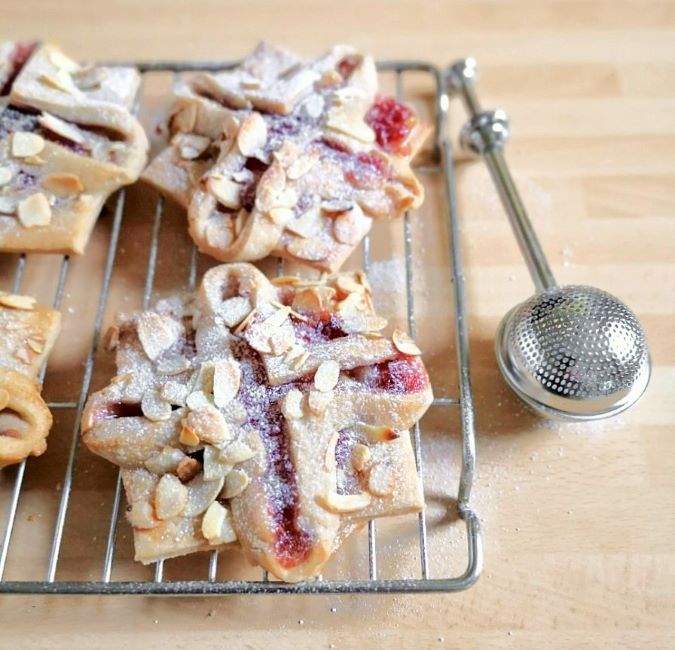
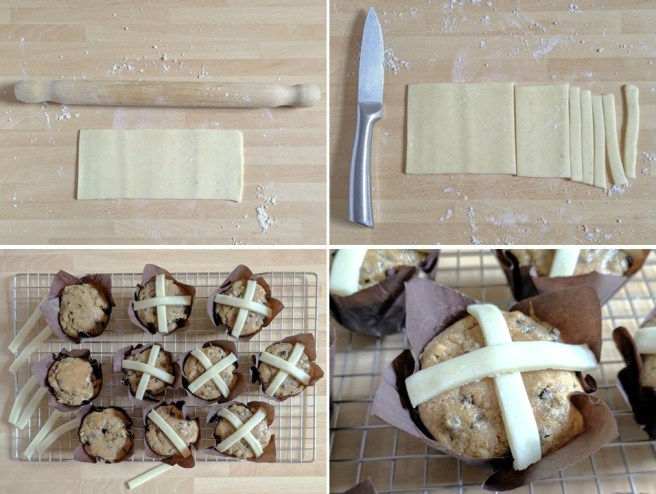
5. Meanwhile, lightly dust the work top with icing sugar and roll out the marzipan to a rectangle approx. 7 x 20xm. Cut into 20 thin strips.
6. Arrange the strips on top of each warm bun to form crosses. Serve the buns warm or leave to cool completely if preferred. Best eaten within 2 days of baking. Store in an airtight container or freeze when cold.
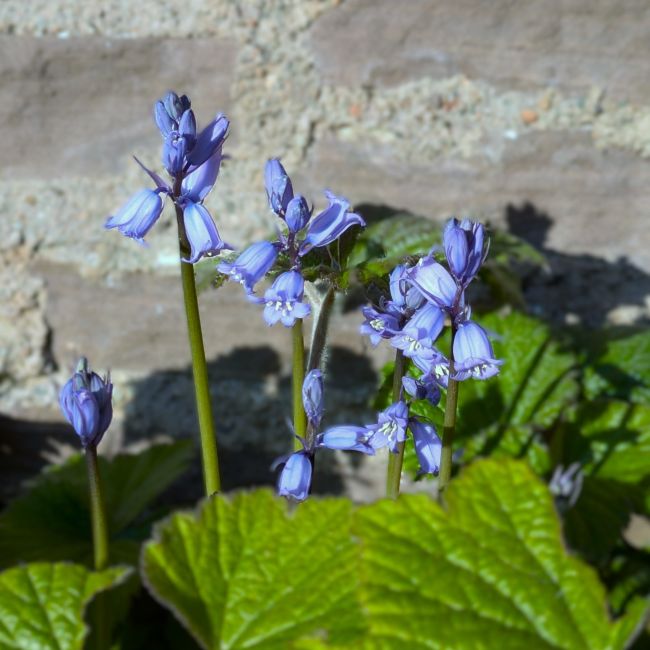
Whatever you are doing this coming Easter weekend, I hope you have a lovely time. Until next month, I’ll leave you with this image of the first bluebells to open up in the garden. The sunshine has encouraged them to flower a few days earlier than usual. Happy Easter everyone 🙂