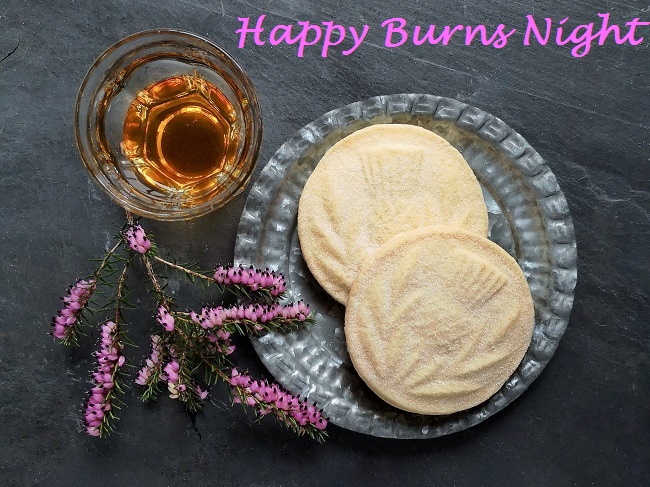
It’s that time of year again when the Scottish nation gathers together to celebrate the birth of the poet Robert ‘Rabbie’ Burns. The celebration comes exactly one month after Christmas Day and it is a great way to help beat the January blues.
Over the years on my blog, I have posted several recipes which are traditionally served at this time of the year. Proper comfort food, guaranteed to warm you up on a cold day. This year, my recipe is very simple and combines a traditional Scottish pudding with a favourite sweet chocolate treat.

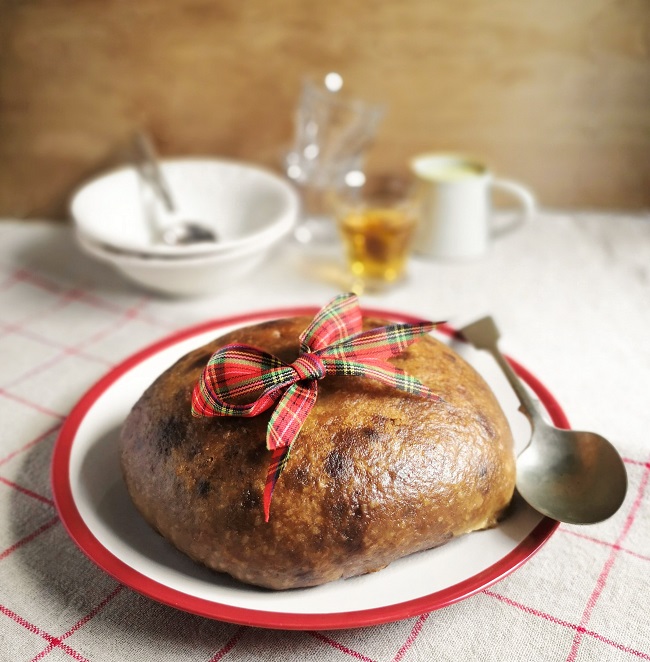
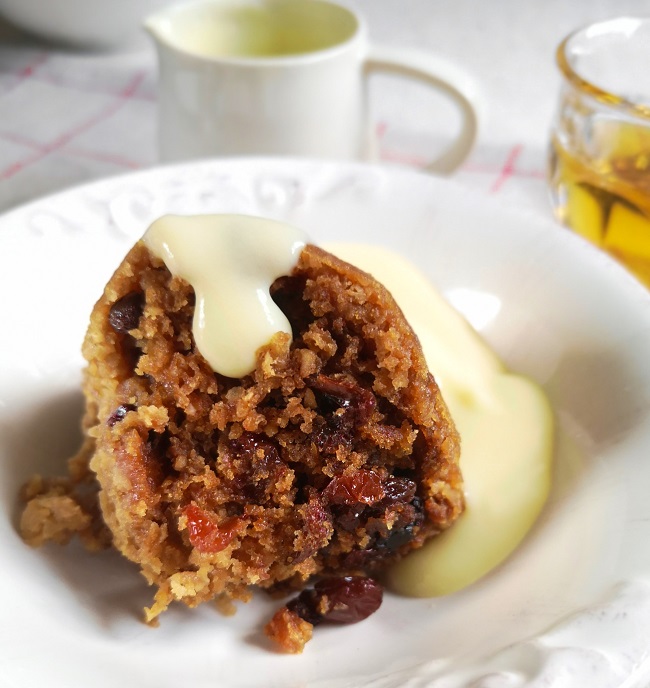
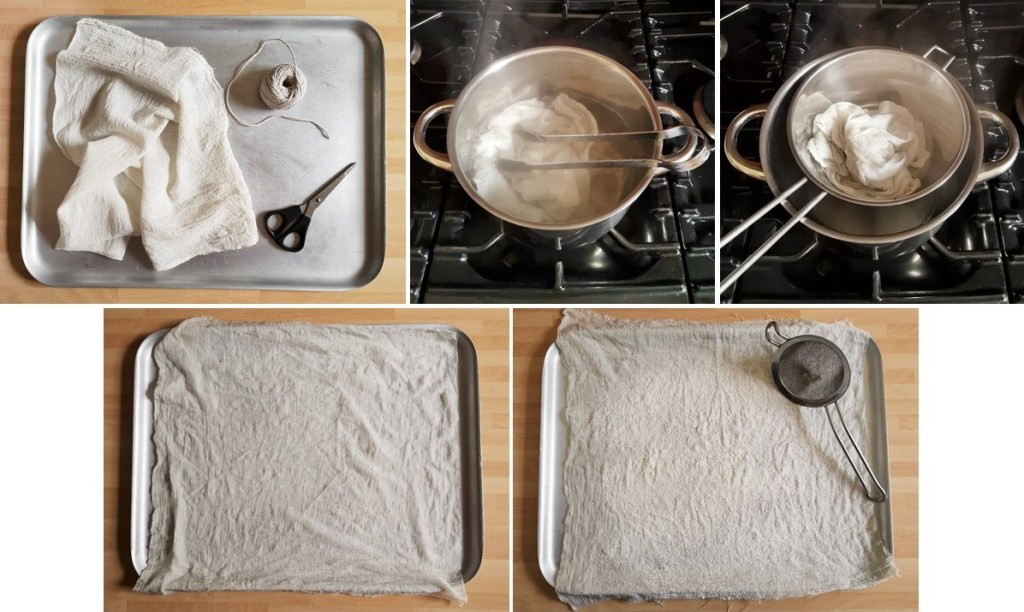
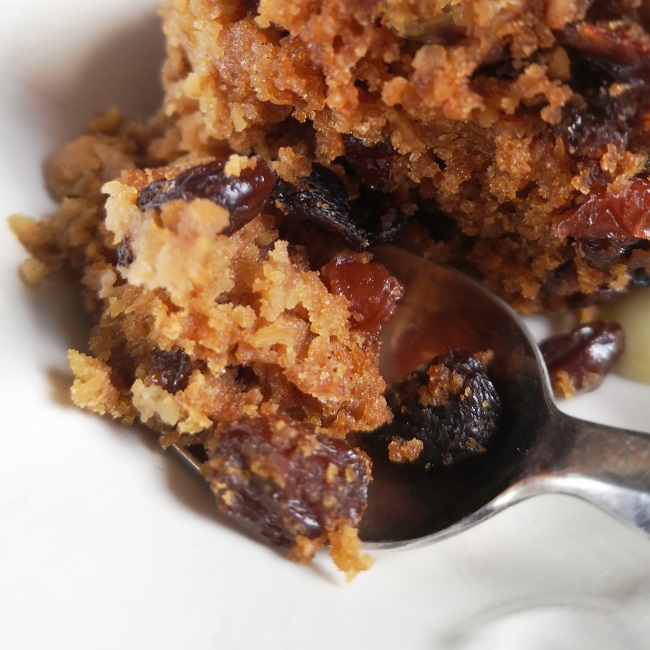
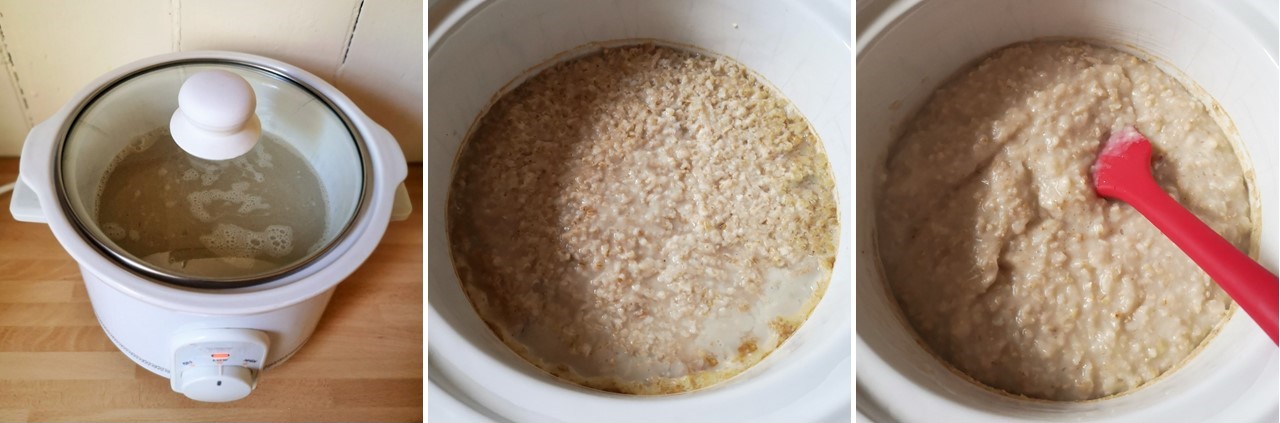
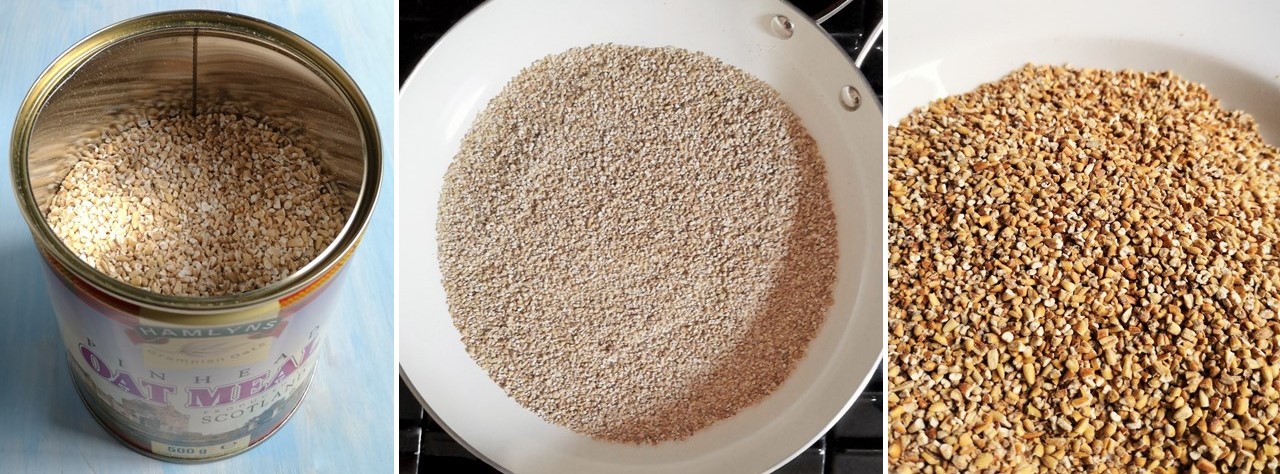
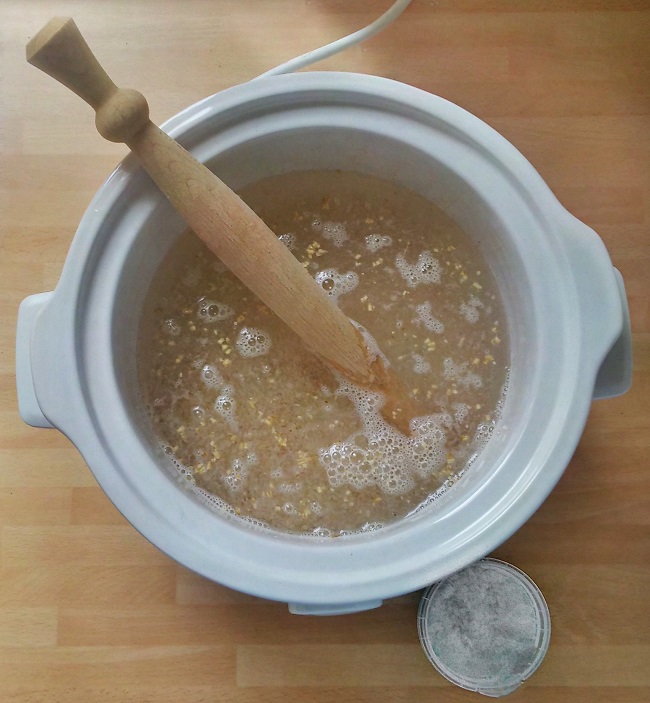
Last year I posted a recipe for a homemade clootie dumpling which you can find here Clootie dumpling (gluten-free; dairy-free; vegan). My recipe this week uses this traditional Scottish pudding as a base. You can use a light fruit cake mixed with a little oatmeal instead if you prefer.
I flavoured my truffles with chopped stem ginger and ginger wine but ground spices and ginger syrup or orange juice will work fine as alternatives. The truffle mixture is simply wrapped in small rounds of marzipan or use a thin layer of ready-to-roll icing if you prefer.

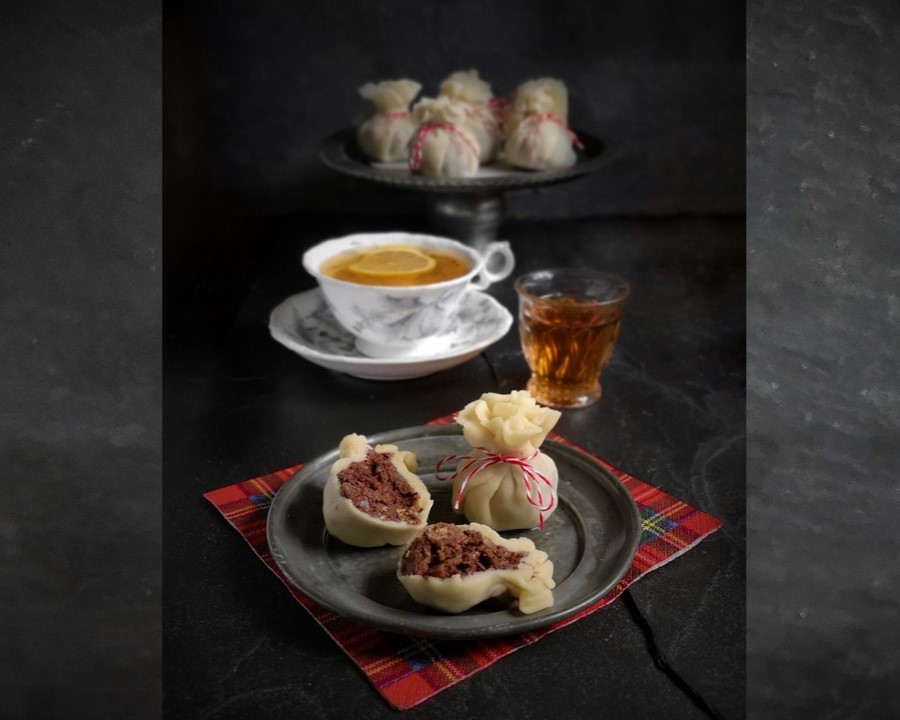
So here’s the recipe. You can also use the same mix to make small haggis-shaped truffles.
Makes: 8
Ingredients
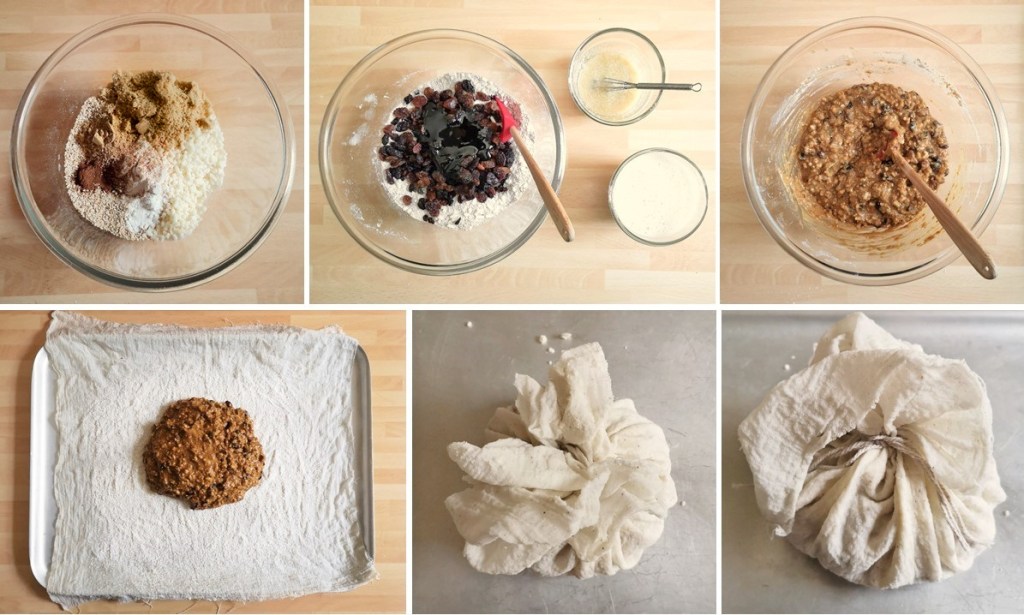
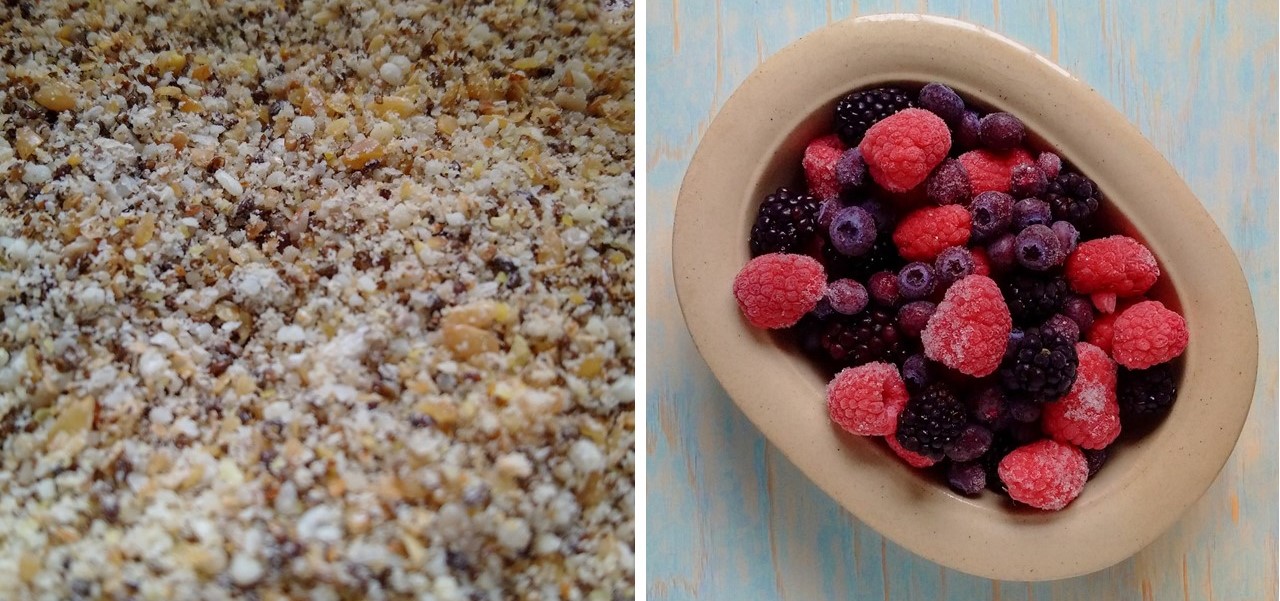
- 125g free-from clootie dumpling crumbs (or use 100g free-from light fruit cake crumbs combined with 25g toasted gluten-free oatmeal)
- 25g stem ginger, finely chopped
- 100g vegan dark chocolate, melted
- 2tbsp ginger wine, ginger syrup or orange juice
- 240g natural marzipan
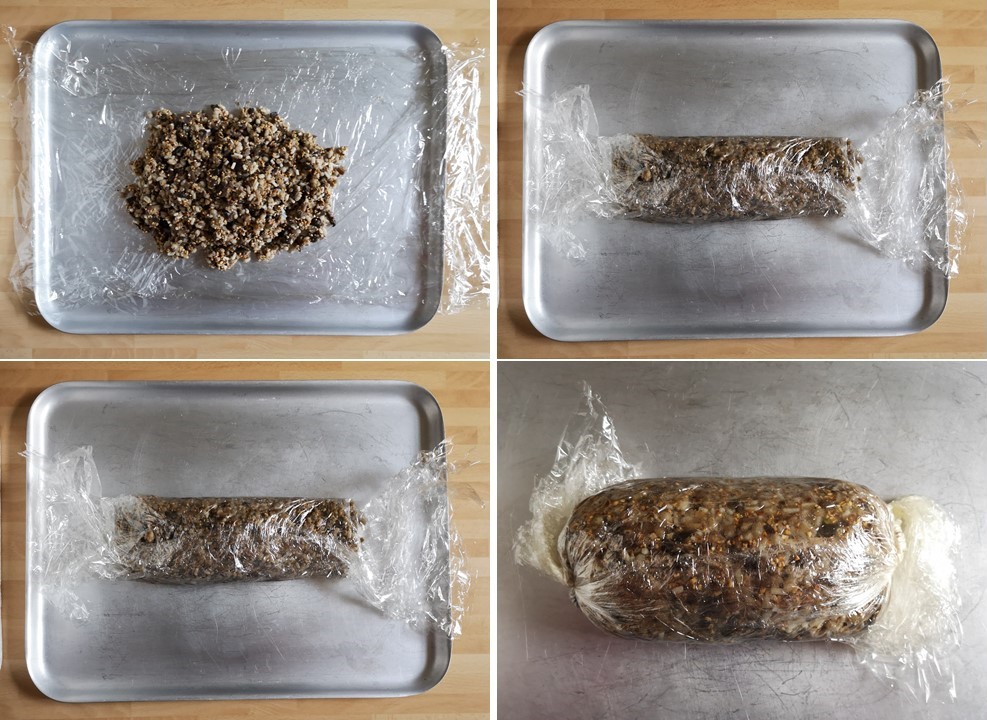
1. Put the crumbs and ginger in a bowl and bind together with the melted chocolate and wine, syrup or juice. Form into 8 balls and chill for about 1hr until firm.
2. Divide the marzipan into 8 equal pieces and roll out thinly to make rounds large enough to encase each truffle. Scrunch together at the top to give the cloth effect. Tie with twine or ribbon if liked. Keep in a cool place or the fridge until ready to serve.

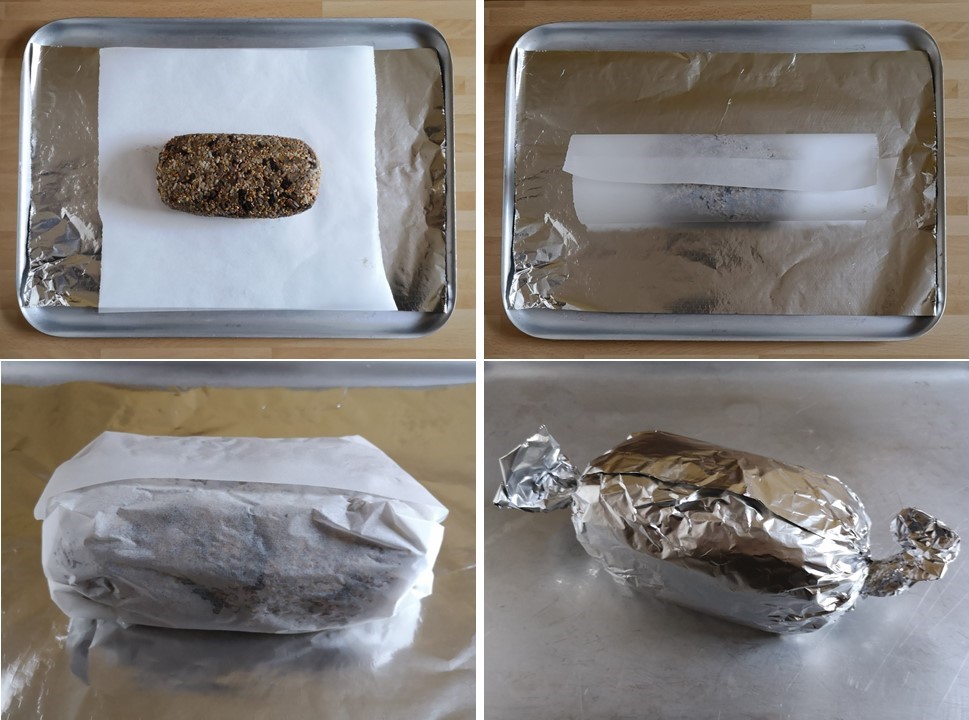
To make haggis truffles instead, divide into 10 portions and shape into small sausage lengths. You’ll need 300g marzipan to roll out into rounds and wrap around each one. Scrunch the marzipan at each end to give the classic haggis shape.

For easy reference, here are a few links to other recipe posts for traditional Scottish dishes with a free-from twist to serve up on January 25th:
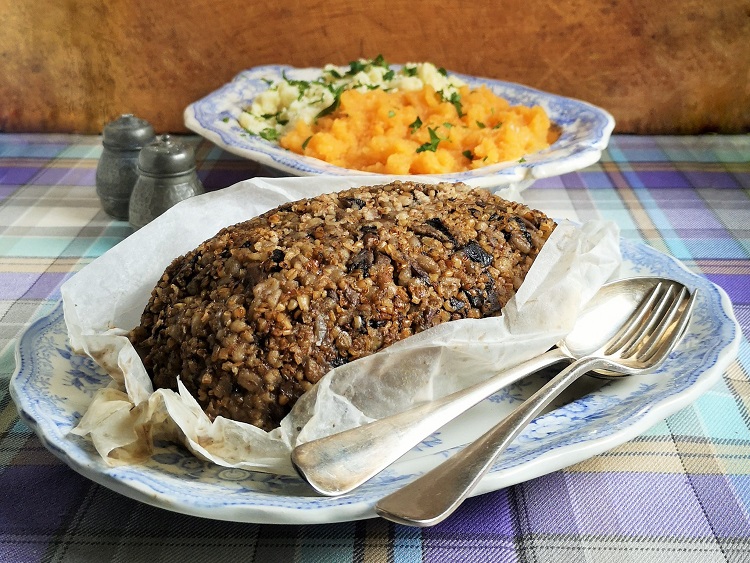
Vegan haggis (dairy-free; gluten-free variation)
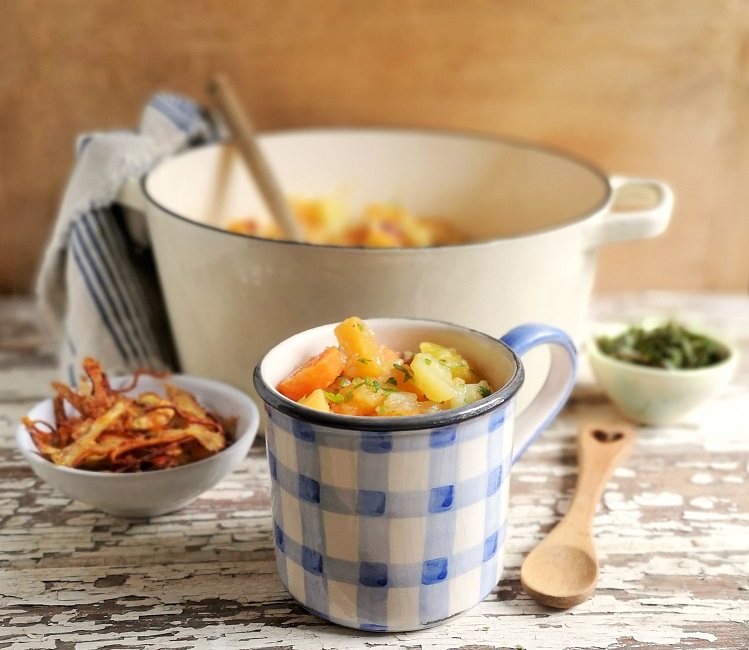
Mixed root “stovies” (gluten-free; dairy-free; vegan)
Rumbledethumps (gluten-free; dairy-free & vegan alternatives)
Tattie scones (gluten-free; dairy-free; vegan)For Burns Night,
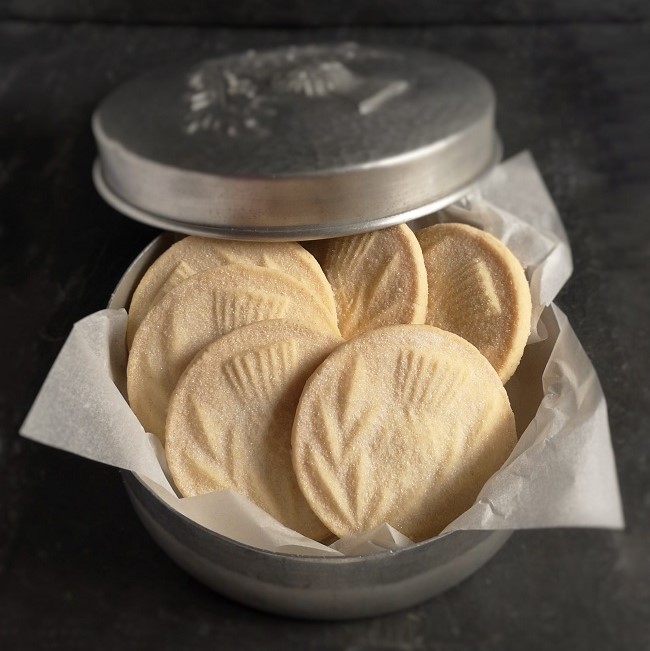
Scottish shortbread (gluten-free; dairy-free; vegan)
Gingerbread cupcakes and cookies (gluten-free; dairy-free; vegan)
Chocolate Haggis for a Burns Night supper (gluten-free, dairy-free, vegan)
Gingerbread tablet for Burns Night 2022 (gluten-free; dairy-free; vegan)
That’s all from me this week. Until next time, thanks for stopping by and I hope you have a good few days ahead.